How To Quickly Soften Butter To Room Temperature
I’m beyond excited to share my guide on how to properly soften butter to room temperature. It might seem like a simple ingredient, but when it’s just at the right consistency and temperature butter does incredible things to your bakes and frostings! It creates cakes with uniform batters that come out of the oven light and airy. Frostings come out smooth, silky and fluffy. It’s honestly a baking superhero, and when you get it wrong? Well, I’ve been there! And I’ve got the cookie puddles to prove it. Evidence in the post!

Butter is the star of the show here, and in this post, I’ll take you through the best way to soften it to room temperature when its called for in a recipe. Because like most things in baking, there’s a science behind what room temperature does in everything it’s used in! Cake batter that creams beautifully with sugar and frostings that hold their peak without being overly greasy. My aim today is to make sure you understand how to get your butter softened properly. I’ll lay it all out, simply, so you understand how to go back into your next bake with confidence!
Why recipes ask for room temperature softened butter
Butter in dessert recipes usually comes in three forms: softened, cold or melted. Today, we’re focusing on why a baker would tell you to use softened butter and why its such a big deal to your end result!
It’s mainly got to do with air! Getting your butter to the right temperature will give you air. That’s what you’re after in things like cake and cupcakes or even some cookie recipes. In a cake for example you sometimes cream the sugar and butter together. When the butter is properly softened, the sugar crystals swish through the butter like tiny whisks as you beat it together creating lots or air bubbles. Those expand in the oven giving you all the fluff you could ask for!
No air = no fluff! It’s that simple!
I learned this the hard way while re-working my vanilla buttercream. On a hot day, I let the butter sit out too long and it was so soft it could have melted. The result? A greasy, sad mess of frosting that slid off my spatula. I went back and softened my butter properly and I ended up with a fluffy, smooth vanilla buttercream that is perfect for layer cakes and cupcakes. Definitely worth a try!


Properly softened butter also helps it blend smoothly with other ingredients like eggs, milk or any other liquids in your recipes. This creates uniform batter that bakes evenly and gives you consistent results. That’s why paying attention to the temperature your recipe calls for is important. If your ingredients are too cold, they won’t mix properly, leaving you with lumpy frosting, dense cakes or greasy muffins.
Why do recipes call for melted or cold butter?
- Melted butter – If a recipe is asking for melted butter, you’re in for a treat! A cookie recipe with melted butter for example will give you a moist, rich or chewy texture that doesn’t require the lift and lightness of softened butter that’s been creamed with sugar. It’s used in brownies too to give you that gooey chewy texture.
- Cold butter – Recipes that call for cold butter usually do that because the recipe needs flaky, tender layers. Things like pie crusts, puff pastry or scones. The cold butter creates steam pockets as it melts in the oven which gives you delicate, airy layers in your bakes.
How I store my butter
Let’s start with the way you store your butter. I used to keep my butter in the cupboard, thinking it was convenient, until one summer it started smelling like feet (true story!). Butter doesn’t do well in warm conditions and can go off pretty fast. It can even melt into a sad puddle when the weather heats up which makes it pretty useless for baking and frosting making. Now, I’m firmly team fridge. Summer or winter, butter belongs in the fridge alongside milk and cheese.

The problem is that butter straight from the fridge is as hard as a brick. When a recipe calls for room-temperature butter, it can be a challenge to get it there. That’s why I created this guide, to help you soften fridge-cold butter the right way without the frustration.
How to know when your butter is softened
Let’s assume that your butter is straight out of the fridge, as it should be. We need to work from there to get it a little softer, but not too soft. I’ll tell you how to do that a little further down, but for now I want to go through how you can tell if it’s properly softened. That’ll help you avoid over softening it.


- Testing your butter by touch – when butter is properly softened, it should feel cool to the touch but not hard. You should be able to press your finger into it gently, leaving an indent with some resistance. If your finger glides through, the butter is too soft, pop it back in the fridge to firm a little.
- Testing your butter with a thermometer – If you want to be absolutely sure that your butter is at the exact right temperature, use a thermometer. I used a candy thermometer with a probe that you stick into the butter. You’re looking for a temperature of 18C / 65F. It’s going to feel a little colder than you’d think, but any softer than this, you’re off to the races for flat cookie town.
So how do we soften it?
How to soften your butter to room temperature
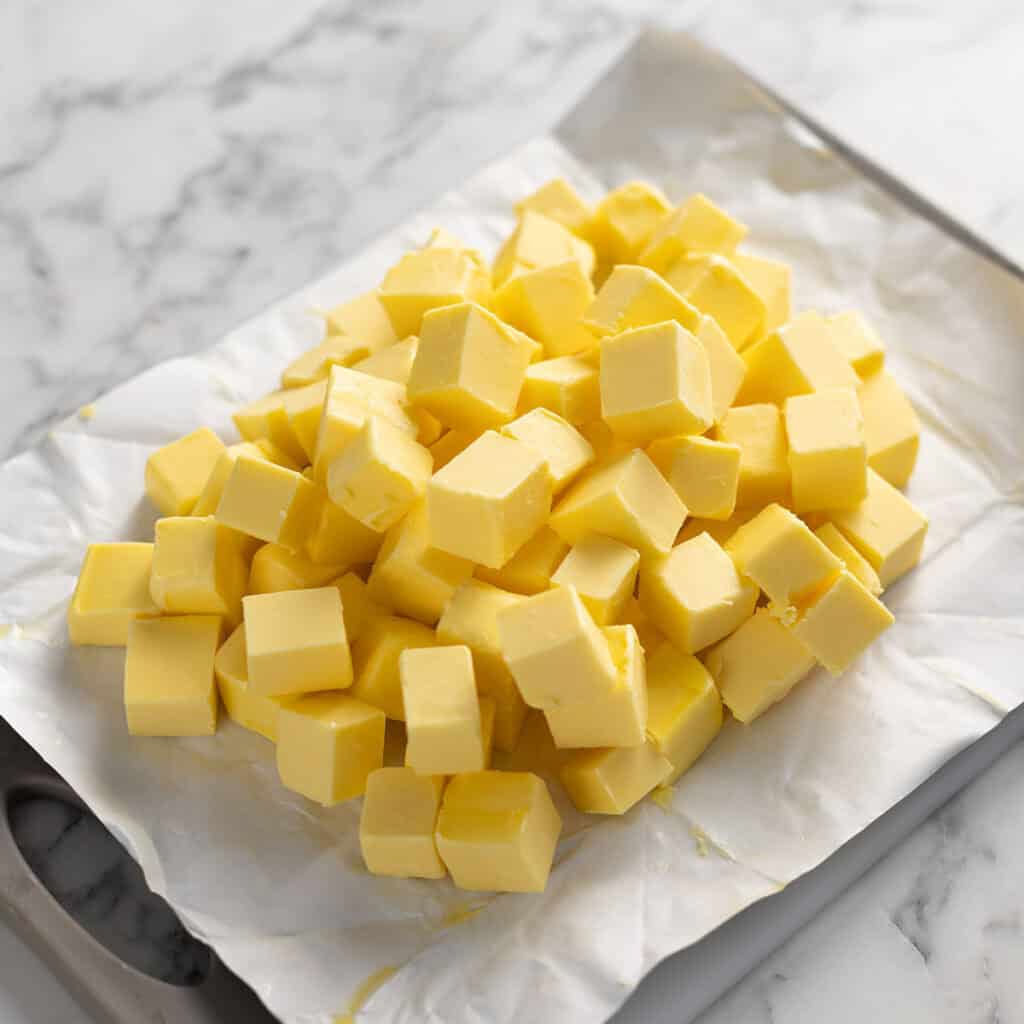
The best way is to prepare ahead of time. Like 1 – 2 hours ahead of time. Use a sharp knife to cut your fridge cold butter into cubes. About 1-2 cm in size. Then let it sit out at room temperature until properly softened. How long you leave it out depends on the weather where you are. Hot, humid days will soften your butter much quicker than cooler days.
How to soften your butter quickly!
You’re in a hurry, and those cookies need to be in your hands right now! Let’s fast track things! There are two methods I use to fast track softened butter.


- Creating a warm environment – You can use your microwave or oven to do this. And now, we’re not turning these on. Add a tray in the bottom tray of your oven and fill it with boiling water. Close the door and let it do it’s thing for 2 minutes. Then use oven mitts to take the water tray out, pop the cubed butter into the oven for 5-10 minutes or until properly softened.
- Grating your butter – yeah, just like cheese. Unwrap half of your butter, leaving the wrapper on the other half where you’ll be holding it to stop it greasing up your hands. Then grate on a box grated on the largest shredder part. Your butter will be ready in minutes. This works best with fridge cold butter.
How do I know if my butter is too soft?

Your butter will look shiny, greasy and it’ll stick to your fingers. That’s how you know you’ve gone too far. On warm days, your butter will soften quickly so keep an eye on it and test it using the methods above. But if this happens, just pop the butter back in the fridge for a couple minutes to bring it back to the perfect texture.
What happens if your butter is too soft?
In short, you don’t end up with the best results. Worse case scenario your recipe doesn’t work properly. Cakes turn out dense and heavy because the butter can’t cream properly with sugar. No air means no fluff. Cookies spread out way too much so you end up with flat greasy cookies. Don’t get me started on frostings! Slippery, greasy and they don’t hold their shape properly!
Butter quality matters!
Not all butter is created equal and when it comes to baking, quality makes a really big difference. High quality butter, especially European-style butter with a higher fat content brings a richer flavor and creamier texture to your bakes. It’s the secret to flakier pastries, softer cookies and silky frostings. Butters with more water than fat in them can leave you with sticky dough, dense cakes or frosting that just doesn’t hit the mark.
For reference, anything above 82% is high quality. The percentage should be listed on the back. Look at how many grams of fat the butter has per 100g.
A Quick Baking Guide
If you’re new to baking or just want to brush up on the basics, these guides are a great place to start!
Loved the recipe? Let me know!
If you enjoyed this recipe, leave a star rating and comment below. It helps others find the recipe and keeps the baking community growing. Tag me on Instagram so I can see your version too!

How To Quickly Soften Butter To Room Temperature
Ever wondered how to soften your butter to room temperature for recipes? Here’s my full guide on how to make it a speedy process so you can have perfect results every time!
Serves 1
Ingredients
- 250 g Cold butter
- 250 g Water
Instructions
Cubed method (1-2 hours)
- Cut the fridge-cold butter into 2cm sized cubes using a sharp knife. Let it sit out for 1-2 hours until it reaches 18C / 65F when probed with a thermometer. When press on with a finger it should feel cool to the touch and make an intent with some resistance.
Creating a warm environment
- To soften butter, place a tray of boiling water in your oven or microwave (turned off) for two minutes, then remove it and place the butter inside.
Grater method (5 min)
- Grate fridge-cold butter like cheese using the largest shredder on a box grater, keeping half wrapped to prevent it from greasing your hands.
Notes
Storage – Any left over butter can be popped back in the fridge to use for later. Just wrap it in plastic.
Nutrition – isn’t applicable here. But I’ve added it for 250g of unsalted butter. In Australia, that’s 1 cup.
Nutrition – isn’t applicable here. But I’ve added it for 250g of unsalted butter. In Australia, that’s 1 cup.
Nutrition
Calories : 1793kcal
Carbonhydrates: 0.1g
Protein: 2g
Fat: 203g
Saturated Fat: 129g
Polyunsaturated Fat: 8g
Monounsaturated Fat : 53g
Trans Fat : 8g
Cholesterol: 538mg
Sodium: 1620mg
Potassium : 60mg
Sugar : 0.1g
Vitamin A: 6248IU
Calcium: 68mg
Iron: 0.1mg
Nutrition Disclosure
Gave this recipe a go?Mention @thescranline or tag #thescranline!
previous post
6 comments
Amazing tips! Thank you for sharing!
Thanks so much Kitrishia! I’m really glad you found the tips helpful. Happy baking! N x
Thank you Nick. You’ve shed light on why some bakes have flopped. Great blog
Yes! Thanks so much for this comment Roger! Made writing this up worth it! N x
THANK YOU MUCH! This explains many of my failures. So happy I found your posts. I also made your Pavlova and it was perfection. Your instructions were exactly what I needed and family loved it. Prettiest one I ever made and followed your recipe exactly.
Hi Anne! So glad you found this one helpful. Before doing a deep dive I was so confused about softening butter, but once you know, it makes things so much better in recipes that call for it. And you know it for life! And I’m so glad to hear that you loved the Pav recipe too! N x