Ferrero Rocher Chocolate Hazelnut Tart
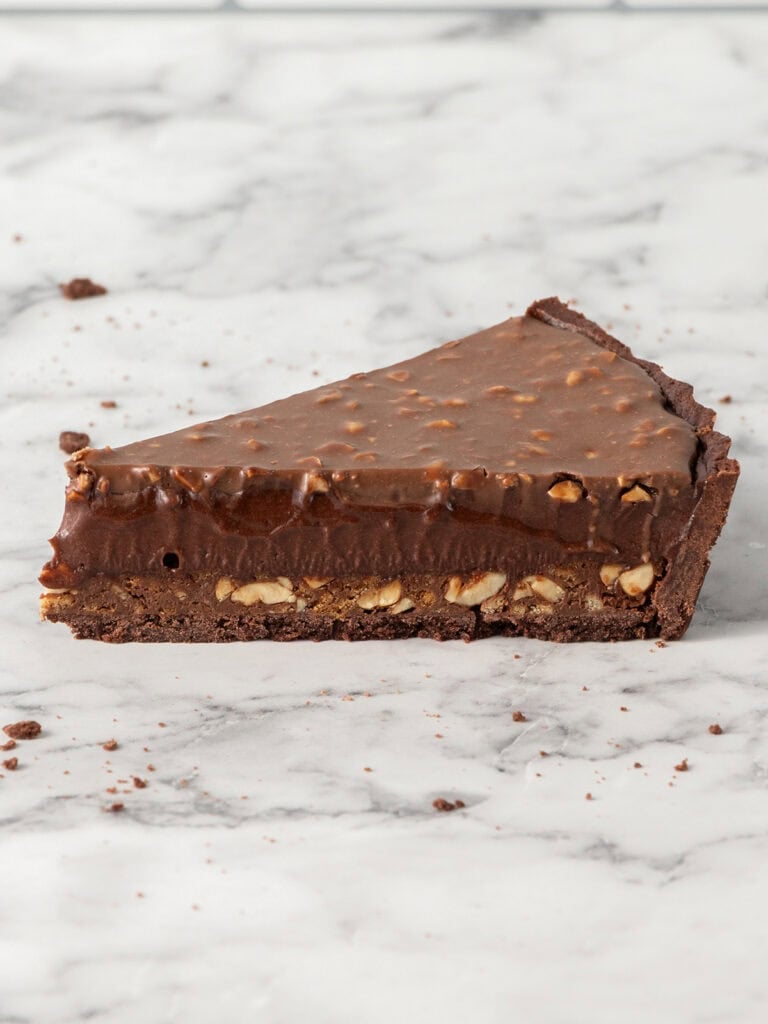
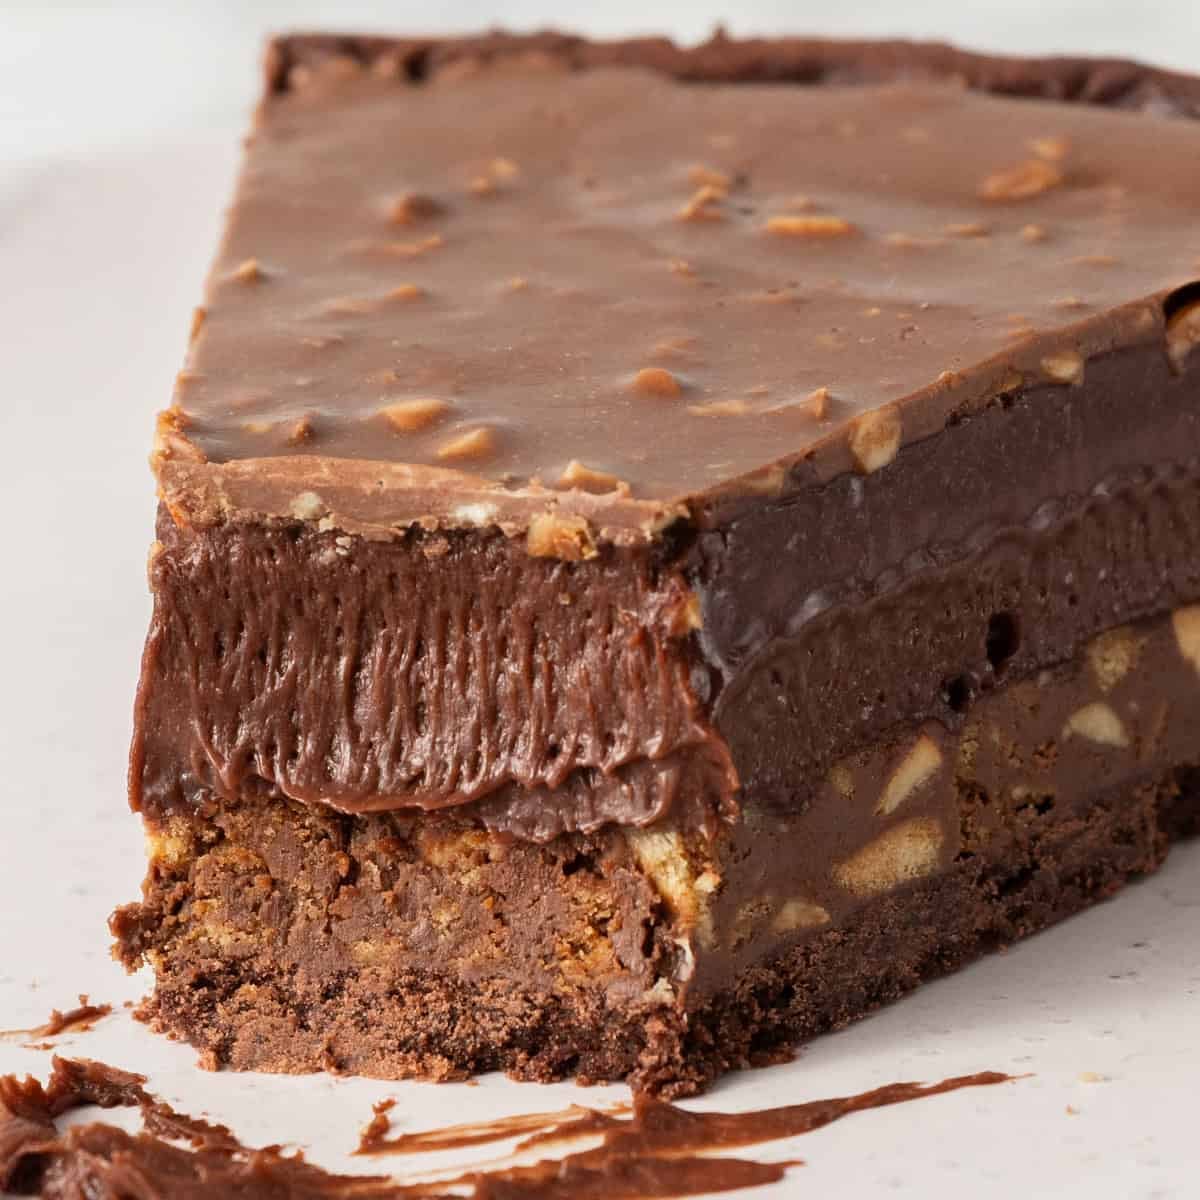
My Ferrero Rocher Tart is deeply rich in chocolate with plenty of hazelnut flavor too. Just like the real thing. You get a crisp chocolate pastry, crunchy Nutella and toasted hazelnut layer, silky chocolate cremeux and a thin crackly chocolate topping.
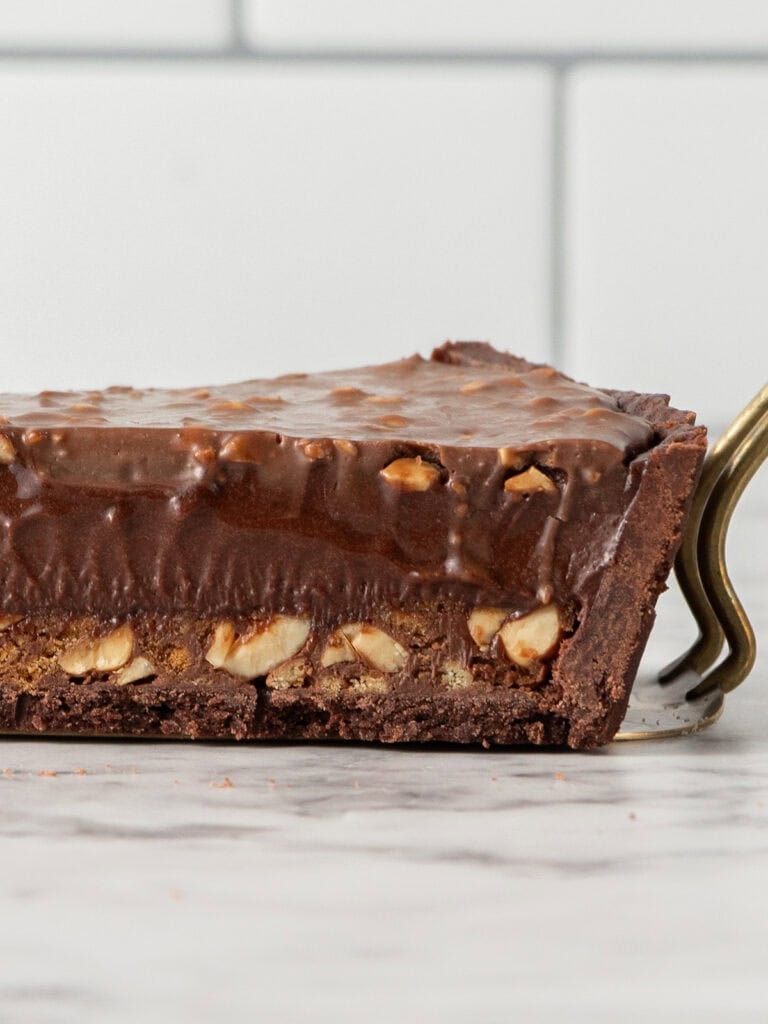
Hey team, Nick here! If you think about it, there’s a lot going on in a little Ferrero Rocher.
- Crispy milk chocolate and hazelnut outside coating,
- Biscuit orb that hides
- A creamy Nutella filling with a
- Toasted hazelnut.
When I started testing this recipe, I made it my mission to get every single element of that in every bite of this tart. I reckon I got it spot on. Each bite gives you all that hazelnut crunch and creaminess.
I’m a little obsessed with tarts at the moment. If you’re after something different and simpler to make, try my passionfruit meringue tart. It packs a huge flavor punch and creamy meringue top. I’ve also got my lemon tart which is a winner every time.
Just a heads up, this is a baking project. Even though there’s a fair bit involved, it ‘s not hard to make. You can make some parts of it like the toasted hazelnuts, feuilletine and chocolate tart crust in advance which makes it a lot more approachable.
Breakdown of each glorious layer
- Crispy biscuit layer – Paper thin biscuit layer called feuilletine that stays crisp. It’s mixed with Nutella and toasted hazelnuts.
- Silky chocolate cremeux – A softer, creamier hybrid of ganache and chocolate pastry cream that sets perfectly. Your fork glides right through it!
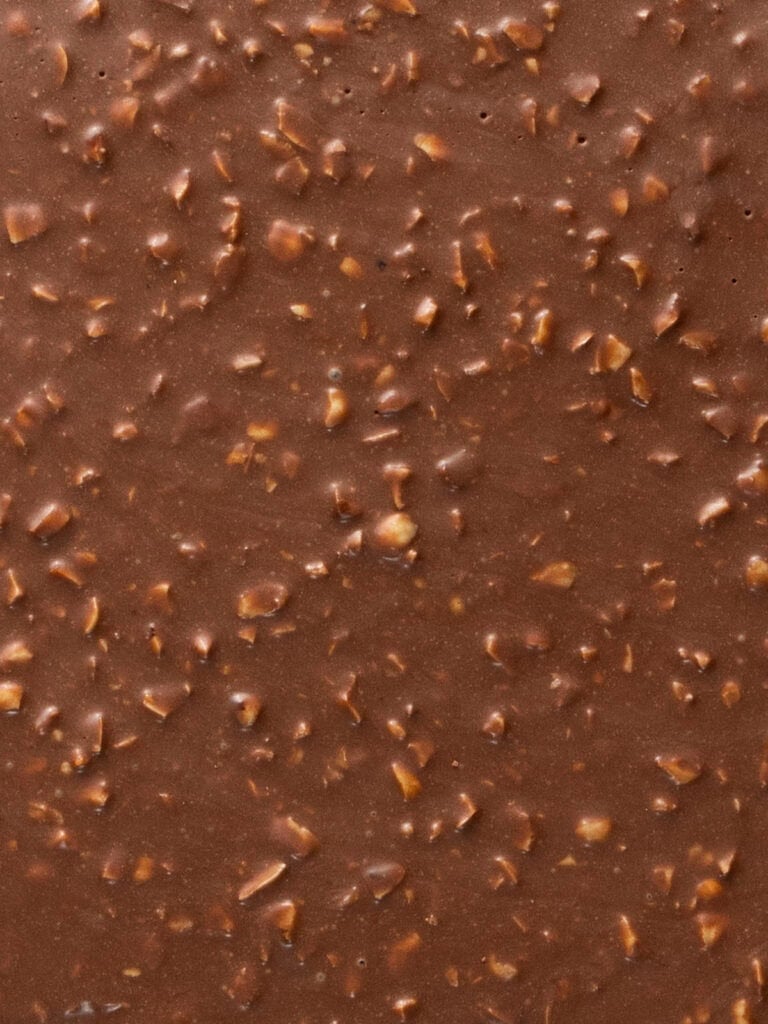
- Crackly chocolate topping – A thin layer of milk chocolate with crushed hazelnuts that hides everything underneath but screams Ferrero Rocher.
2 things you can make ahead of time
I have separate posts on all of these here on the blog so I won’t go into every step. But if you make the chocolate tart crust, feuilletine and the toast the hazelnuts ahead of time, it makes this tart so much more approachable!
Chocolate tart crust
The dough for my chocolate pate sucrée is pretty straight forward to make. Make it ahead of time, even the day before and then roll it out, shape it and bake it.
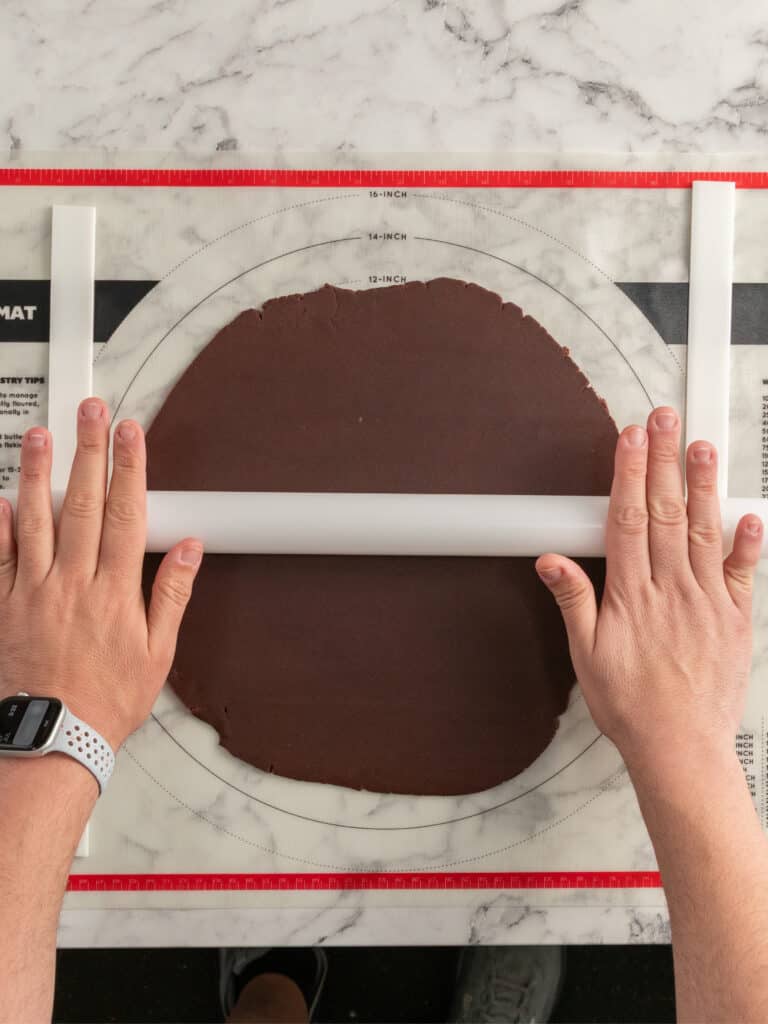
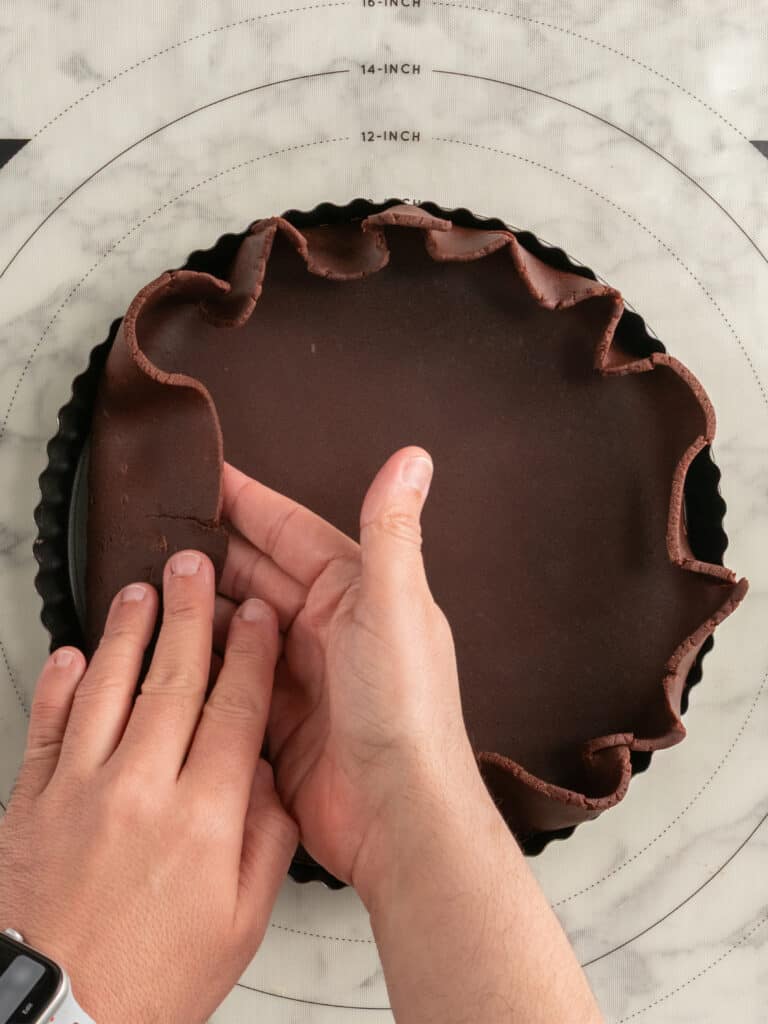
Just a note on the shaping part, don’t stretch it when you put it in your tart tin, let it fall in there naturally to avoid it shrinking when it bakes.
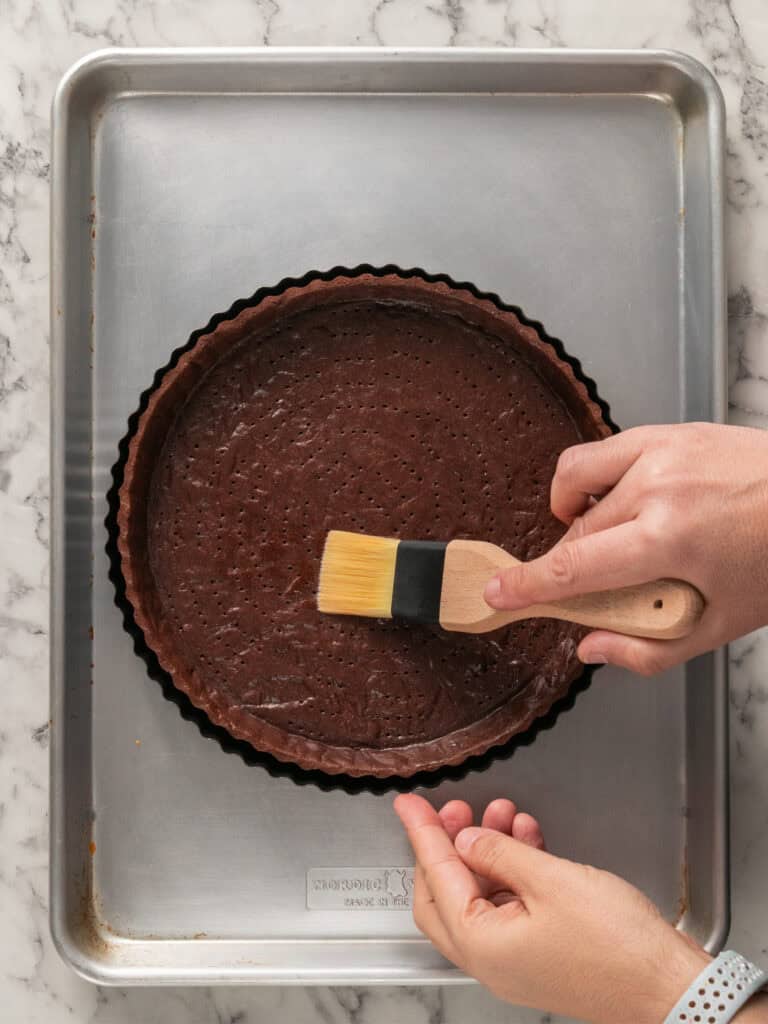
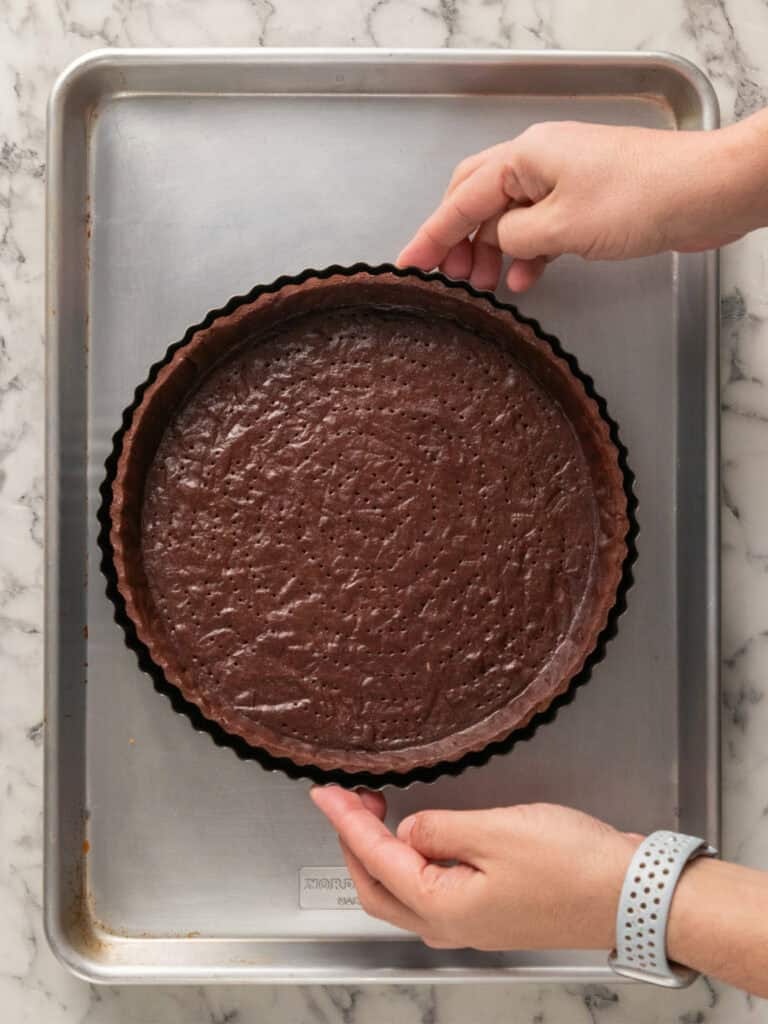
Once it’s cooled use a zester to even out the tops. Such a cool trick bakeries use!
Feuilletine
This is the easiest part of the recipe. It comes together with simple ingredients and bakes in minutes. Once you make the dough you spread it thinly on a baking tray and bake it until golden.
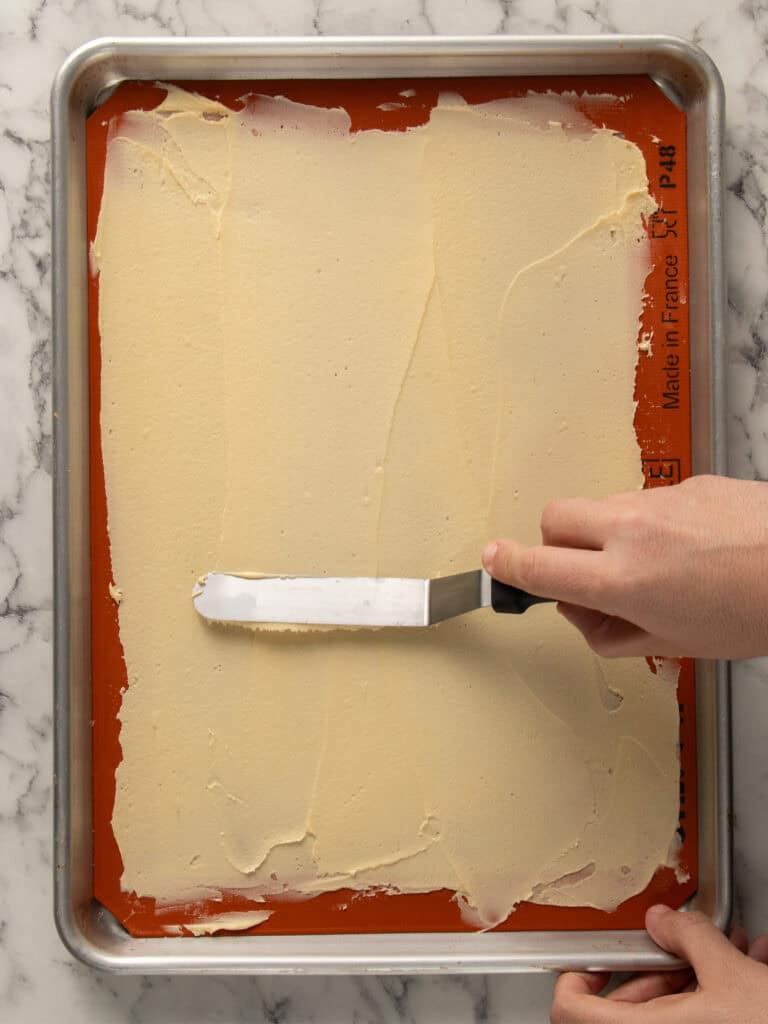
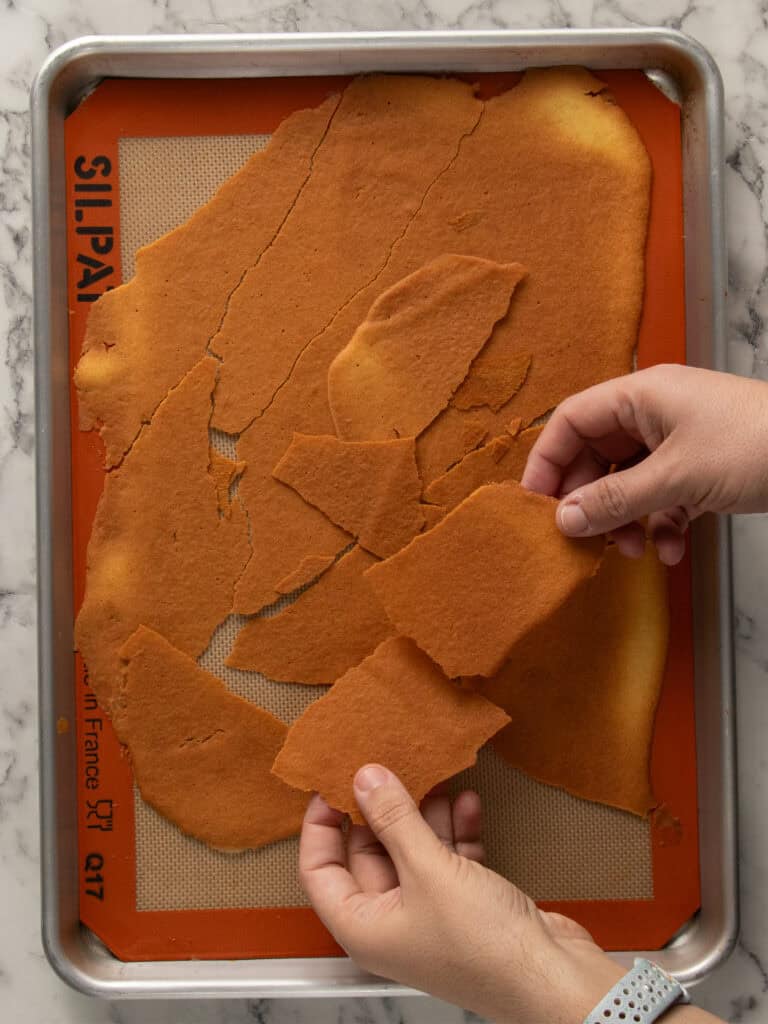
The fun part is breaking it apart in smaller pieces when it’s cooled. Although you don’t want to crush it up too much because it breaks down a little more when you mix it with the Nutella.
How to toast your hazelnuts
If you can get them, use skinned hazelnuts. Otherwise you can toast them the skin on and then roll them up against each other in a clean towel and that’ll get rid of them.
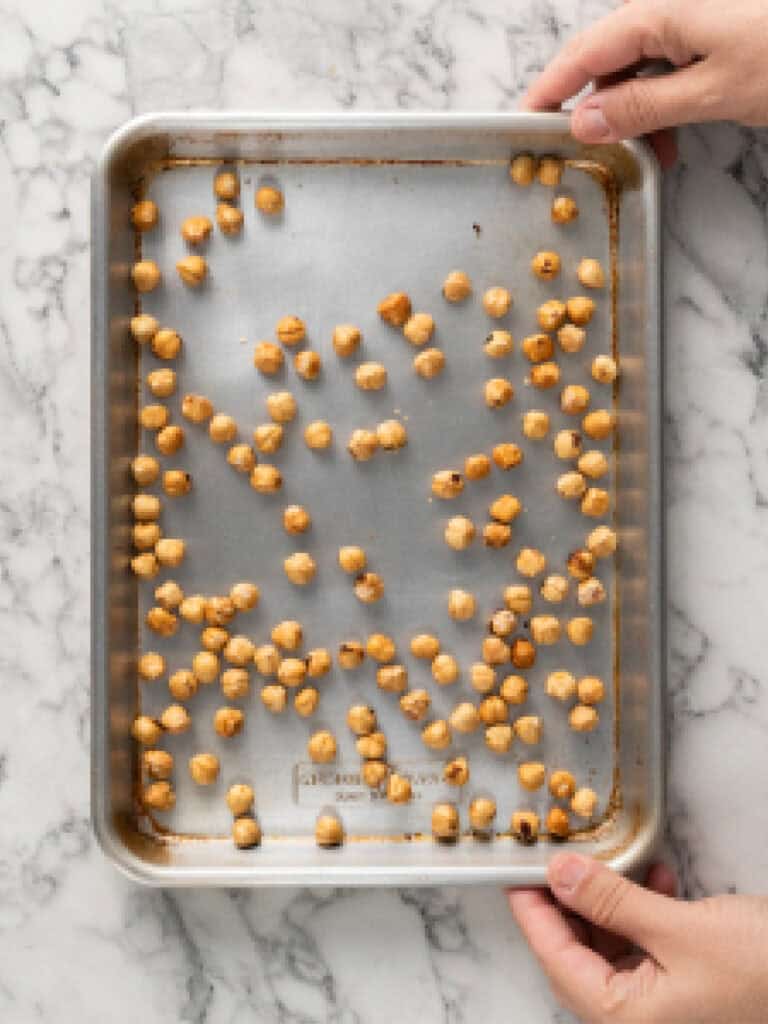
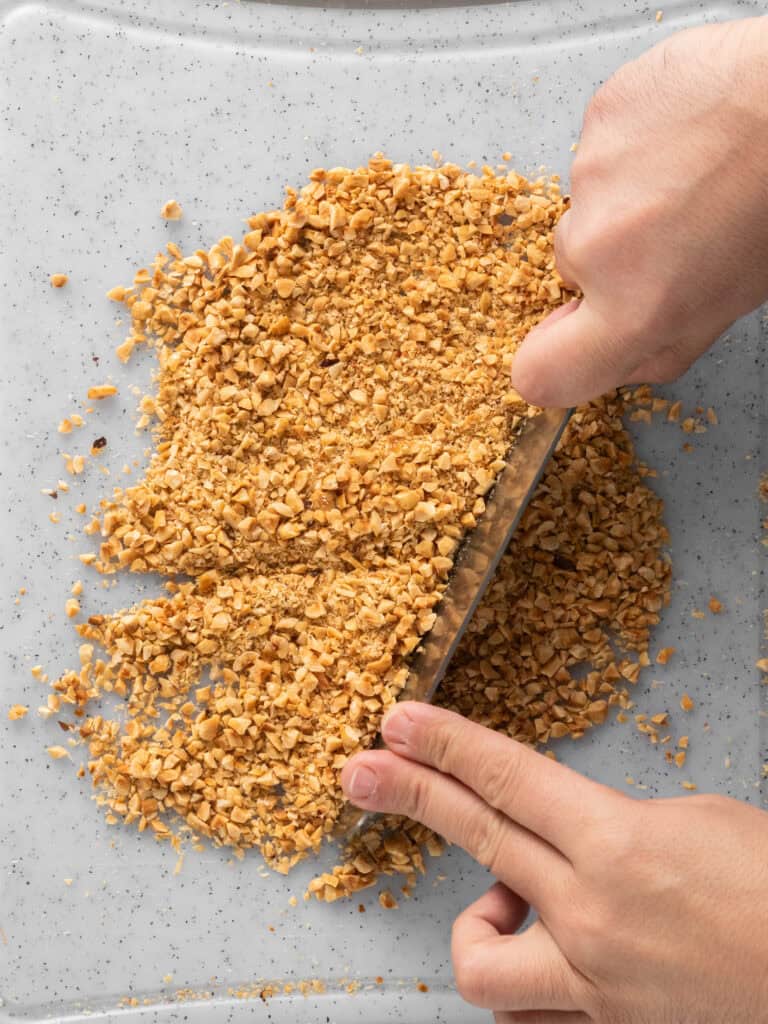
- Toasting your hazelnuts until they’re golden released the delicious nutty oils inside which intensifies the flavor and crisps them up too!
- Once you’ve toasted them chop them up using a large knife. You don’t want to do this all at once. The neatest way is to do about 10 of them at a time. Yes, it takes longer, but I want your tart to look nice and neat. Getting the toasted hazelnut pieces roughly the same size will help you get a bakery worthy looking tart!
Tip – You want them roughly chopped for the Nutella layer and more finely chopped for the crackly milk chocolate topping.
Making the Nutella layer
Warm up your Nutella in the microwave for about 30 seconds. You want it runny. Then add the roughly chopped feuilletine and chopped roughly chopped hazelnuts and mix them together until combined.
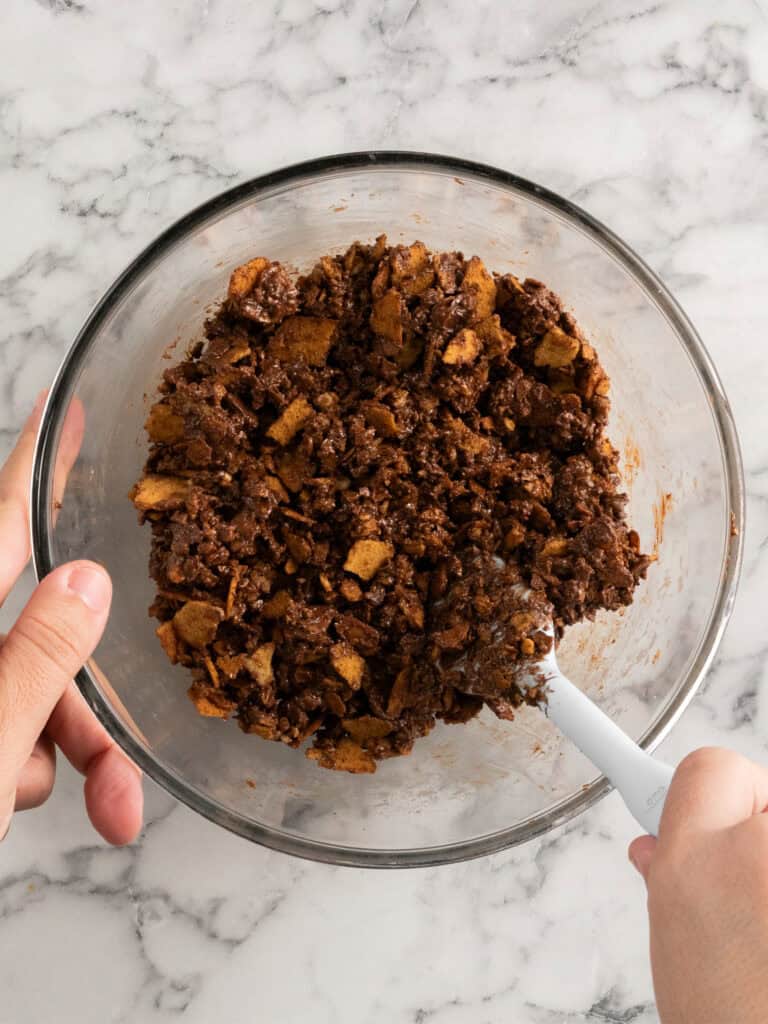
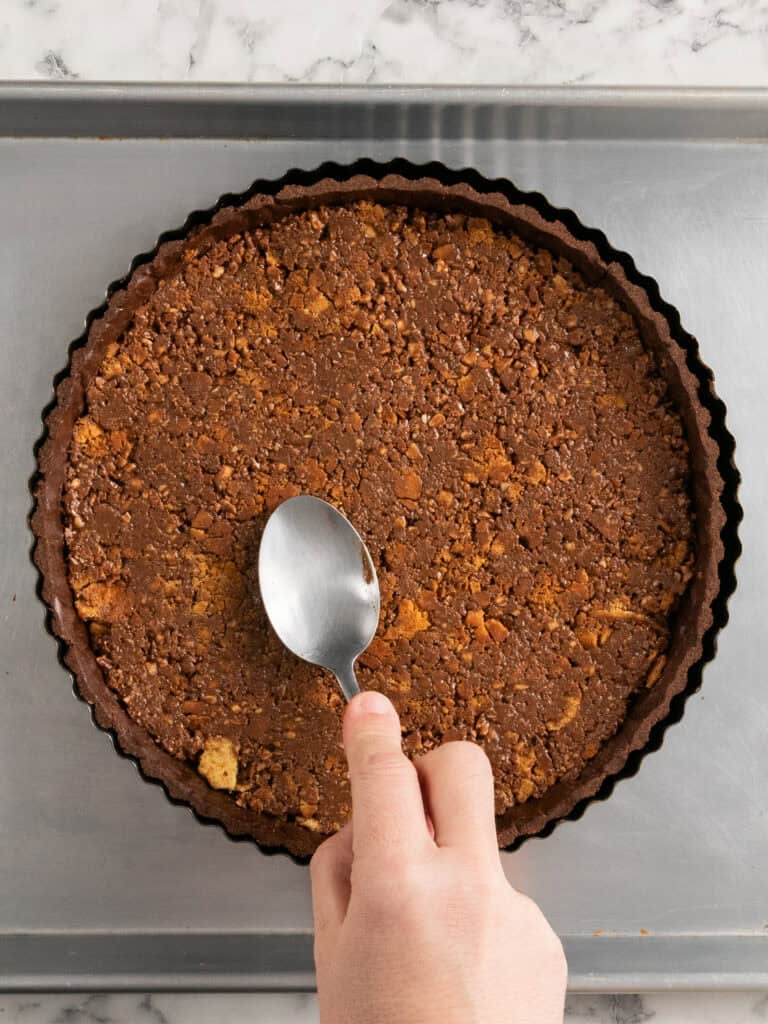
Then press them into the bottom of your tart. Just be careful not to press too hard or you’ll risk breaking the tart shell. Speaking from experience here. Set that aside and move onto the chocolate cremeux.
Tip – Pop the tart onto a large baking tray that will fit in your fridge to make transferring it to the fridge easier. No risk of the sides accidently coming away as it goes into the fridge. It’ll become especially important in the next layer!
Move over Ganache, Chocolate Creameux is 100% that B…
Theres no hazelnut flavor in the chocolate cremeux. I considered trying to find a way to add it but the Nutella layer and chopped hazelnuts provide plenty of flavor. Instead, what I wanted here was a creamier, softer, but still set-enough-to-slice chocolate filling that wasn’t a chocolate ganache. That’s when I discovered the joys of crèmeux!
I have a full post on making my chocolate cremeux with all my tips, but I’ll give you a quick run-down of how to make it.
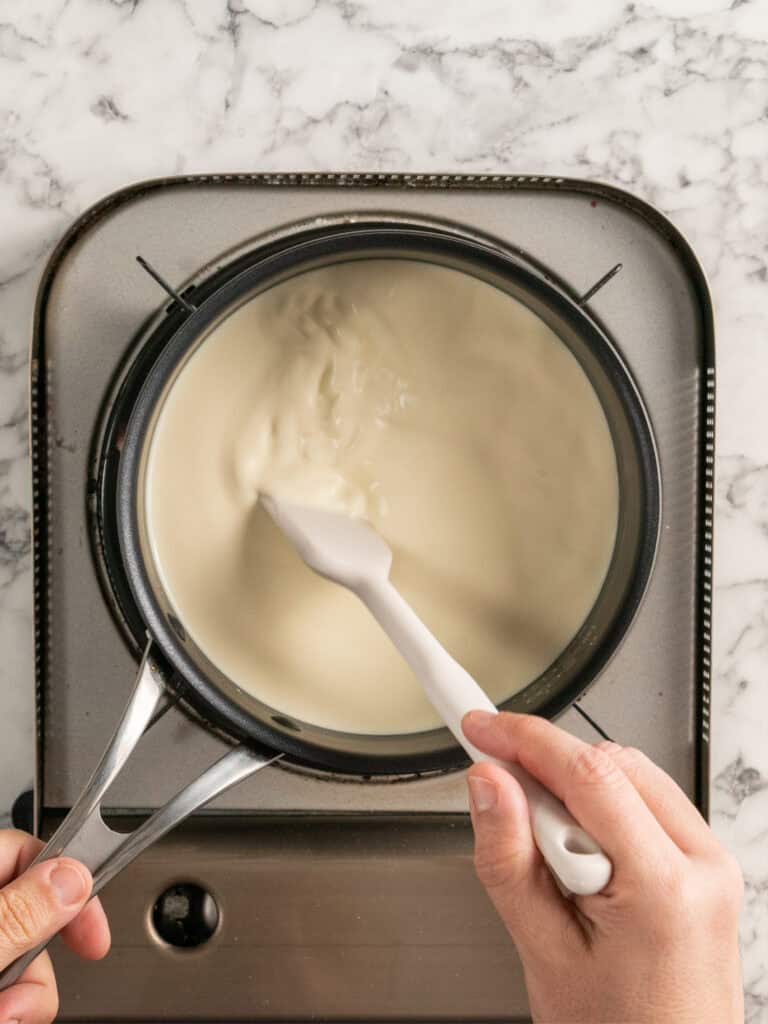
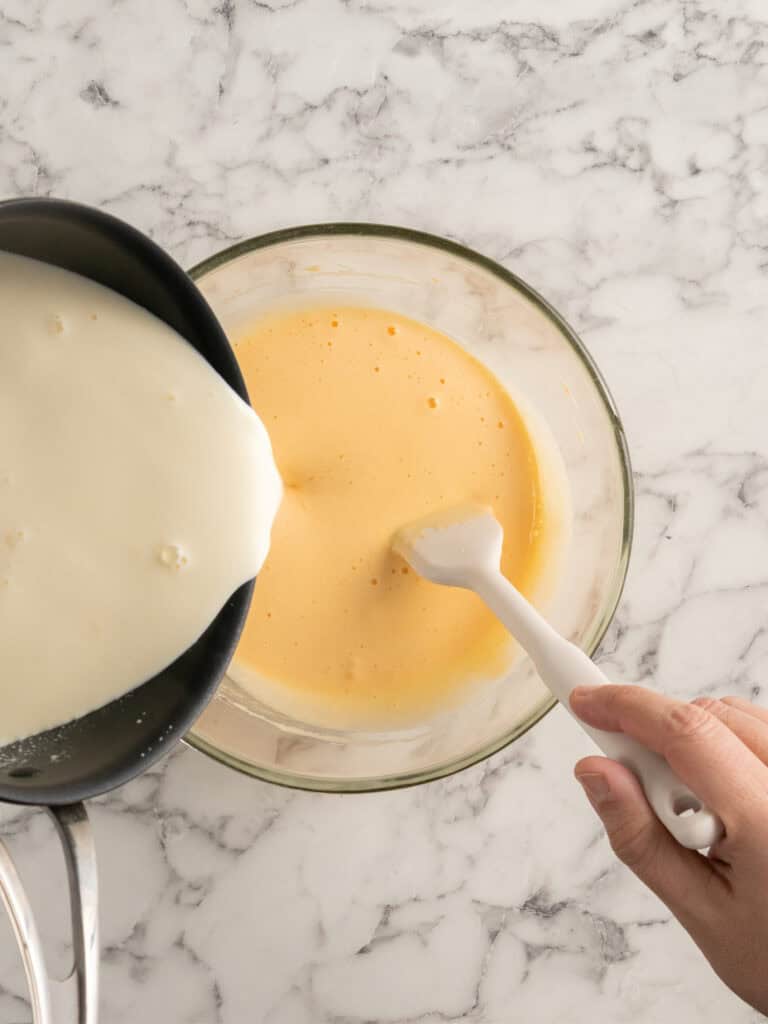
- Whisk the egg yolks and sugar together in a large bowl using a hand held electric mixer until they’re pale and creamy, about 5 minutes.
- Heat the milk and cream and then slowly pour it into the egg mixture while whisking. You want to add it gradually, so the milk doesn’t cook the eggs.
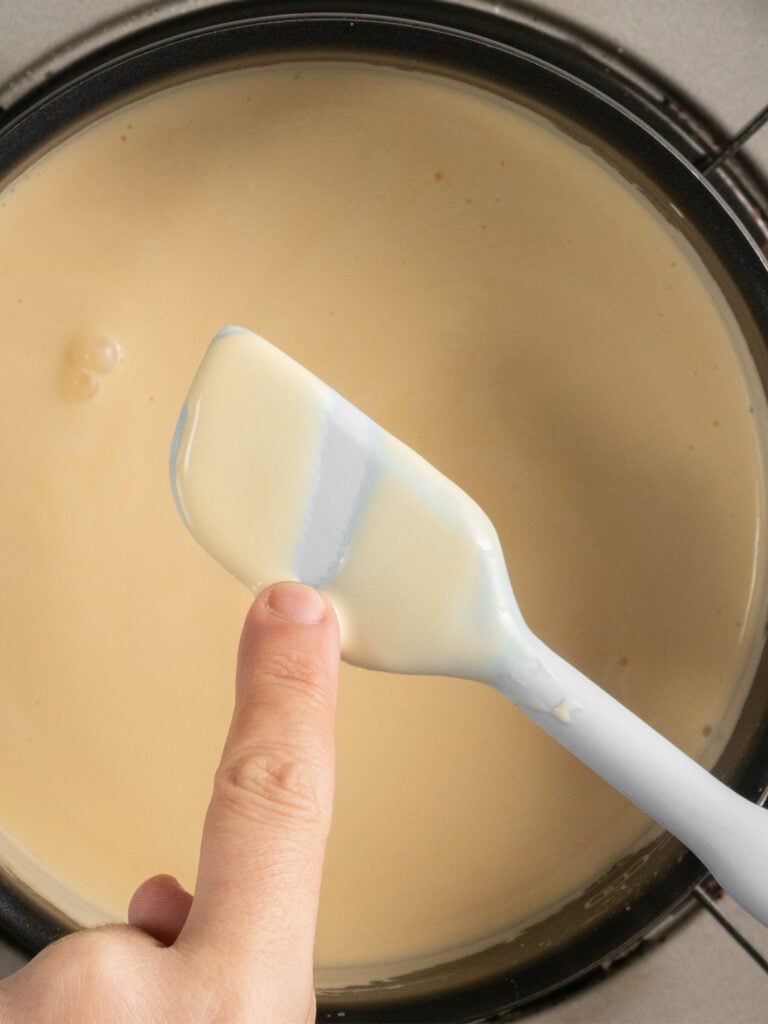
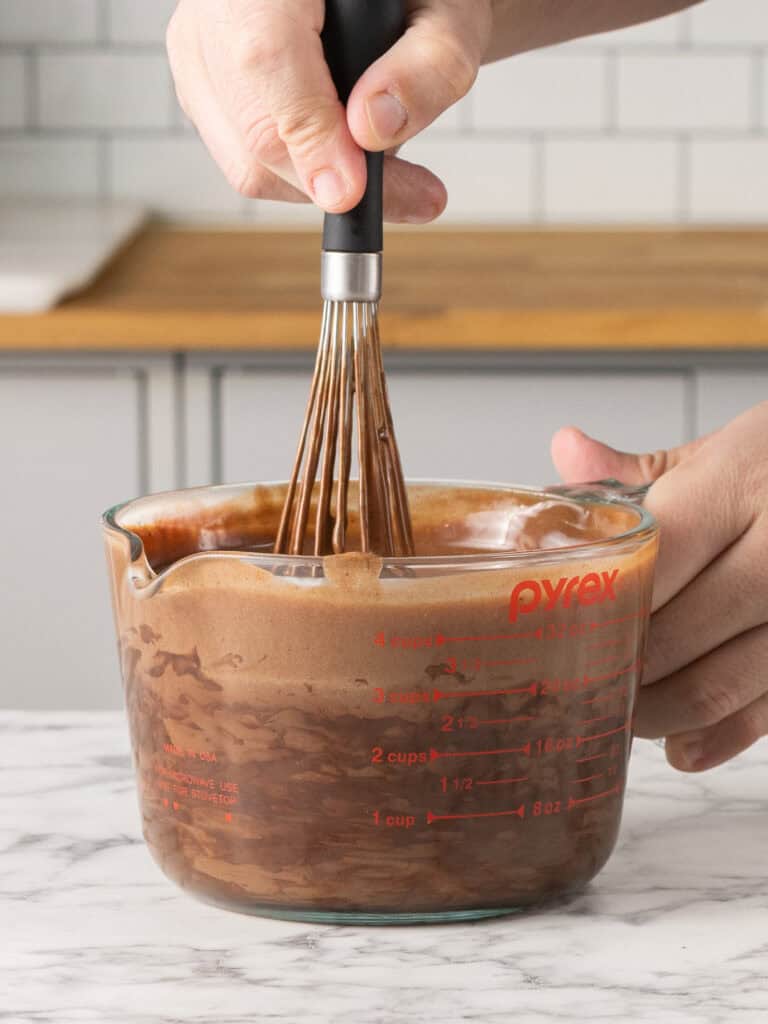
- Pop it on the stove to gently cook. Don’t let it boil. Instead let it thicken slightly until it can coat the back of your mixing spoon or spatula.
- Then pour it over the chocolate (I used dark to offset the sugar in the egg mixture). Let it sit for 5 minutes, covered to melt the chocolate and then mix with a whisk.
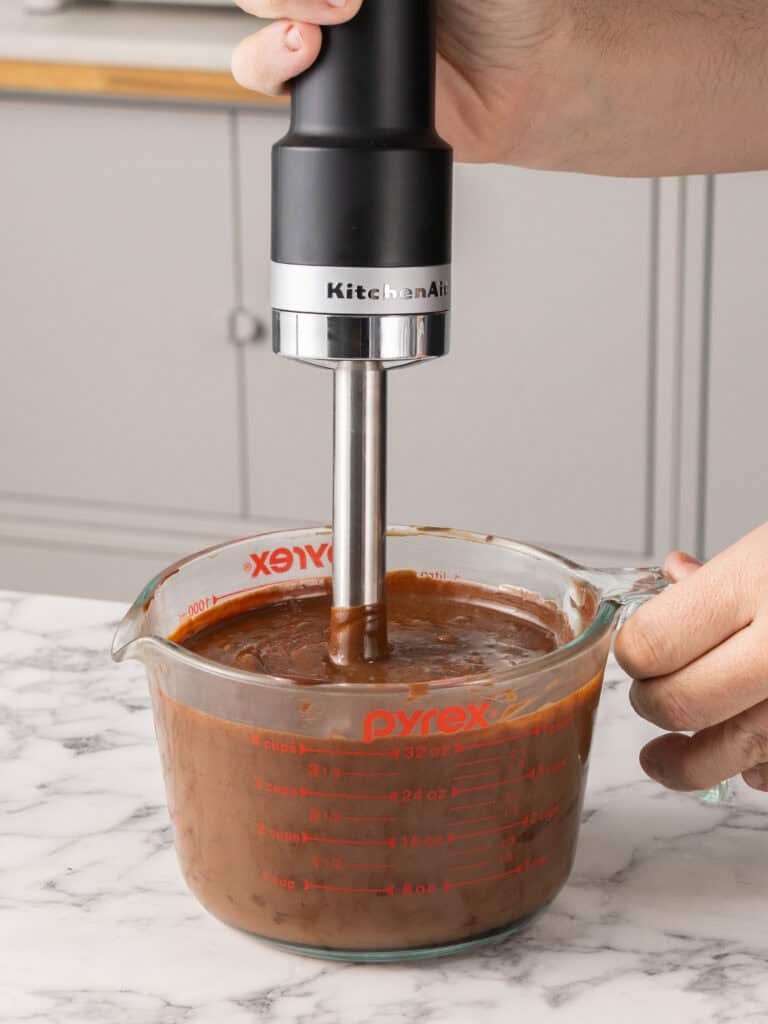
- If you want a truly glossy and smooth cremeux use a stick blender to mix until it becomes really glossy.
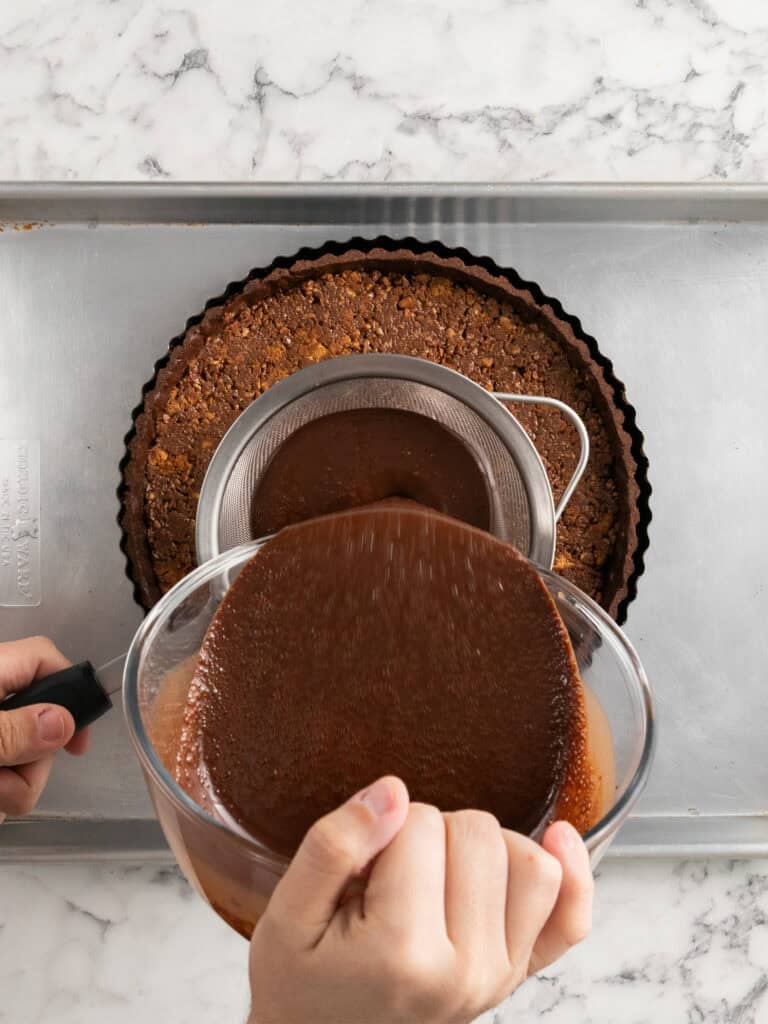
- Then it’s ready to pour into the tart shell! Let it set at room temperature. When it’s cooled completely, pop it into the fridge.
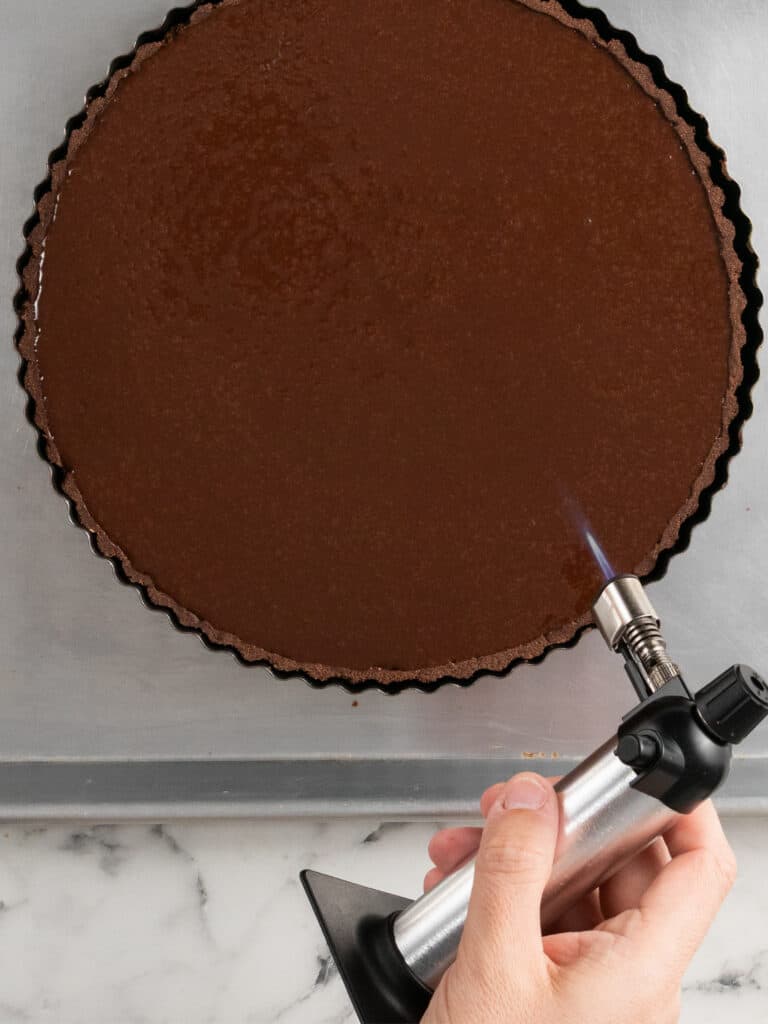
Tip – if there are large air bubbles in your crèmeux, use a kitchen torch to pop them before letting the filling set!
Crackly Milk chocolate topping!
I’ve switched to melting my chocolate in a double boiler because my microwave always burns it. If your microwave behaves itself you can gradually melt it for 20 second bursts until it’s smooth. When it’s melted, add the remaining chopped hazelnuts and stir.
I cannot stress this next part enough. And I’m speaking from experience.
Please make sure your tart is completely chilled and your milk chocolate is not hot before adding it on top of the set creameux. If your chocolate is still too warm and your creameux is not fridge cold it will melt the creameux and you’ll end up with a messy tart. This happened to me in my testing and it was so frustrating. I had to start again so I could finish the recipe.
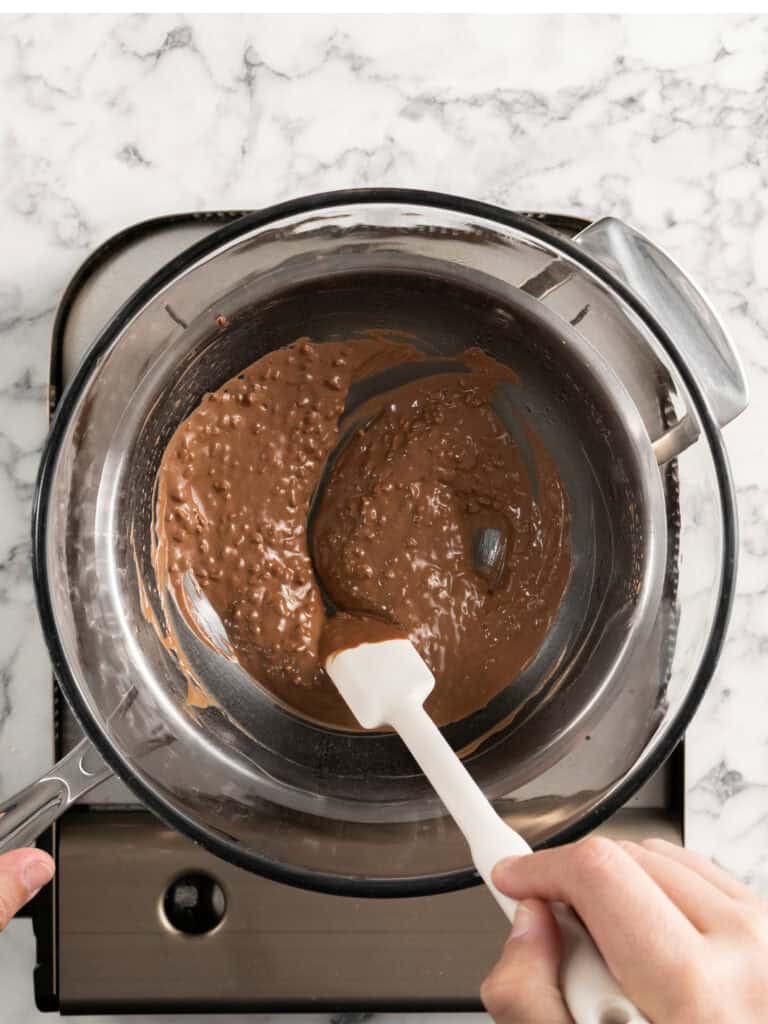
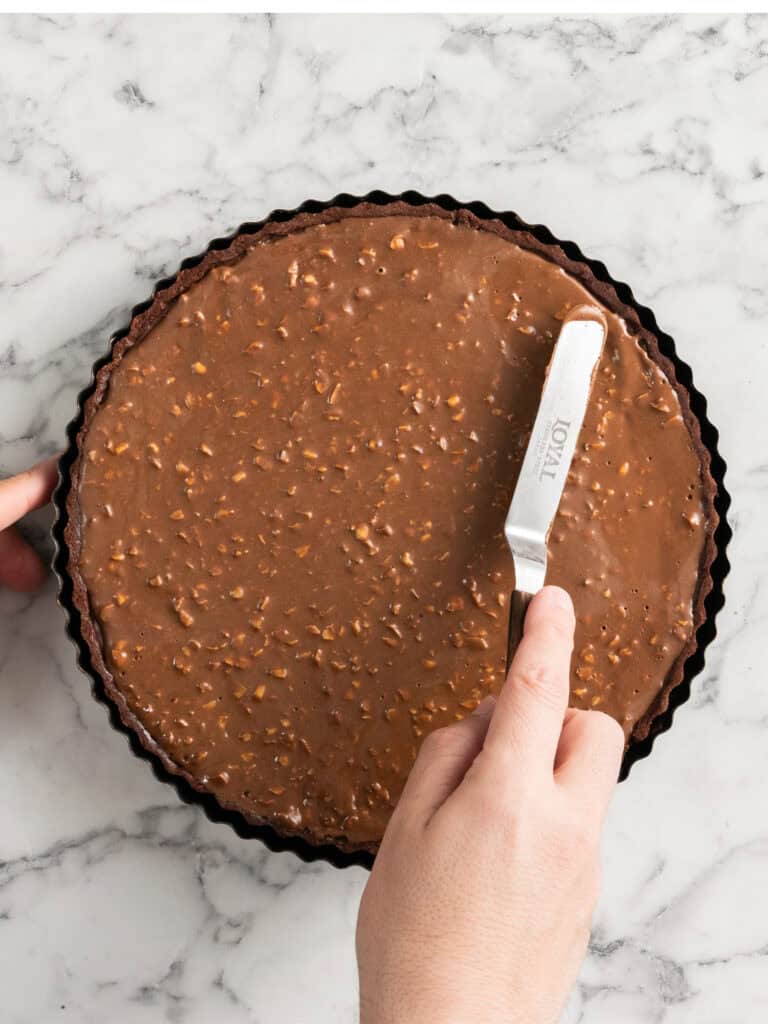
- Use a spatula to spread the milk chocolate layer as evenly as you can before the cold tart starts to set it. You can gently wobble the tart to even out any imperfections.
- Let it set at room temperature, not in the fridge. Setting in the fridge can cause the chocolate to cool too quickly and crack.
Getting bakery clean slices.
Again, a slow process but fill your kettle up as much as you can and pour boiling water over a large sharp knife. Carefully wipe it dry and then slice. You might even want to just gently score the top layer a little before slicing all the way through. Do this for every single slice.
A Quick Baking Guide
If you’re new to baking or just want to brush up on the basics, these guides are a great place to start!
Loved the recipe? Let me know!
If you enjoyed this recipe, leave a star rating and comment below. It helps others find the recipe and keeps the baking community growing. Tag me on Instagram so I can see your version too!
Ferrero Rocher Chocolate Hazelnut Tart
This is my decadent Ferrero Rocher tart. It combines a crisp chocolate shell with a crunchy Nutella hazelnut layer and a silky smooth cremeux filling.
Serves 12
Ingredients
Chocolate Tart Crust
- 1 chocolate pate sucre tart crust
Toasted Hazelnuts
- 100 g Hazelnuts, skinned
Nutella Feuilletine Layer
- 55 g salted butter, softened
- 55 g powdered sugar, sifted
- 1 large egg, room temp (55g)
- 7 g vanilla extract
- 65 g all purpose flour, plain flour
- 1/4 tsp baking powder
- 200 g Nutella, warmed up
Chocolate Cremeux
- 270 g dark chocolate 50%, see notes
- 170 g full-fat milk
- 170 g heavy whipping cream, thickened cream
- 3 egg yolks from large eggs, see notes
- 50 g granulated sugar
- Pinch fine salt
- 14 g vanilla extract
- 45 g unsalted butter, cubed
Chocolate Hazelnut Coating
- 100 g dark or milk chocolate
- 20 g vegetable oil
Instructions
To Toast Your Hazelnuts
- Preheat your oven to 175C / 350F (fan off), 155C / 310F (fan on). Add the skinned hazelnuts to a large baking tray and bake for 10-15 minutes until lightly golden. They will burn quickly so keep an eye on them. Once baked, them cool completely. Then use a knife to chop up as neatly as you can. Chop them up into small pieces. 80g is for the Nutella layer, 20g is for the chocolate topping.
Chocolate Tart Crust
- You want to make sure you make your tart crust before making the fillings.
Tip – Place the tart on a large, flat baking tray that will fit in your fridge. You want to keep the tart on here until ever layer is set. It will make transporting things much easier when you’re adding the different fillings.
Nutella Feuilletine Layer
- Preheat your oven to 165C / 330F (fan off) 155C / 295F (fan on). Line two large half sheet baking trays with silicone baking mats. You can use baking paper, just spread it out thin and pop it in the oven as quickly as you can before the moisture causes the paper to warp.
- Cream butter, sugar and egg – Add the softened butter and sugar into a medium sized mixing bowl and use a whisk to combine until it’s well combined. Then add the egg and vanilla extract and whisk in until well combined. It will look curdled.
- Add dry ingredients – Mix in the flour and baking powder until a smooth paste forms.
- Bake – Divide the mixture between the two baking trays and use an offset spatula or spoon to spread as evenly and thinly as you can. Bake each tray one at a time for 14-15 minutes or until a deep golden color. Keep a close eye on it so it doesn’t burn!
- Break it up – Once the Feuilletine is baked, let it cool completely, then break up into fairly large pieces. Store in an airtight container or zip lock bag until ready to use. This will keep it crisp and fresh until you’re ready to use it and you can make it up to 2 weeks in advance.
- Mix it with Nutella – Add the Nutella to a medium sized mixing bowl and warm up in the microwave for 10 seconds until runny, not hot. Then add the Feuilletine and 80g of the toasted hazelnuts and mix until everything is coated.
- Add Nutella layer to tart – Add the mixture to the tart crust and use a spoon to gently spread it around. You want to compress as flat as you can without breaking the tart crust.
Chocolate Cremeux
- Prep chocolate – If using chocolate blocks, chop it up with a large knife into bite sized pieces and place in a large (2.5 litre) heat proof glass jug or medium sized glass bowl.
- Whisk egg yolks and sugar – For this recipe you will only need the egg yolks. Separate the eggs and add them to a medium sized heat proof bowl. Add the sugar, vanilla and salt and whisk on high-speed using an electric hand mixer until pale and thick. About 3-4 minutes.
- Heat milk and cream – Add the milk and cream into a medium sized nonstick saucepan and heat on low until it begins to (barely) bubble very gently around the sides.
- Cook Crème Anglais – Slowly whisk the hot milk into the egg yolk mixture. I do this in four batches. Then return it to the saucepan and stir with a spatula over medium-low heat. It will begin to thicken after a couple minutes. When it can coat the back of a spoon, take of off the heat. Do not let it boil it will curdle the eggs.
- Pour into chocolate – Pour the hot mixture into the bowl or jug with the chocolate and cover with a plate to let it steam for about 5 minutes.
- To get a super smooth mixture – Use a whisk to combine the melted chocolate with the milk mixture. If you want to get a silky texture, use a stick blender to blend until it becomes smooth and glossy. Make sure the blender is fully submerged ot it will add air to your creameux.
- To set – Pour the filling into the tart. If it feels like it’s too much filling, just add as much as you can without it over spilling. Transfer back to the fridge (make sure it’s on a baking tray) and let it set completely for at least 5-6 hours. I do this overnight.
Chocolate Hazelnut Coating
- To melt chocolate (microwave) – Add the chocolate and vegetable oil to a large heatproof bowl and melt in the microwave until smooth and combined.
- To melt chocolate (double boiler) – Alternatively you can do this over a double boiler. Fill a large pot a third of the way with water and place the heatproof bowl on top. Add the chocolate and oil and stir until melted.
- Pour onto tart – Add the remaining 20g of chopped hazelnuts and stir until combined. Pour on top of the tart and use a spoon or small offset spatula to gently spread the chocolate as evenly as you can making sure you get even coverage with the hazelnuts too. Let it set at room temp (it’ll crack and contract in the fridge).
- To get clean slices – dip a large sharp knife in boiling water, dry it and then slice. You want to do that with every slice to get them looking bakery level crisp!
Notes
Eggs – You want to use yolks from large eggs. Each egg weighs 55g with the white out of the shell for reference).
The chocolate I used – The chocolate you use in this recipe makes a huge difference to the end result! Use the absolute best quality chocolate you can. I used Nestle Plasitow 40% chocolate because I like that it’s not overly sweet. You can use regular dark chocolate or even milk chocolate in this recipe. If you use milk chocolate just reduce the sugar you add to the egg yolk mixture in the creameux to 50g.
How to skin hazelnuts – For this recipe you’ll need skinless hazelnuts. If you cannot find store bought hazelnuts you can skin them by placing them on a baking tray and baking them on 175C / 350F (fan off), 155C / 310F (fan on) for 15 minutes. Once baked, take out of the oven, and pour into a clean tea towel. Bunch up the towel, encasing the hazelnuts inside and rub the heel of your hand on top. This will help the already loose and oily hazelnut skin to rub on the towel and against the other hazelnuts in the towel. Undo the towel and pick out the skinned hazelnuts. Continue this process until all the hazelnuts are skinned. Some hazelnut skins are stubborn and won’t come off. They’re ok to use.
Storage – This tart can be stored in an airtight container, in the fridge for up to three days.
Nutrition – is an approximate and is based on per slice
A note on measurements – This recipe uses weight measurements for the most accurate results. Cup measurements can vary depending on where you are, which affects the precision needed for a recipe like this. Here is where you can learn more about how to measure ingredients using digital kitchen scales.
Nutrition
Calories : 472kcal
Carbonhydrates: 36g
Protein: 7g
Fat: 34g
Saturated Fat: 19g
Polyunsaturated Fat: 2g
Monounsaturated Fat : 10g
Trans Fat : 0.3g
Cholesterol: 99mg
Sodium: 67mg
Potassium : 341mg
Fiber: 4g
Sugar : 25g
Vitamin A: 535IU
Vitamin C: 1mg
Calcium: 87mg
Iron: 4mg
Nutrition Disclosure
Gave this recipe a go?Mention @thescranline or tag #thescranline!

previous post