Chocolate Short Crust Pastry Shell (Pâte Sucrée)
This is my light and crisp Chocolate Short Crust Pastry Shell, also known as Pâte Sablée. It’s rich in chocolate flavor which means it compliments chocolate fillings. It can be used for big or small tarts. No matter what you choose,
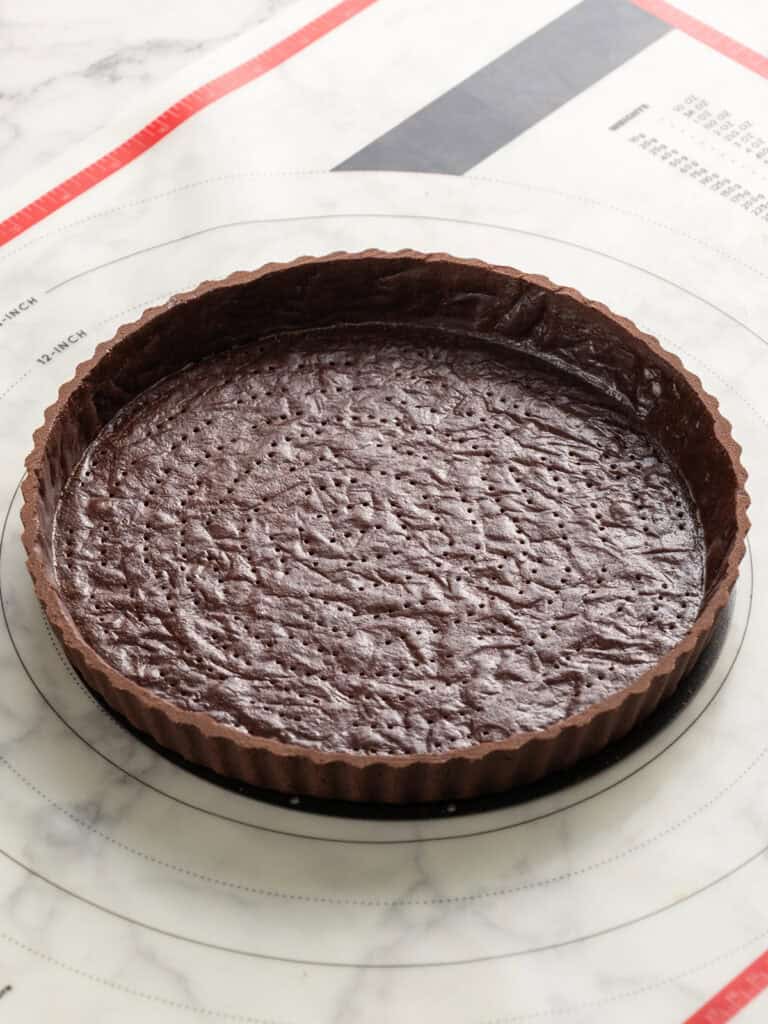
Hey team, Nick here! This buttery chocolate tart shell recipe is beginner friendly. I’ll take you through all the steps (with photos) to help you get bakery level tart shells. And the beauty is this recipe comes together with simple ingredients too!
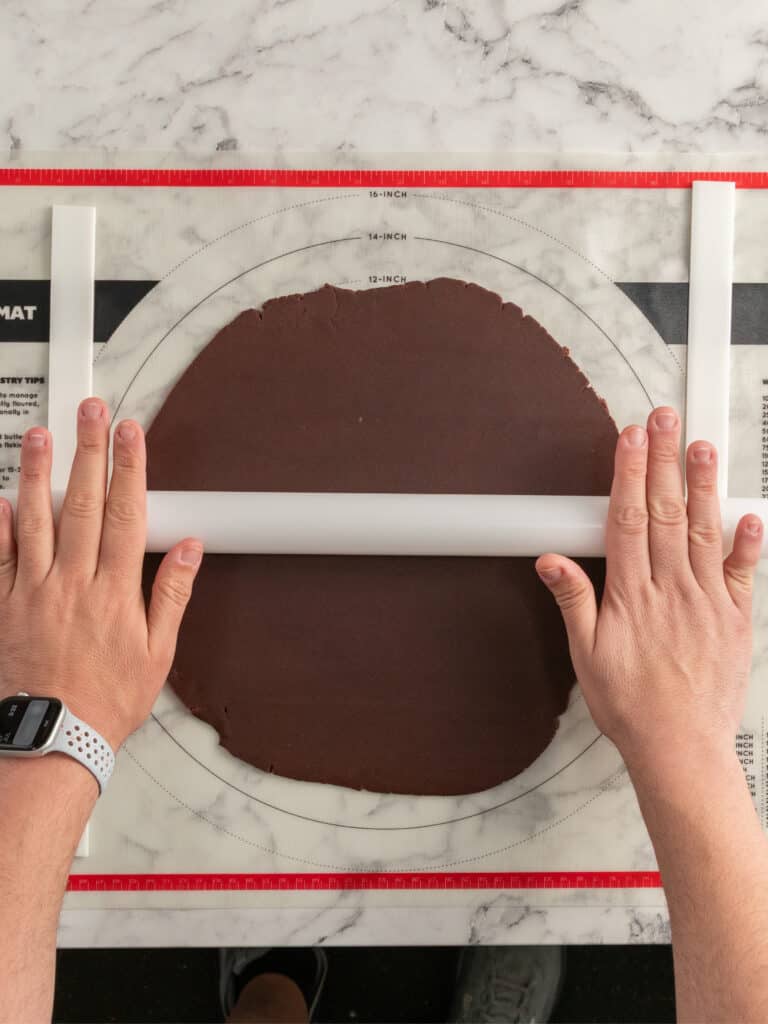
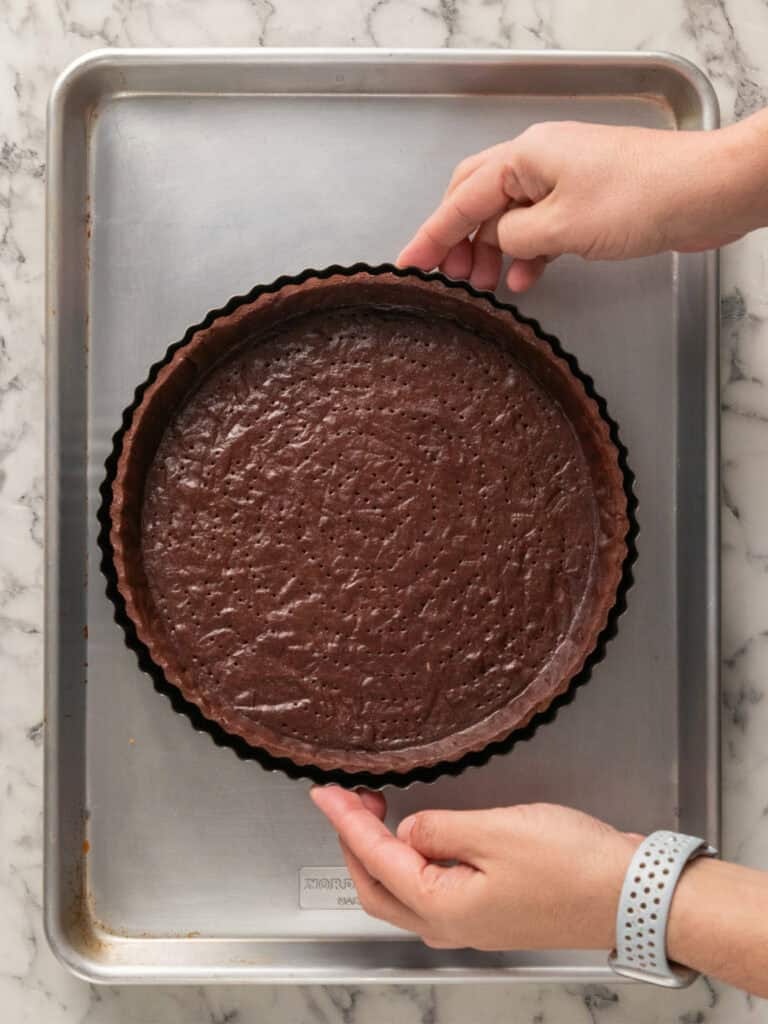
So you’re going to learn how to make the dough, either with a machine or by hand, how to roll it out, an easy trick to transfer it to the tart tin so it doesn’t rip and then how to trim it so it doesn’t shrink! Oh and of course, how to seal it so it stays crisp because nobody wants a soggy bottom.
The only thing I’m leaving to you is what to fill it with. I have no-bake fillings like my fudgy chocolate caramel tart, or baked fillings like my bright and tangy lemon meringue. Ordinarily I use my vanilla tart crust for that but you can absolutely use the chocolate one if you want to go for visual contrast.
How to make the chocolate tart dough
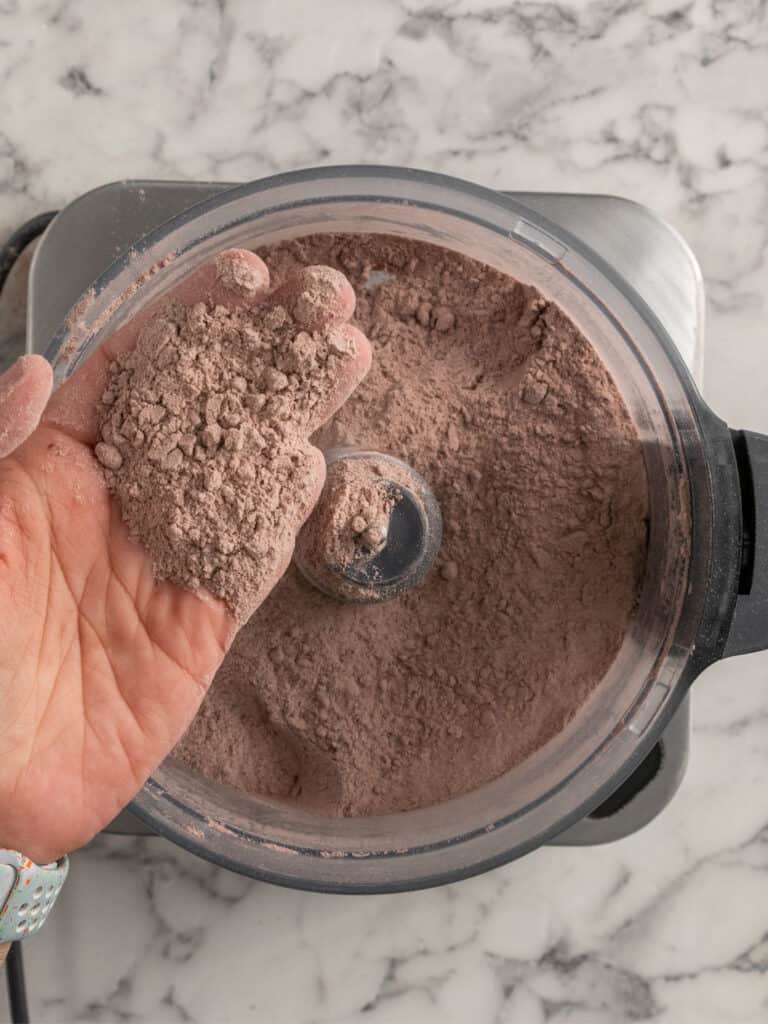
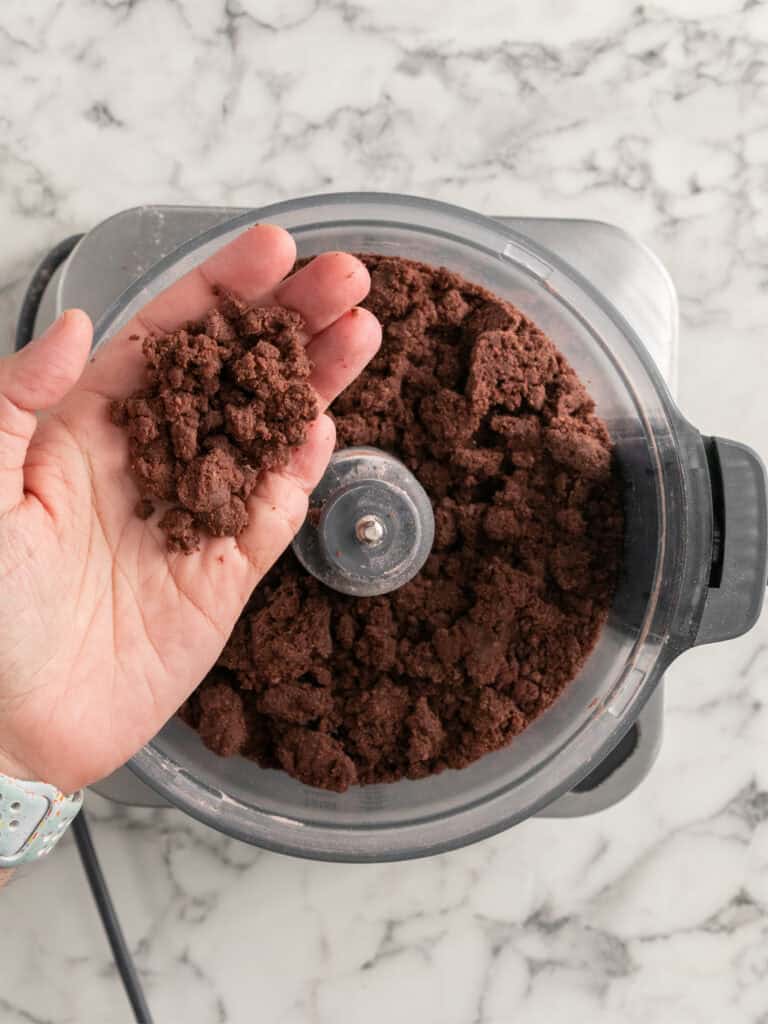
- Add the flour, sugar, cocoa powder and salt to the bowl of a food processor and pulse to combine. Then add the cold butter cubes and do that again until the butter is the size of small lentils.
- Whisk the egg, water and vanilla and add to the mixer while its on high speed. When it starts clumping together, stop the mixer. The dough is done!
Tip – Make sure there aren’t any dry ingredients left on the bottom of the bowl and don’t overmix or your dough will shrink as it bakes!
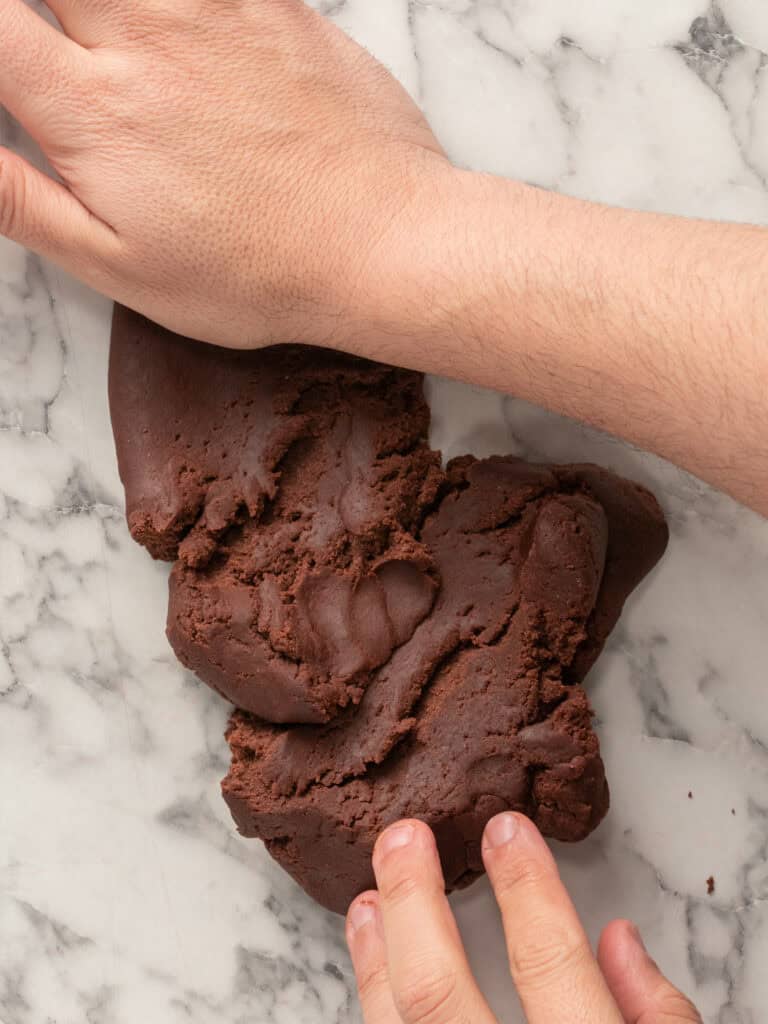
- Fraisage – This is a technique where you use the heel of your hand to smear some of the dough against your benchtop no more than 2-3 times to make sure it’s all evenly combined.
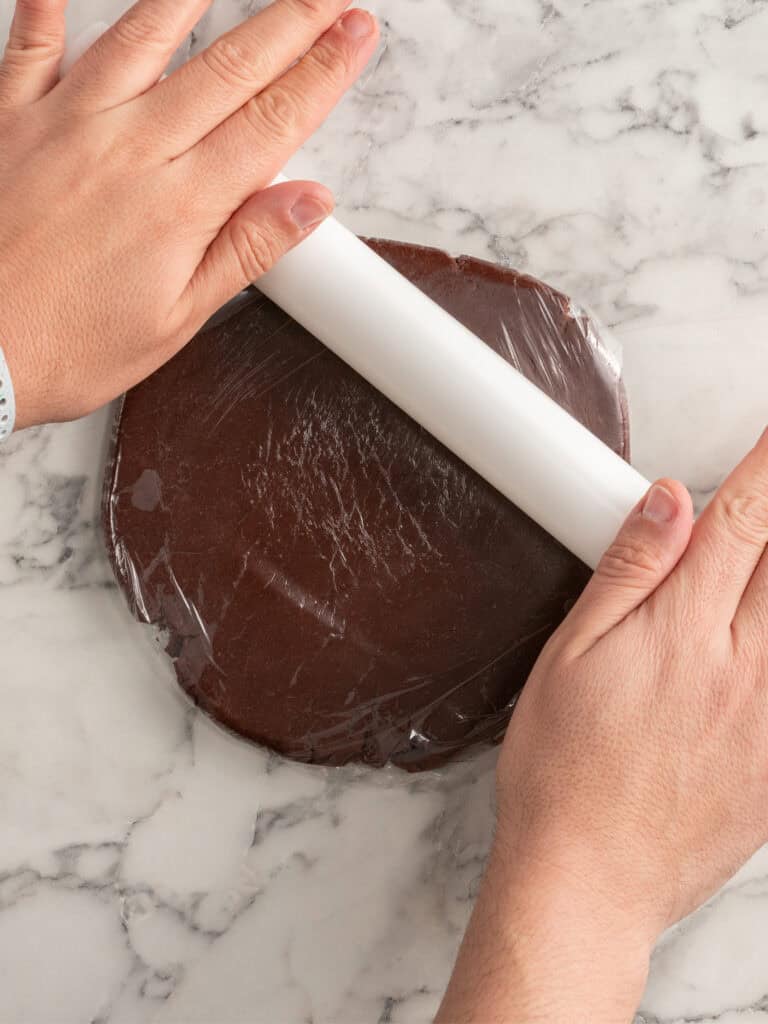
- Form the dough into a ball, wrap it in plastic and then roll it with a rolling pin to flatten out a little. Pop it in the fridge for an hour. This will help hydrate the flour so it’s easier to roll!
Making the dough by hand
- If you don’t have a food processor, you can make this dough by hand.
- Combine the dry ingredients in a large bowl before adding the cold butter.
- Use your hands to smoosh the butter into the flour between your fingers.
- When you reach lentil sized pieces of butter, add the whisked egg, water and vanilla and move to using a metal spoon to make cutting motion through the mixture until it forms a dough.
The best way to roll out your dough
- Once the dough has chilled, take it out of the fridge about 20-30 minutes before you roll to let it thaw a little. Then pop it on top of a pastry mat and start rolling from the center outward. Rotate the dough 90 degrees each time you roll to keep it a nice round shape.
Tip – If you don’t have a baking mat, just roll it in between two large pieces of baking paper and peel the paper away each time you roll to stop it creasing the pastry disc.
Transferring the dough to the tin without it ripping
- Roll the dough over your tolling pin and then unroll it as evenly and centered as you can over the tart tin. Sorry I forgot to take a photo of this! But I have a photo in my vanilla tart shell recipe if you need to see it!
Tip – Let the dough naturally fall into the bottom of the tart tin, don’t stretch it or it will shrink when it bakes.
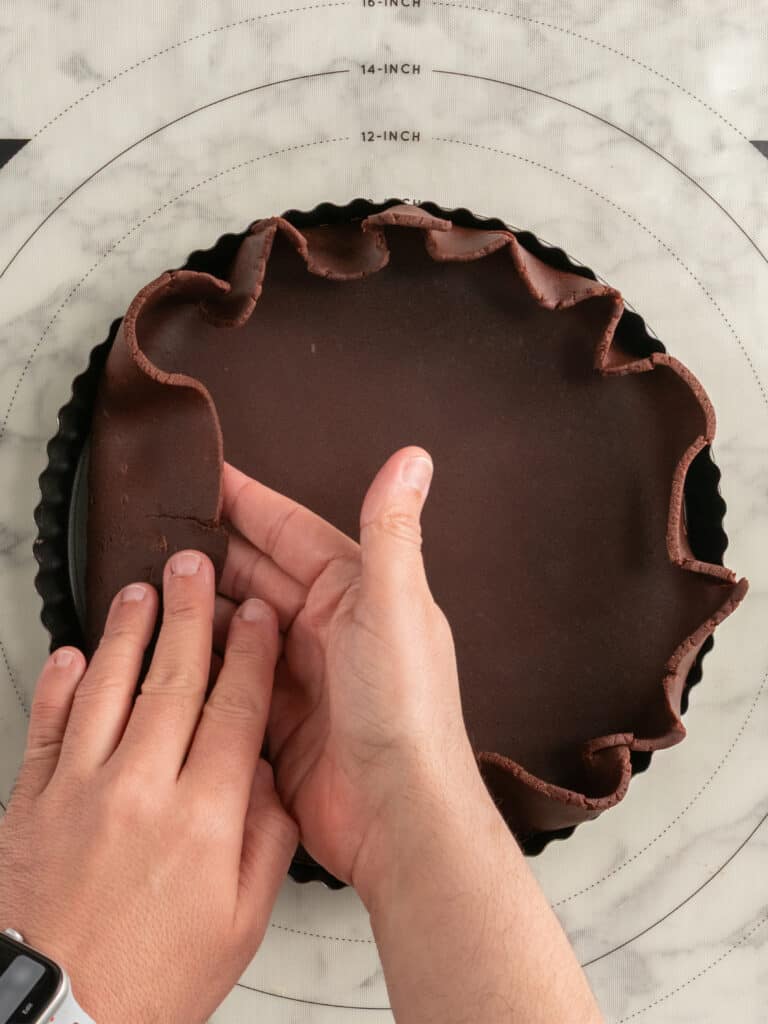
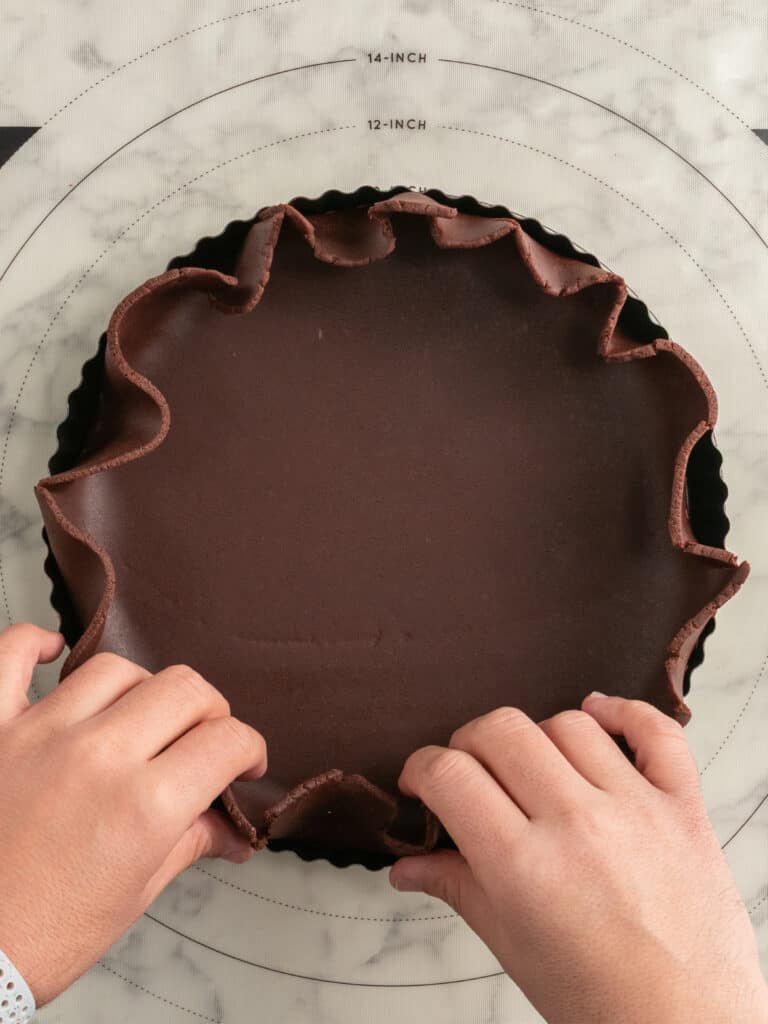
- I found the best way to get everything shaped inside the tin is to fold the sides over themselves with one hand and then use the other hand to encourage the pastry into the bottom corners of the tart tin.
- Then you want to fold it back up to the sides of the tin and press it firmly to help it stick. Do that until you’ve gone all the way around the tin.
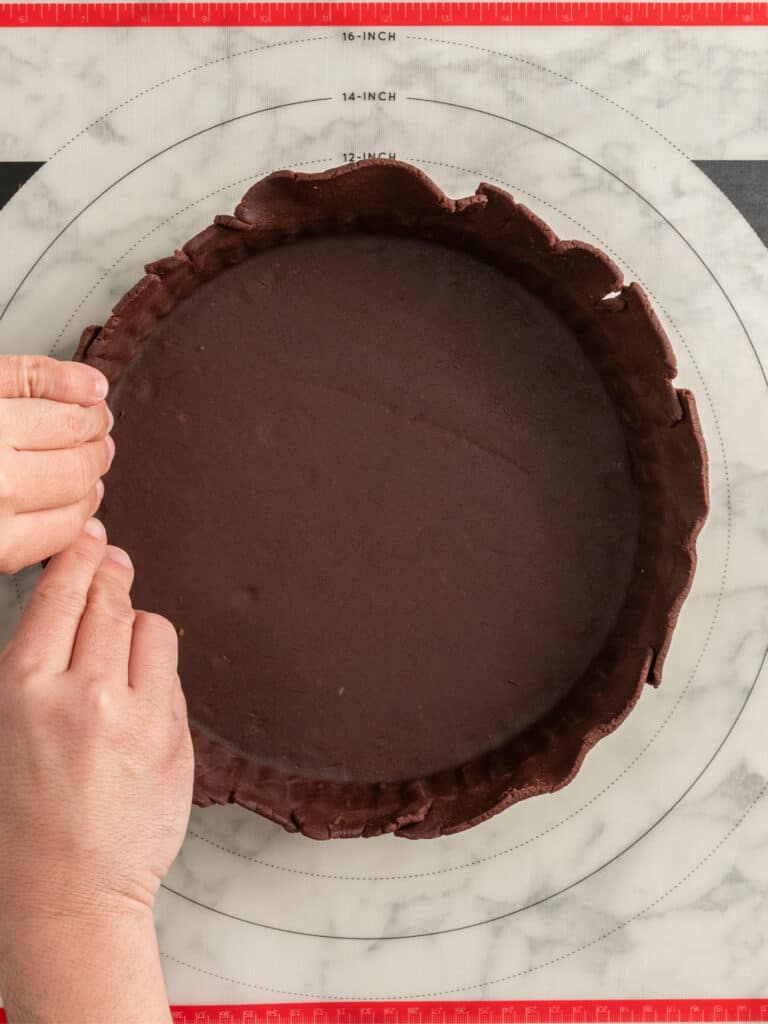
- Pop it back in the fridge to chill for 60 minutes. That’s going to firm it back up so you can trim away the top of the tart with a sharp knife.
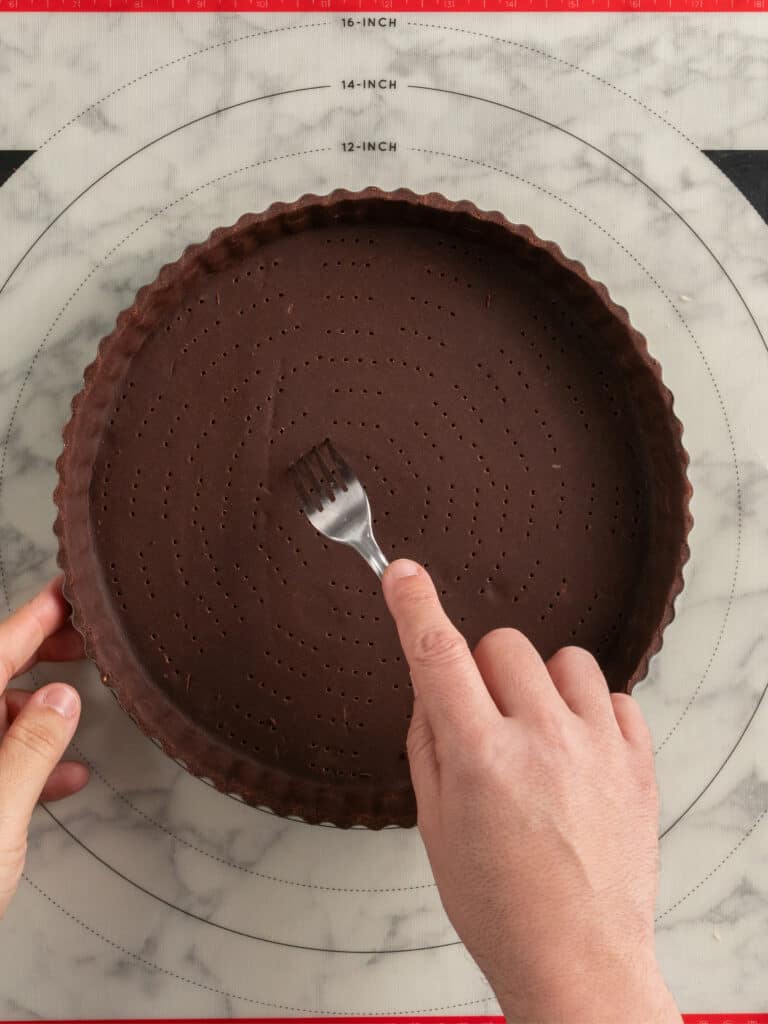
- Use a fork to dock the bottom of the tart. This will stop it puffin up later on.
This is how you blind bake your tart
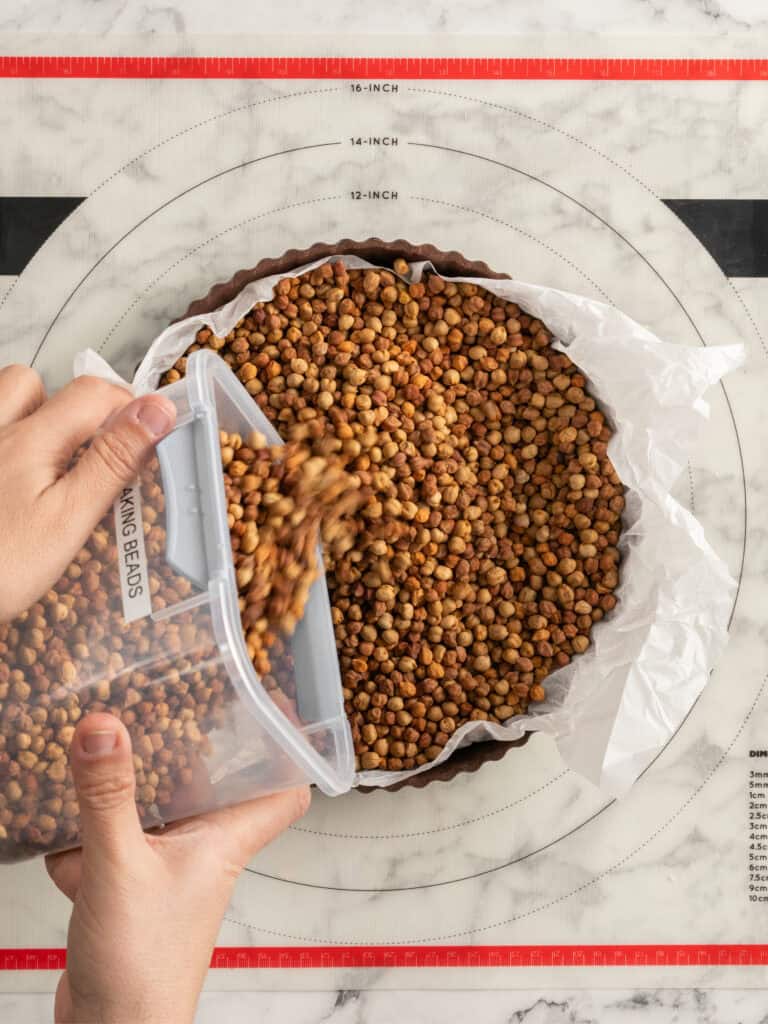
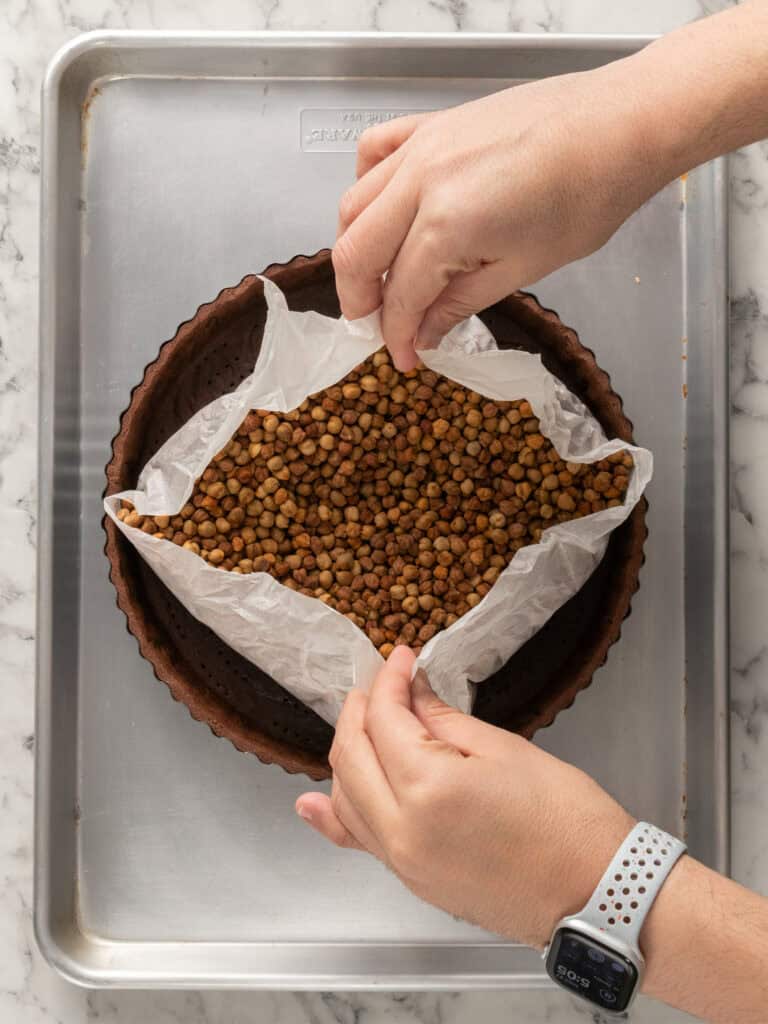
- Scrunch up a large piece of baking paper and then place it into the tart. Fill with dried chickpeas or baking beads if you’re a billionaire.
- The first bake is for 20 minutes. Take it out of the oven, remove the baking beads by lifting up the corners of the baking paper and bake for a final 20 minutes.
How to keep your tart crisp with any filling
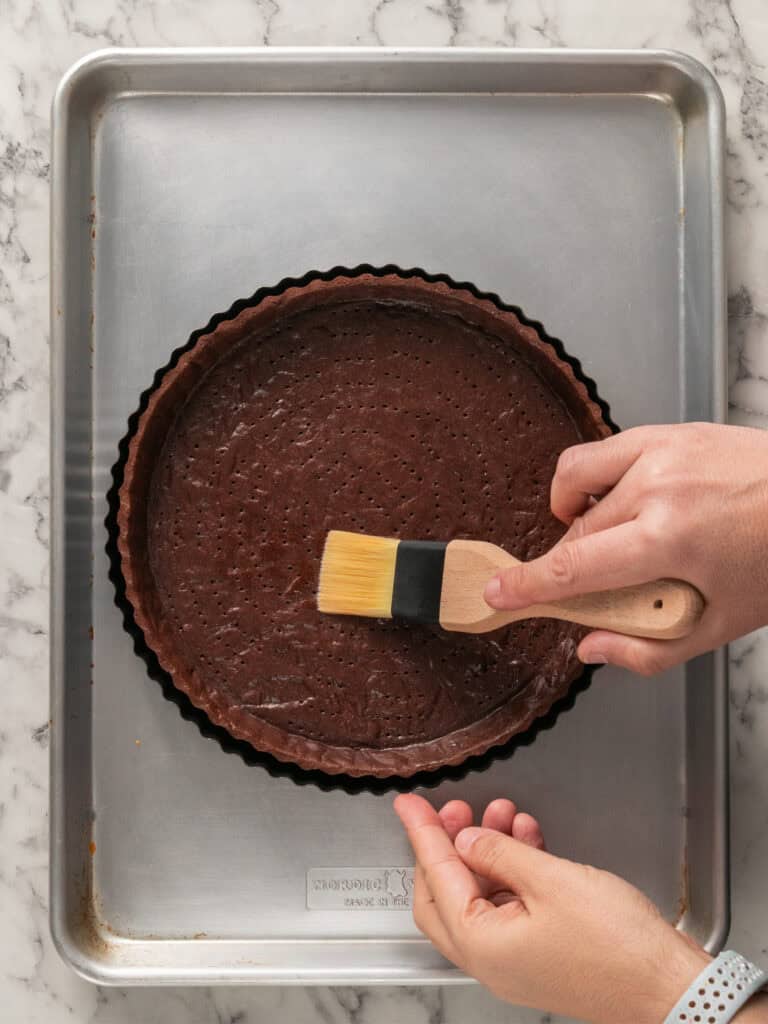
Whisk together some egg and cream and lightly brush it onto the hot tart. This will help seal it so that your filling doesn’t make the tart shell go soggy. Bake for a final 5 minutes.
You’ve just made a bakery level tart shell!
A Quick Baking Guide
If you’re new to baking or just want to brush up on the basics, these guides are a great place to start!
Loved the recipe? Let me know!
If you enjoyed this recipe, leave a star rating and comment below. It helps others find the recipe and keeps the baking community growing. Tag me on Instagram so I can see your version too!
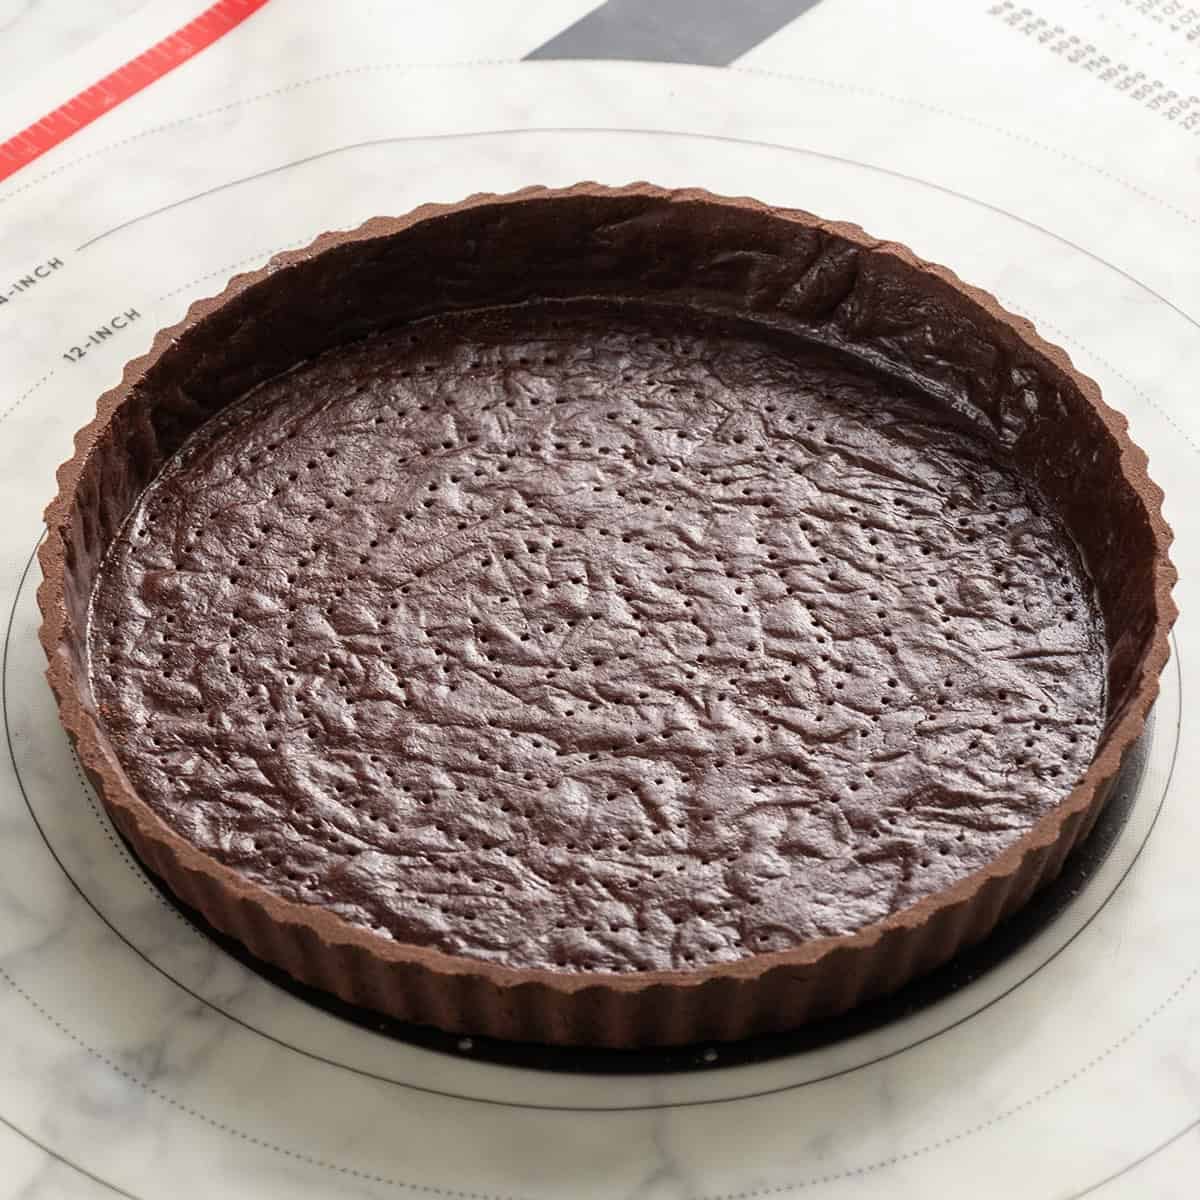
Chocolate Short Crust Pastry Shell (Pâte Sucrée)
Learn How To Make a rich Chocolate Short Crust Pastry Shell that you can use for so many different desserts!
Serves 1
Ingredients
Chocolate Short Crust Pastry Shell
- 220 g all-purpose flour, plain flour
- 20 g Dutch processed cocoa powder, see notes
- 50 g powdered sugar, icing sugar
- 1/4 tsp fine salt
- 100 g unsalted butter, cold and cubed
- 30 g water
- 1 egg yolk
- 7 g vanilla extract
Instructions
Making the dough
- Combine dry ingredients – Add the flour, cocoa powder, sugar and salt to the bowl of a food processor and pulse to combine.
- Add cold butter – Add the cold butter, hold down the top of the mixer to stop it wobbling and pulse on high speed until the mixture resembles sand, about 2-3 minutes.
- Add eggs and water – Whisk the egg yolk, water and vanilla extract in a bowl and pour into the mixture while the mixer is on high speed. Continue mixing until the mixture begins clumping together to the size of peas. As soon as that happens stop the mixer.
- Fraisage – Pour the mixture onto your benchtop and press together to form a dough ball. Use the heel of your hand to smear small portions of the dough against the bench. You only need to do this a couple times. This helps make sure the dough is evenly mixed and uniform.
- Forming dough and chill (60 minutes) – Form the dough into a ball shape and place on a large piece of plastic wrap. Press down to flatten making sure it’s still a round disc shape. Place in the fridge to chill for 60 minutes. You can make this a day in advance.
- Roll out the dough – I like rolling my dough on a pastry mat but if you don’t have one you can roll it out in between two large pieces of baking paper. To roll it out, use a rolling pin to slowly roll dough from the center outwards rotating the disc 90 degrees every time you roll it. If using baking paper, peel the baking paper away every time you roll and place back on to avoid creases which can cause the dough to crack after it’s chilled. Pinch together any cracks that might form on the outside as you roll it. You want to roll it out to 32cm / 13-inches in diameter and about 3-4mm in thickness.
- Transfer dough over tin – Gently roll the dough over the rolling pin and unroll over a 23cm / 9.5-inch tart tin with removable bottom.
- Forming the tart – Gently lift the dough over the tart tin to allow it to naturally fall into the bottom corners of the tin. Use your fingers to encourage it to get right into the corner bottom of the tart tin. You don’t want to stretch it or it will shrink as it bakes and become uneven. Make sure there are no air pockets, and everything is down neatly. Use a sharp knife to slice away any excess dough or roll the rolling pin over the top to cute away the excess dough and then use your fingers to gently pinch into neater top.
- Chill your tart (60 minutes) – Place the tart in the fridge to chill for a final 60 minutes. If chilling overnight, loosely cover with plastic.
- Preheat a fan forced oven to 165C / 300F (185C / 365F for no fan).
- Dock the tart – Place the tart tin on a baking tray. Use a fork to prick holes into the bottom of the tart shell. This will prevent your tart from puffing as it bakes.
- Blind baking your tart shell – Scrunch up a large piece of baking paper and then un-scrunch and place on the inside of the tart. Fill with baking beads, dried chickpeas or dry rice. Bake for 30 minutes. Take it out of the oven, carefully and slowly lift out the beads using the corners of the baking paper. Place them into a bowl or container to cool down for re-use.
- Second bake – Pop the tart back in the oven to bake for a final 20 minutes or until it’s lightly golden brown.
- Sealing the tart – Brush lightly with egg wash (1 egg whisked with 1/2 tsp cream). Bake for a final 5 minutes. Allow to cool before adding your filling. You can add a filling that needs more baking or let the tart cool completely and add a no-bake filling like a pastry cream.
- How to get a perfectly even top – Use a zester or very sharp grater to gently shave away any bumps or imperfections of the top of the tart shell once it’s completely cooled. Just got slow and don’t press too hard or the tart shell may crack.
Notes
Dutch processed cocoa powder – is an unsweetened cocoa powder which has been treated with alkaline and potassium carbonate to neutralize the acidity that is naturaly found in cocoa powder. It’s darker in color and strong in chocolate flavor.
What exact size tart tin did you use?
My tart tin is 22.5cm 10-inches in width and 3.5cm / 1 1/4-inches in height. You can use this tart crust recipe for any size tart shell you like up to a 22.5cm / 10-inch wide and 5.5cm / 2-inches in height tart tin.
Don’t stretch the dough!
When you unroll the dough back into the tart tin, you must lift the dough to let it fall to the bottom of the tart tin instead of stretching. If you stretch the dough it will shrink as it bakes and become uneven around the top.
Transferring the dough.
To easily transfer the dough from your workbench to the tart tin, simply roll it over the rolling pin then unroll back over the tart tin.
How to easily cut off excess dough!
Here’s a really fun tip! It’s my favorite part of making this recipe because it takes second and is so satisfying. Simply use your rolling pin and roll it over the top of your tart. It will perfectly cut it off!
Baking Beads
You can use dried chickpeas or rice instead of actual ceramic baking beads which can be expensive. Simply fill them as you would baking beads then once you’re finished with them, let them cool completely in a bowl before placing back in a container or zip lock bag.
Storage – This tart crust can be made ahead of time and stored in an airtight container for up to three days.
Nutrition – is an approximate and is based the entire tart shell. Obviously, you’re not going to eat the entire thing. Just divide the nutrition information by about 8-10 which is how many people this tart shell would serve.
A note on measurements – this recipe is offered in weight measurements. This is in an effort to offer the most accurate way to get the best results. Cup measurements simply aren’t accurate enough for a recipe that needs precision and cup sizes differ depending on where you are in the world. Here is where you can learn more about how to measure ingredients using digital kitchen scales!
Nutrition
Calories : 2046kcal
Carbonhydrates: 229g
Protein: 41g
Fat: 116g
Saturated Fat: 67g
Polyunsaturated Fat: 7g
Monounsaturated Fat : 34g
Trans Fat : 4g
Cholesterol: 1014mg
Sodium: 642mg
Potassium : 934mg
Fiber: 20g
Sugar : 51g
Vitamin A: 3787IU
Calcium: 202mg
Iron: 17mg
Nutrition Disclosure
Gave this recipe a go?Mention @thescranline or tag #thescranline!
Did you make this? Be sure to leave a review below and tag me @thescranline on Facebook and Instagram!

previous post
4 comments
Hi Nick, Your baking times vary. Before getting to the actual recipe your directions say ‘bake for 20 minutes’, remove beads and paper and bake an additional 5 minutes if using unbaked ingredients’. Within the recipe you state the first 20 minutes but then change the additional time to 15 minutes for adding unbaked ingredients.
I assumed the 5 minutes was correct. But what do you say?
Thanks.
Deborah
Hi Deb, great spot! That’s a typo, I’ve gone in and changed it to 15 minutes for a baked filling, thanks for letting me know, I really appreciate it! N x
Hi Nick, I’m very new to pastry. Is water needed? It says in the tips ice water. If so how much tbsp roughly?
-Camille x
Hi Camille, thanks so much for pointing that out! You’re right—this recipe uses only egg yolks for moisture, no ice water. Water was part of an older version of the recipe, but I’ve now updated the blog post to reflect the change. I really appreciate you catching that. Let me know if you have any other questions as you bake! N x