Fudgy Chocolate Hazelnut Thumbprint Cookies
These rich and fudgy chocolate hazelnut thumbprint cookies are so easy to make and are finished with a chocolate puddle in the middle. The cookie dough is super easy to make and they’re packed full of crisp hazelnuts which give them loads of nutty flavor.
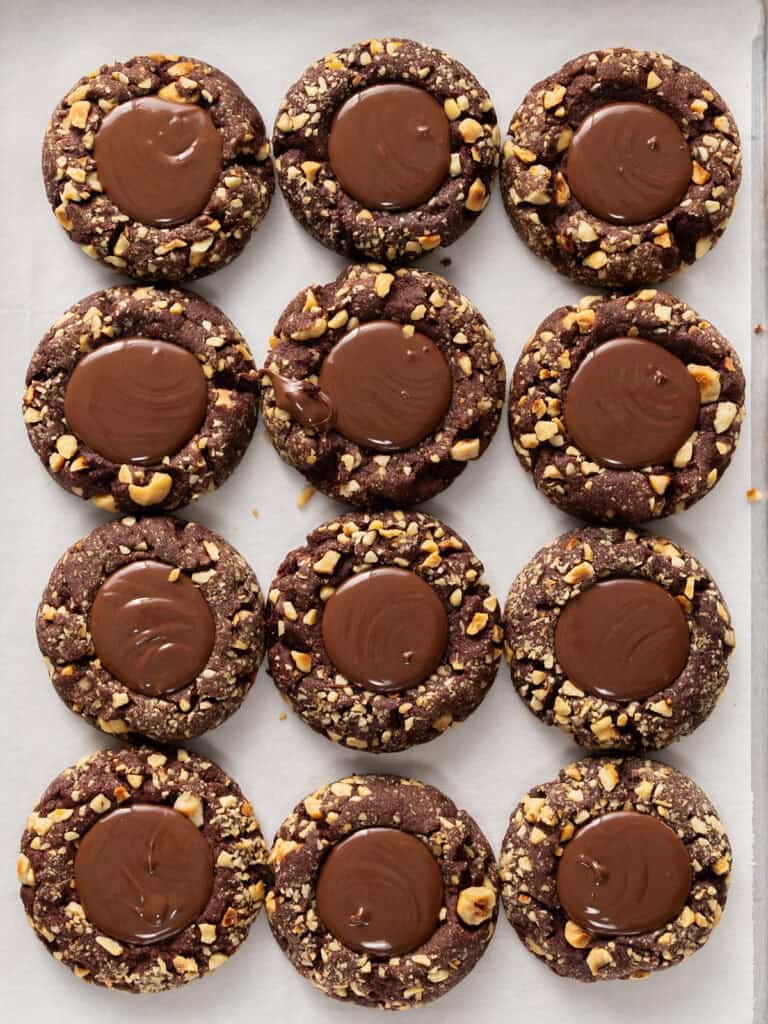
Hey team, Nick here! We’re making a really easy chocolate cookie recipe today. It’s the kind of cookie that deceives you into thinking it requires skill, but literally anyone can make these. Even kids!
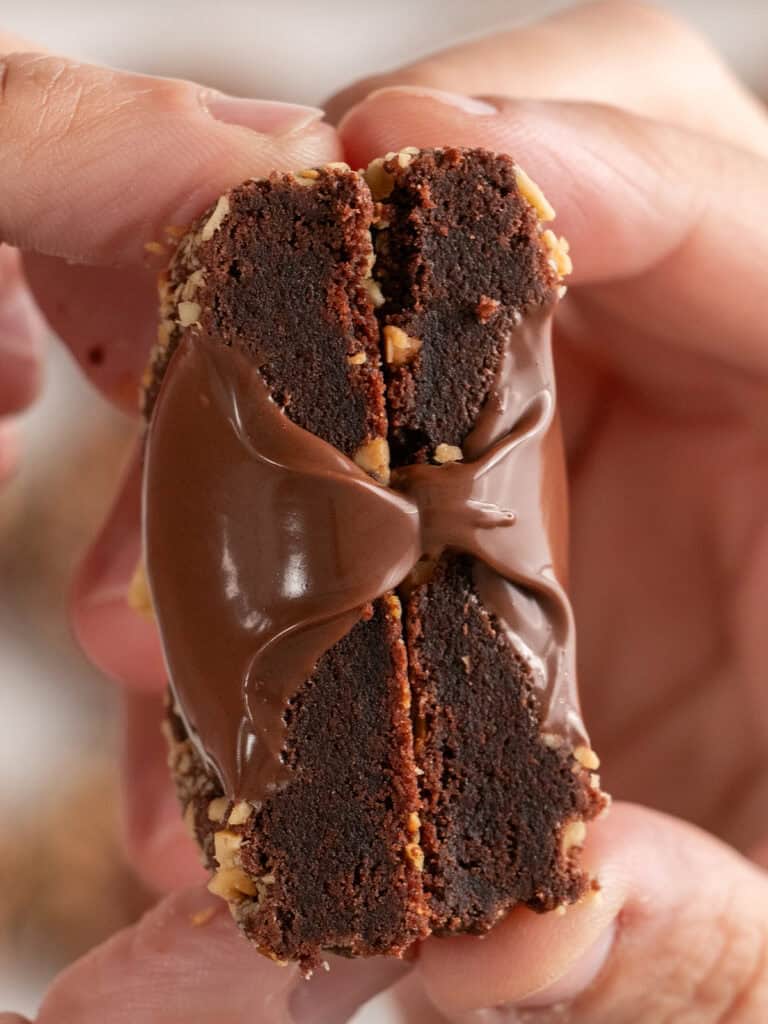
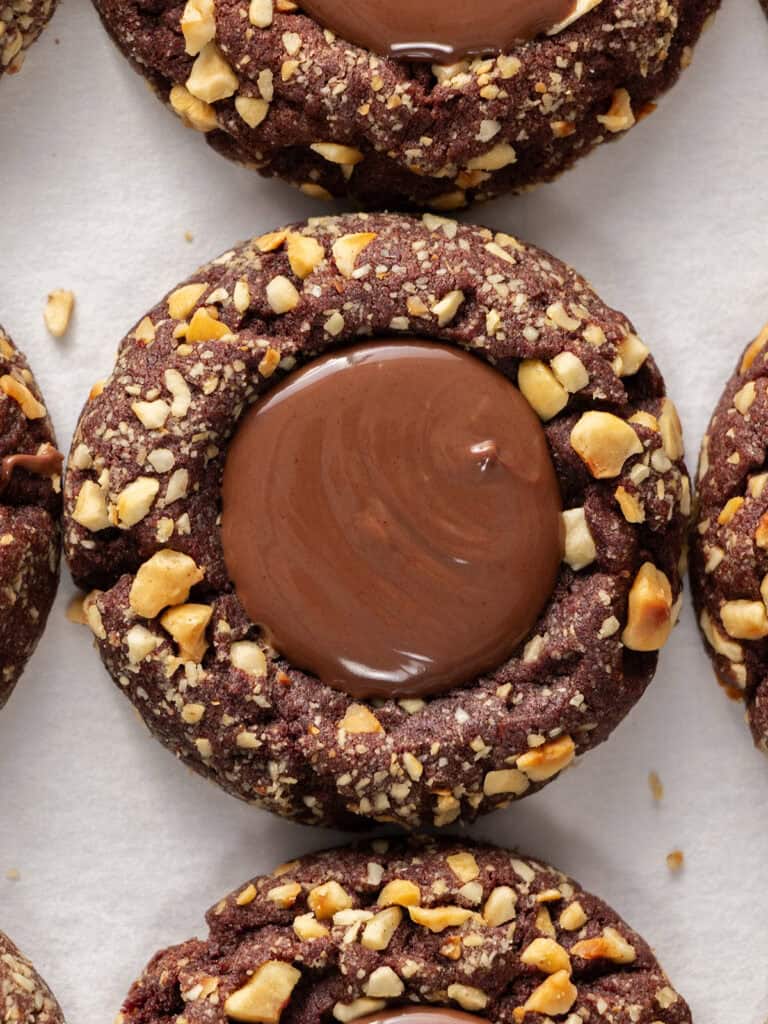
I love how dramatic these cookies look too. The toasted hazelnuts on the outside and that chocolate filling make them look striking.
When you bite into them you get hit with so much texture. The crispness from the hazelnuts, the fudgy cookie texture and that smooth chocolate filling.
You can get creative with the filling you use. My one-bowl chocolate sauce is a great alternative if you want to make these nut free. You could coat them in some sugar or bake them without a coating.
Related – If you’re big on chocolate cookies, I have to recommend my chocolate amaretti cookies which are fudgy and almondy too. I’ve got easy Nutella stuffed cookies and then there’s my completely absurdly over the top chocolate chip overload cookies.
How to toast your hazelnuts
You’re going to want to toast your hazelnuts for these cookies because it makes them nice and crisp and also releases so much flavor too.
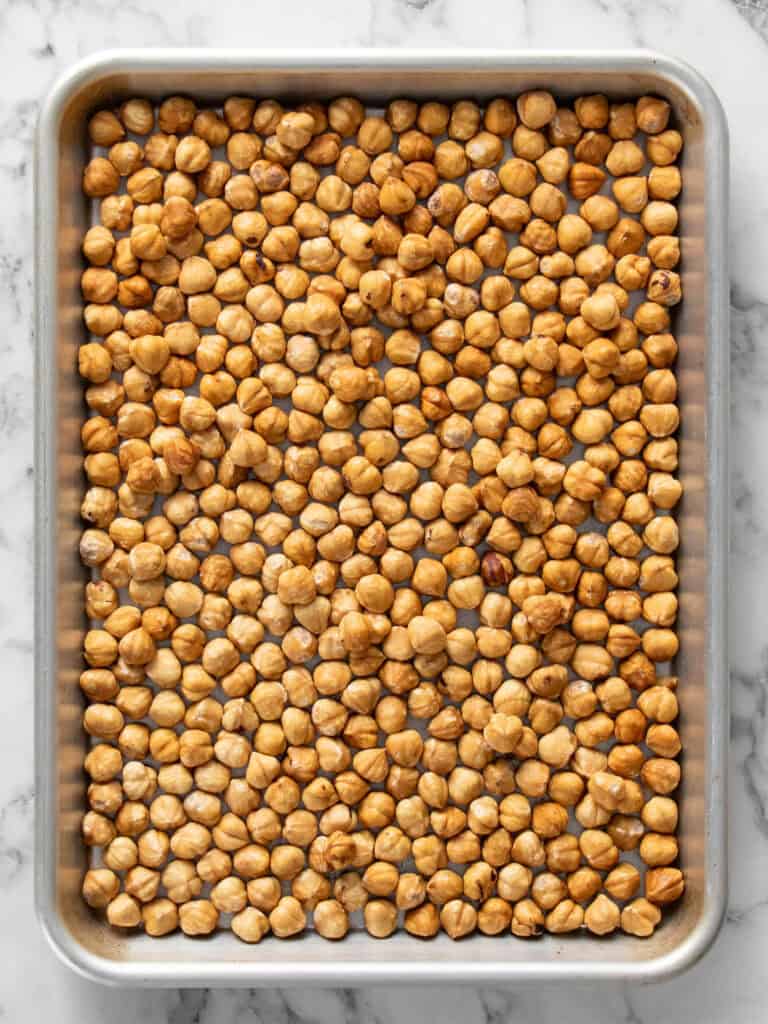
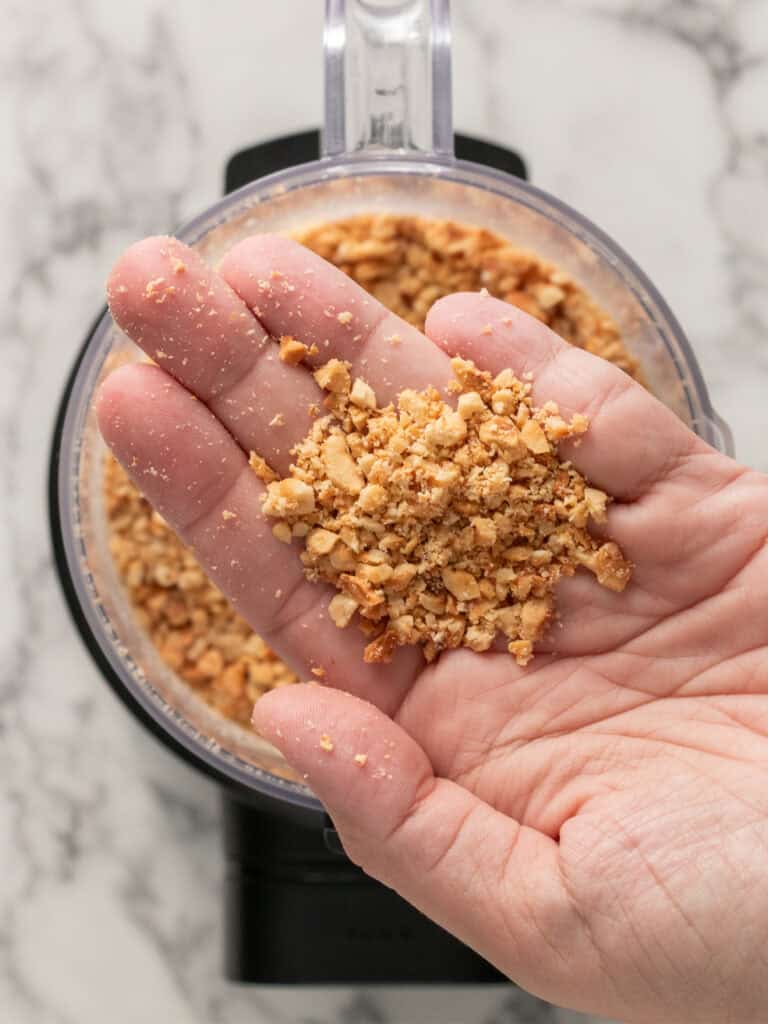
- It’s super simple. Pop them on a baking tray and bake them on 180C / 355F (fan off) for 10 minutes or until they’re golden.
- Let them cool completely and then chop them up.
Tip – I used a mini food blender to do this. You only need about 5-8 seconds on high. You don’t want them to be in powdered form. Some big chunks are ok.
This is one of the easiest cookie doughs to make
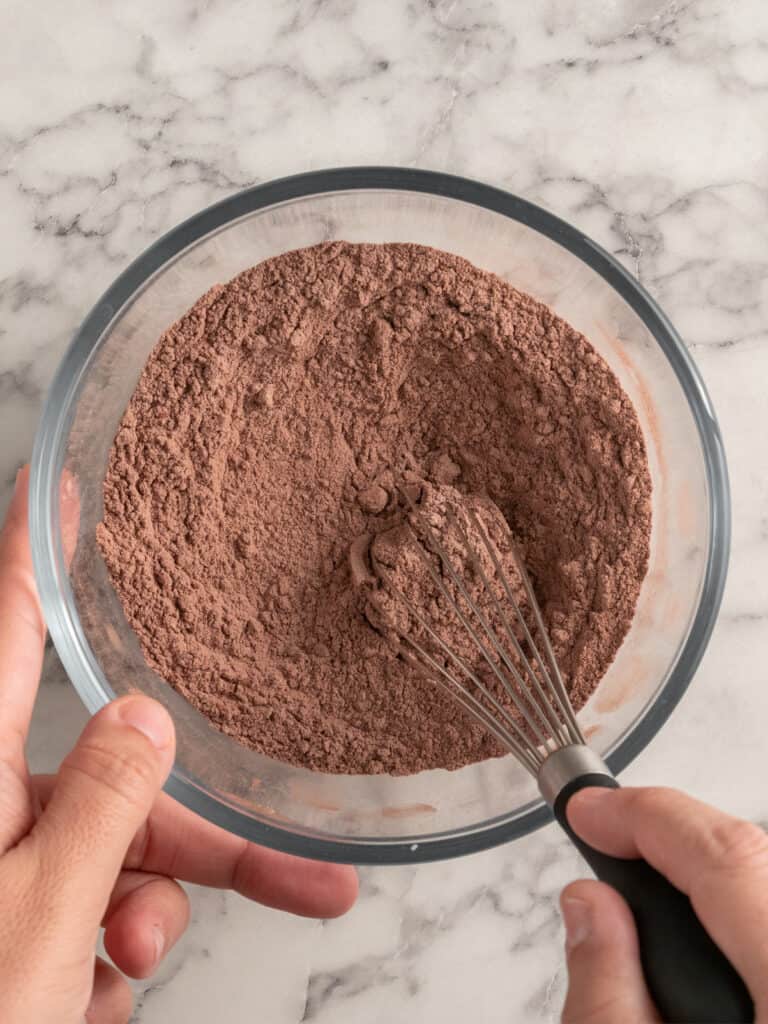
- Add the flour, cocoa powder, salt and baking powder into a bowl and mix.
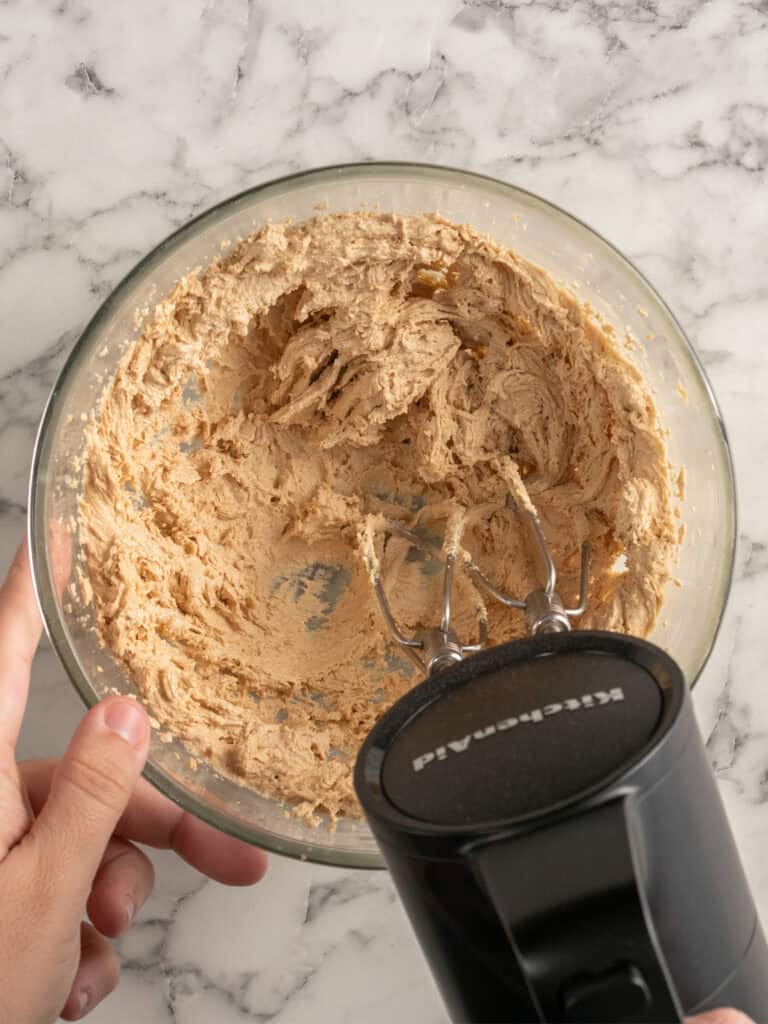
- To a separate bowl add the softened butter (a little softer than you usually use) and both sugars and beat on high speed for about 3 minutes until it looks creamy and pale. It will give you light cookies. Then add the egg and vanilla and beat until well combined.
Why two sugars? The brown sugar gives the cookies a chewy interior and the white sugar crisp edges!
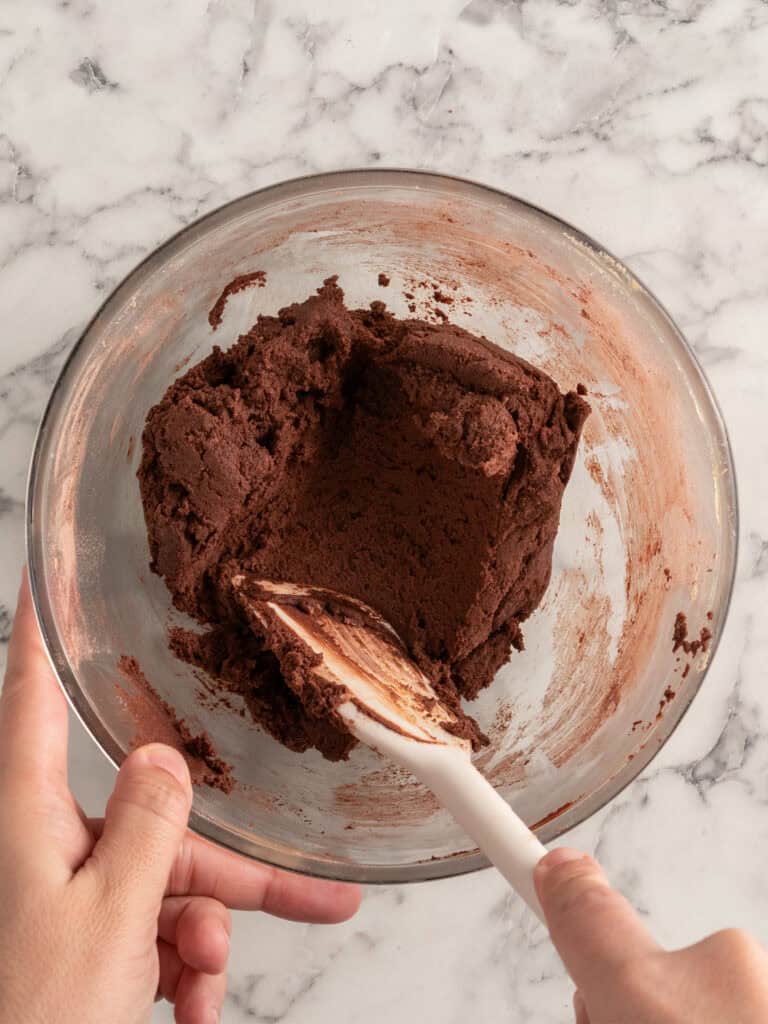
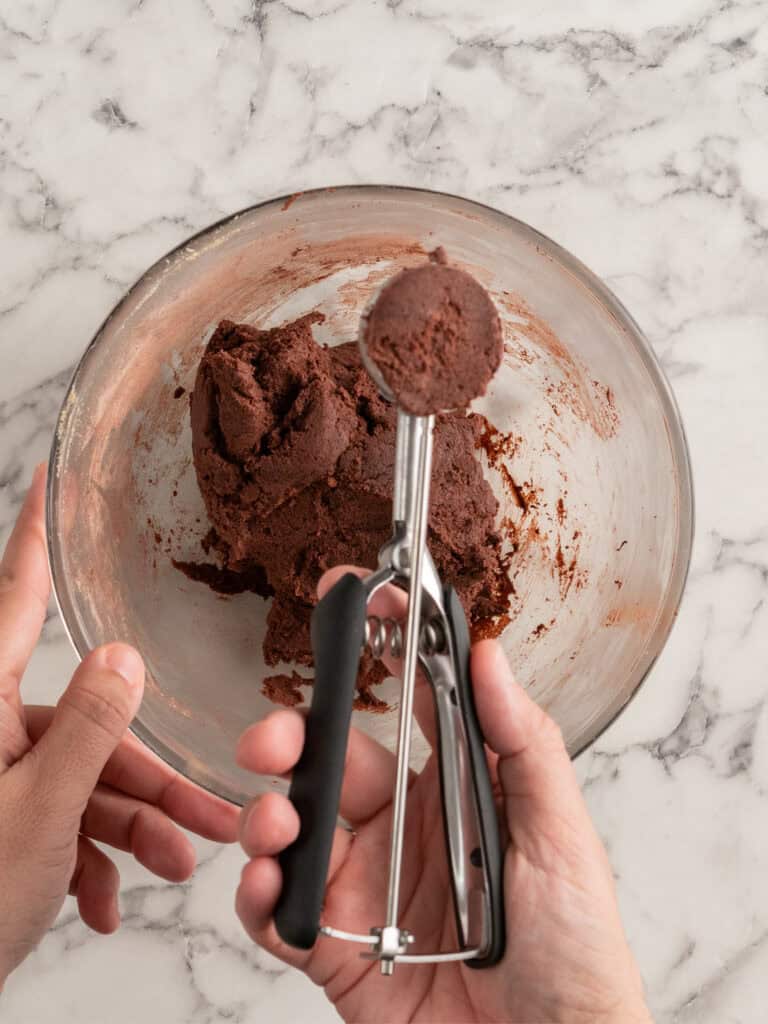
- Add the dry ingredients to the butter mixture and use a spatula to mix until it forms a dough.
- I used a 1 tbsp ice cream scoop to scoop out about 13 cookies. They each weigh about 30-33g each if you want to just measure them out.
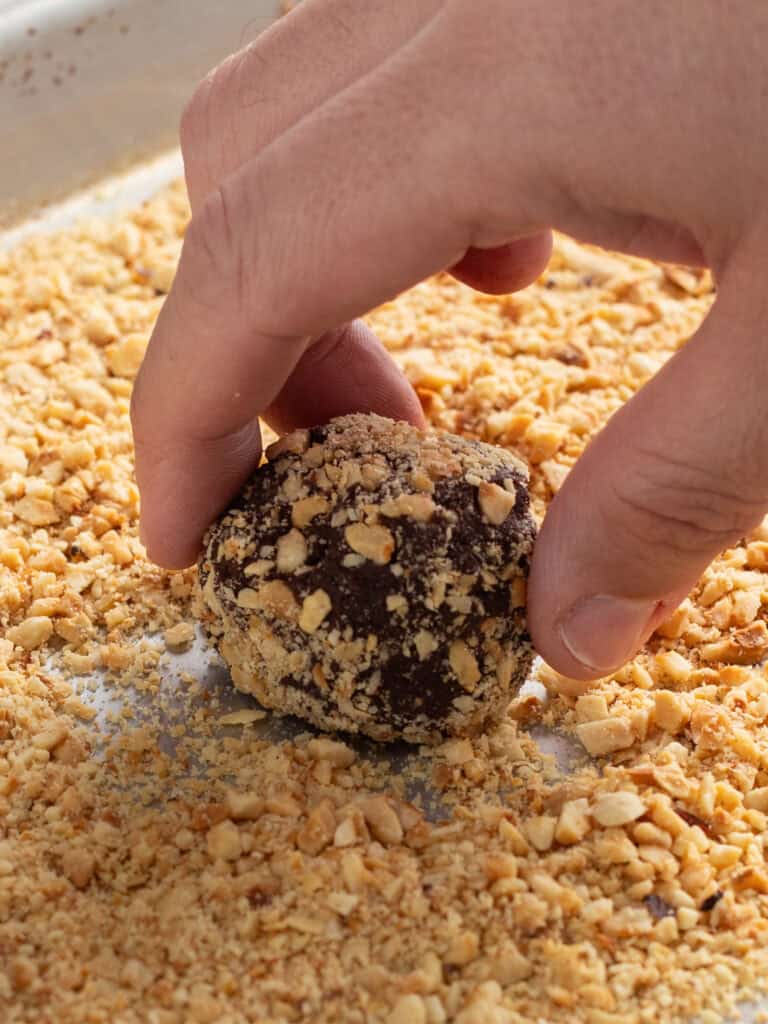
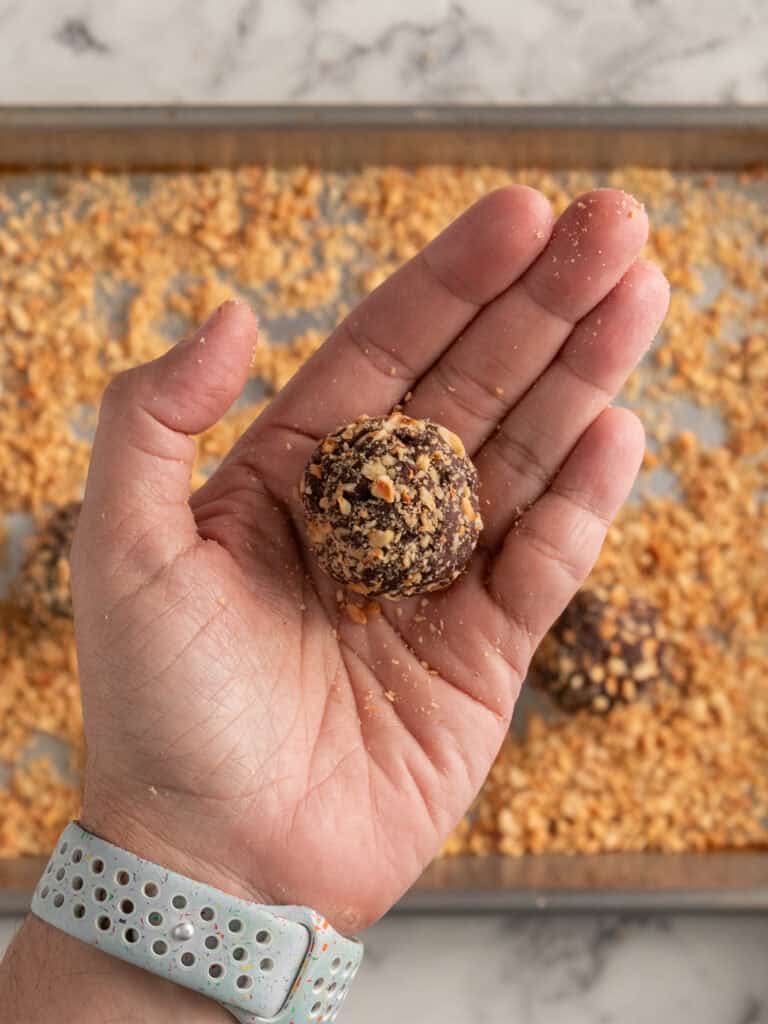
- Roll them up in the crushed hazelnuts.
- Then use your hands to roll them into balls.
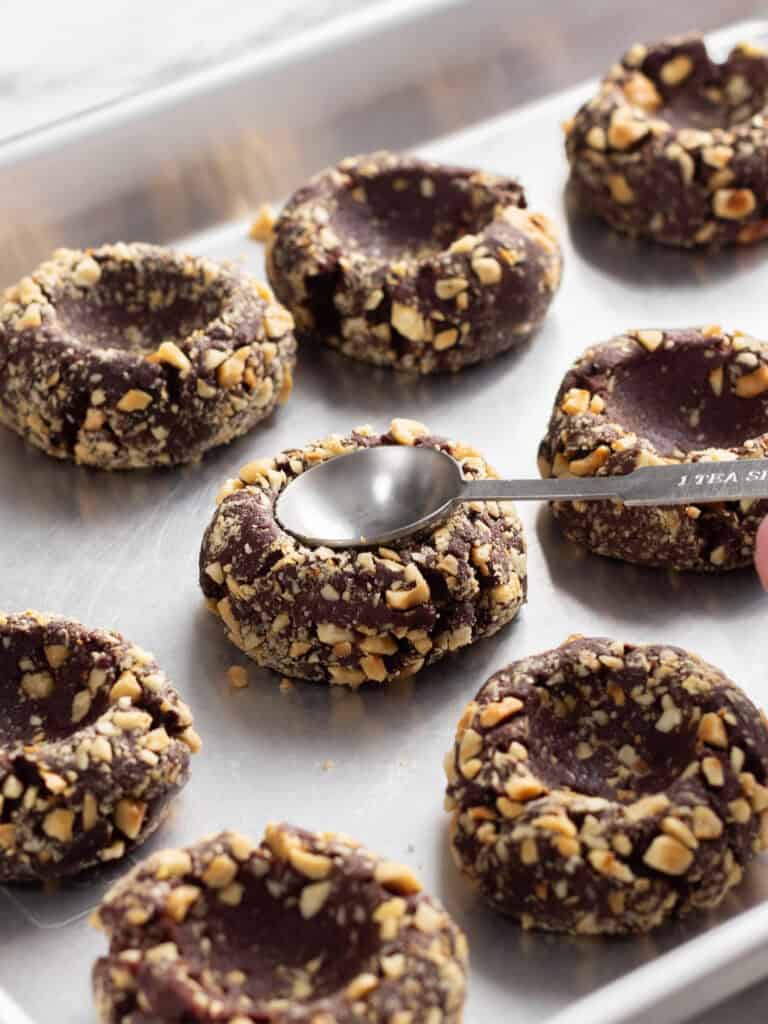
- Pop them onto a baking tray lined with baking paper and use a rounded measuring spoon to indent them. I used a 1tsp measuring spoon. Alternatively you can use your thumb, hence the name!
Don’t skip the chill time!
Chill time is super important for these cookies. They only need 1 hour in the fridge and it helps firm them up so that when they hit the oven, they don’t turn into a flat mess. Plus the baking powder and creaming the sugar and butter should help give them some lift too. All these combined help you get a nice almost ufo shaped cookie.
In my testing – I tried baking these without chilling. Disaster. A flat disaster. It’s just not worth skipping the 60 minute chill time.
Baking and filling your cookies
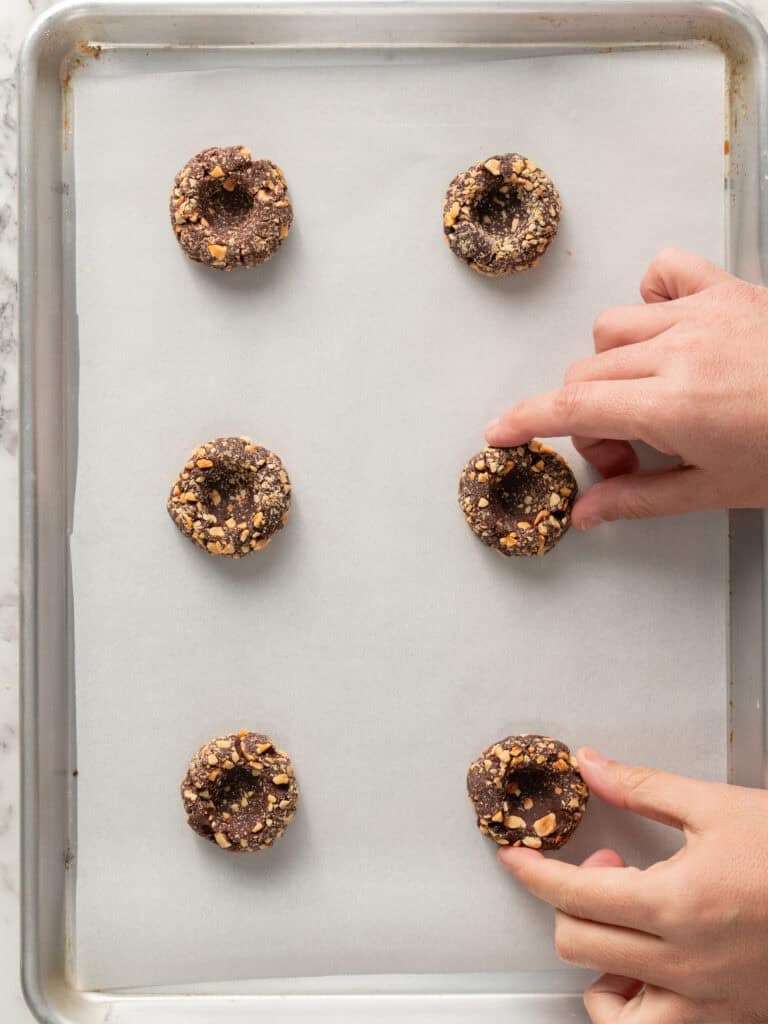
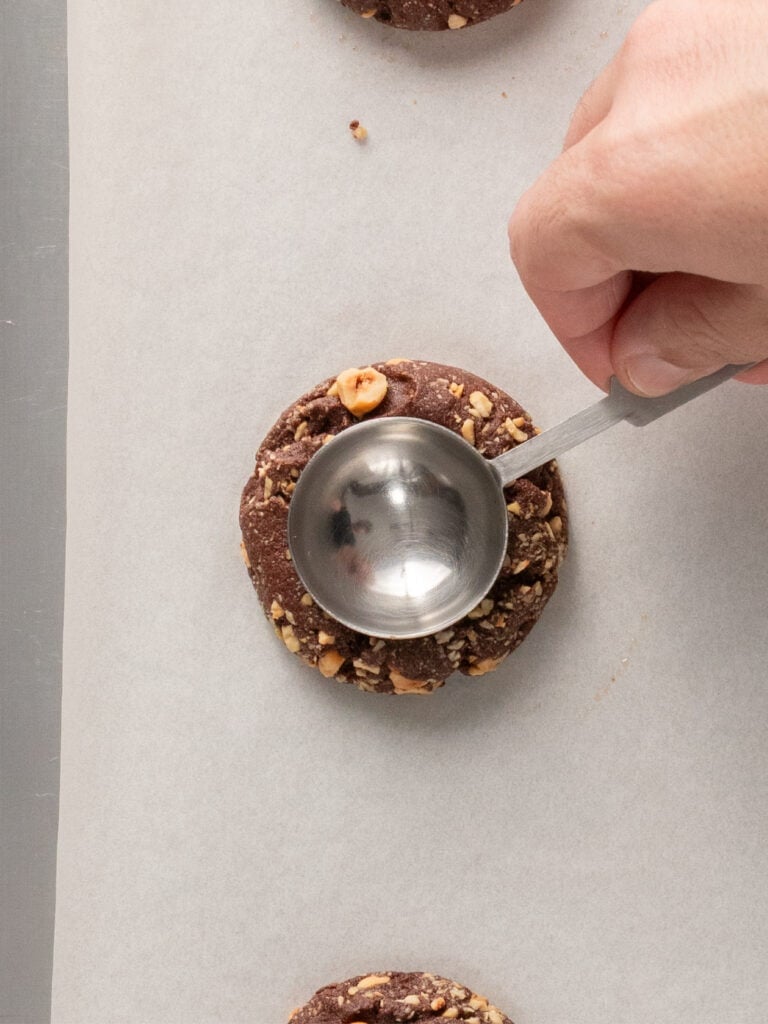
- Place 6 chilled cookies on a baking tray lined with baking paper. You want to give them room to spread a little. They only need 9 minutes in the oven!
- To get nice round cookies – use a round cookie cutter, a little bigger than the cookie and gently shuffle it around each cookie while its still warm. I do it as soon as they’ve come out of the oven.
Tip 1 – Let them cool on the baking tray so the bottoms stay crispy.
Tip 2 – You don’t want to bake them all at once on a single baking tray because you want lots of time to get to each cookie when you indent them for a second time and shape them with the cookie cutter
The best fillings to use

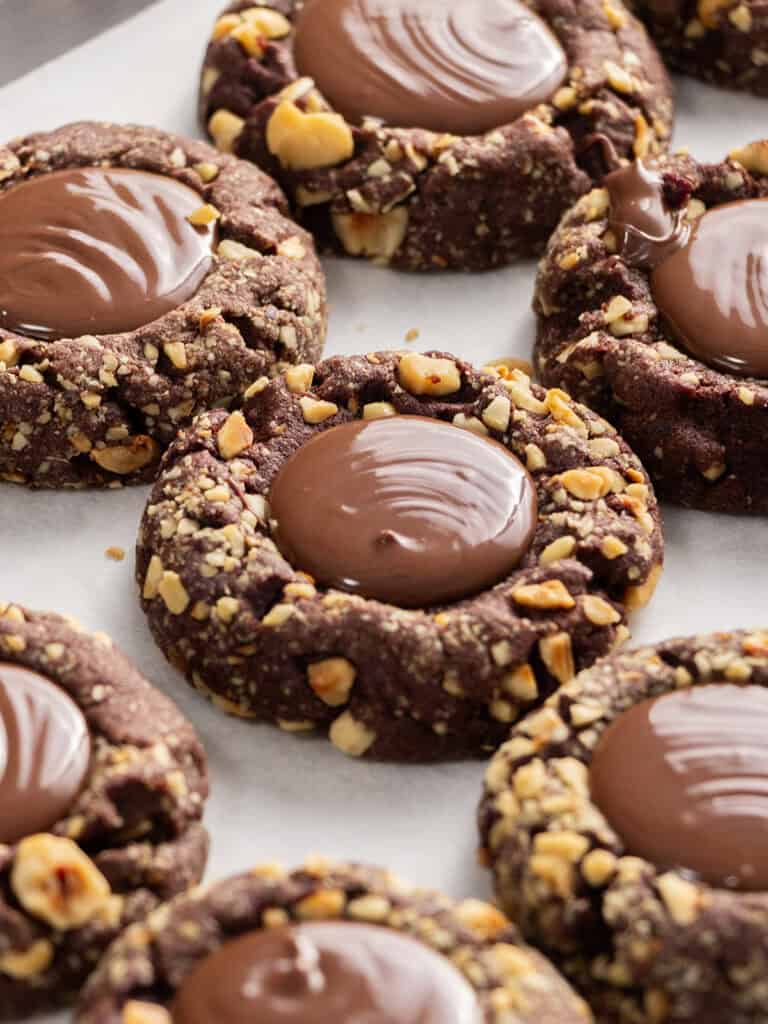
- Listen, you can use Nutella, but there are so many better alternatives out there. Coles makes a low sugar hazelnut spread with no palm oil, but my favorite one to use is the Pana brand one. No palm oil and its so much more luxurious than Nutella. In my opinion.
Whatever you use, warm it up a little before filling your cooled cookies. You can use two spoons or a piping bag.
I love gifting these cookies – Because they keep for about a week in a container. And frankly, who doesn’t love a free chocolate cookie? Only weirdos.
A Quick Baking Guide
If you’re new to baking or just want to brush up on the basics, these guides are a great place to start!
Loved the recipe? Let me know!
If you enjoyed this recipe, leave a star rating and comment below. It helps others find the recipe and keeps the baking community growing. Tag me on Instagram so I can see your version too!

Fudgy Chocolate Hazelnut Thumbprint Cookies
These deeply rich and soft Chocolate Hazelnut Thumbprint Cookies melt in your mouth and are filled with chocolate ganache and packed with crispy hazelnuts!
Serves 30
Ingredients
Cookies
- 125 g plain flour, all-purpose flour
- 25 g Dutch processed cocoa powder
- Pinch fine salt
- 1/4 tsp baking powder
- 110 g unsalted butter, softened
- 110 g brown sugar
- 30 g caster sugar
- 2 egg yolks
- 1 tsp vanilla extract
- 125 g finely chopped hazelnuts, toasted (see notes)
- 100 g chocolate hazelnut spread, Nutella or similar
Instructions
Cookies
- Prepare baking trays – Line two large baking trays with baking paper and set aside.
- Combine dry ingredients – Add the flour, cocoa powder, salt and baking powder into a medium sized mixing bowl and use a whisk to combine. Set aside.
- Cream butter and sugar – To a separate bowl, add the butter and both sugars and beat on high speed until fluffy and pale, about 3 minutes. Add the egg yolks and vanilla and beat until well combined.
- Mix wet and dry together – Add the dry ingredients into the butter egg mixture and use a spatula to mix until evenly combined and a soft dough forms.
- Scoop out cookies – I used an ice cream scoop to scoop out about 12-13 cookies. If you want to do this by weight, they’ll each weigh about 30-33g each.
- Roll in hazelnuts and chill – Roll each ball in crushed hazelnuts. Then roll in your hands to make into a ball shape. Place the rolled cookie dough balls on a lined tray and use a rounded measuring spoon or your thumb to indent the middle of each one. Chill in the fridge for 1 hour. This helps the cookies hold their shape and prevents excessive spreading during baking.
- Preheat your oven to 180C / 355F (fan on), 160C / 320F (fan off).
- Indent the cookies – As soon as they come out of the oven, indent the center of each cookie again and then use a round cookie cutter to shuiffle around each cookie to help re-shape them into a rounder shape. Allow the cookies to cool completely.
- Fill with hazelnut spread – Add the warmed chocolate hazelnut filling to the center of each cookie using spoons or a piping bag. Let them set completely before serving.
Notes
How to toast your hazelnuts – To toast your hazelnuts, place on a metal baking sheet and bake in an preheated oven on 180C / 355F (fan off) for 10 minutes or until golden. Take out and allow to cool completely before chopping with a large knife or adding to a food processor to chop for about 5-10 seconds. Some big bits are ok. You just don’t want it crushed to a powder.
Chocolate hazelnut spread – You can use any type you like. Personally, I think a better quality, non palm oil spread is better and tastes better.
Storage – Cookies can be stored in an airtight container for up to three days. They can be frozen for up to 2 months! Thaw at room temperature before serving.
Nutrition – is an approximate and is based on per cookie. This recipe makes about 12-13 cookies.
A note on measurements – This recipe uses weight measurements for the most accurate results. Cup measurements can vary depending on where you are, which affects the precision needed for a recipe like this. Here is where you can learn more about how to measure ingredients using digital kitchen scales.
Nutrition
Calories : 109kcal
Carbonhydrates: 10g
Protein: 2g
Fat: 7g
Saturated Fat: 3g
Polyunsaturated Fat: 1g
Monounsaturated Fat : 3g
Trans Fat : 0.1g
Cholesterol: 21mg
Sodium: 7mg
Potassium : 68mg
Fiber: 1g
Sugar : 6g
Vitamin A: 110IU
Vitamin C: 0.3mg
Calcium: 18mg
Iron: 1mg
Nutrition Disclosure
Gave this recipe a go?Mention @thescranline or tag #thescranline!

previous post
13 comments
These cookies are so easy and fun to make! N x
Se ven deliciosas
Gracias Amid, me alegra que te gusten. Espero que las pruebes. N x
These are decadent little treats!
A couple notes. 1) the ingredient list calls for salt, but it’s missing from the directions. I added to the dry ingredients in step 1. 2) I bake enough to know the indent should be made as soon as they come out of the oven, but it reads a tad confusing, since it says “cool completely” in step 6, but then explains the indent in step 7.
Personal preference, I was worried about the filling being runny when eating, so I made the texture closer to ganache by mixing with melted milk chocolate. It ended up being such a small amount in each cookie it wouldn’t have been a big deal, but I stand by the mod and would do it again lol.
Will definitely make again, thank you!
Thanks so much Kristen! Great pickup on the salt—I’ve updated the steps to reflect that. And you’re totally right, the indentation part could have been clearer, so I’ve tidied up the instructions to avoid confusion. Love the ganache-style filling idea too. Appreciate you taking the time to leave a thoughtful comment. N x
how much dark chocolate should be used??? am i missing something?
Hi DD, the recipe uses chocolate hazelnut spread for the filling, not chopped chocolate. It’s listed near the bottom of the ingredient list in the recipe card. I’ll make the wording clearer to avoid confusion. N x
Hi,
At what point could I freeze these in order to bake them later?
Hi Maria, you can freeze the cookie dough after rolling it into balls and coating in hazelnuts. Place them on a tray to freeze until firm, then transfer to a container or freezer bag. When you’re ready to bake, place them straight onto a lined tray and bake from frozen, just add an extra couple of minutes to the bake time. N x
These look lovely but the recipe leaves out the quantity of chocolate required – can’t see it anywhere – and the method leaves out major steps (you have to scroll up and down to find each step which is confusing). Really wanted to make these but can’t as the recipe is not complete.
Hi Claire, thanks for the thoughtful feedback. The chocolate filling is chocolate hazelnut spread and it’s listed near the bottom of the ingredient list in the recipe card. I’ll update the wording to make that clearer and adjust the method so the indentation step flows better. The full recipe is located at the bottom of the post in the recipe card, which might make it easier to follow without scrolling. Appreciate you pointing this out. N x
Blog post says the chilling is absolutely mandatory and not to skip it!!! But the chilling is completely omitted from the recipe steps. Very confusing!
Hi Sara, totally fair and I’m really sorry about that. The chilling step is definitely important. After you roll the cookie dough into balls and coat them in hazelnuts, they need to chill on a tray in the fridge for at least an hour before baking so they hold their shape. I’ve added that into the recipe now to make it clearer. Thanks for flagging it. N x