How to Make Clarified Butter (Ghee Recipe)
Learn how to make clarified butter (ghee recipe) in this super simple tutotrial. Seriously, I thought it was hard to make, but it’s one ingredient, two tools and you’re on your way to making this wonderful ingredient!

If you’re looking for more ‘How-To’ recipes, check out my Chocolate Curls for cake decorating. Speaking of cakes! Make super soft cakes by making your own low protein Cake Flour!

What is Clarified Butter?
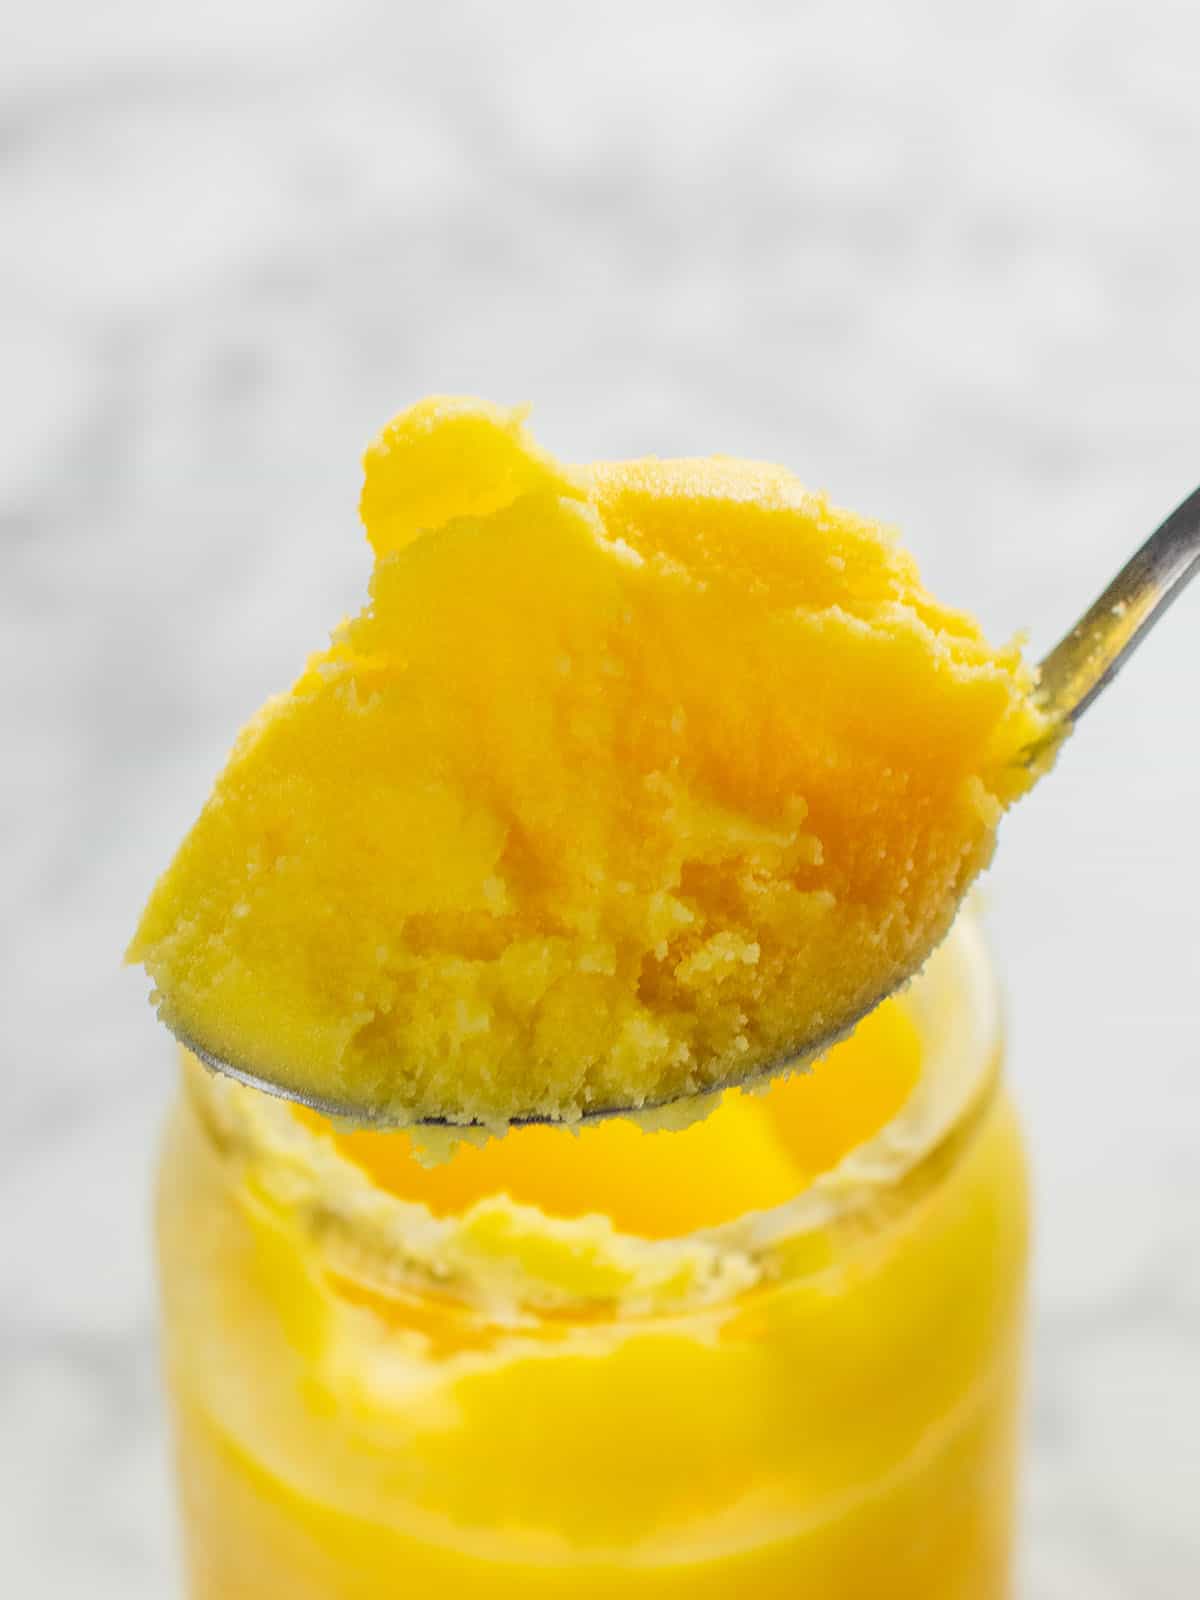
Butter is a wonderful ingredient. It can do so many things when it comes to baking and cooking. Butter is made up of water, fat and milk. Clarified butter is essentially butter that is melted and has no water or milk in it. What you’re left with is a golden liquid that has a high burning point and strong buttery, almost nutty flavor.
I’ll go more into detail about the melting process later but the water evaporates as it’s melted and the milk solids brown and solidify at the bottom of the pot. When strained, you’re left with just the fat. And those milk solids are what give you little black burn bits when you cook. They burn at high temperatures. You won’t get that with clarified butter because those bits are strained out. I learned this the hard way when I made my first galaktoboureko recipe.
What’s the difference between Ghee and Clarified Butter?
Not a lot. Clarified butter is made by melting the butter and skimming the milk solids at the top away. Ghee is a much more thorough in that the milk solids are browned, the water is completely evaporated away and it’s all strained to make sure the only thing you’re left with is the fat.
Personally, I believe if you’re going to go through the minor trouble of melting the butter, you may as well just get rid of everything, so you’re left with a strong, nutty butter flavor.
Which butter to use to make Clarified Butter.
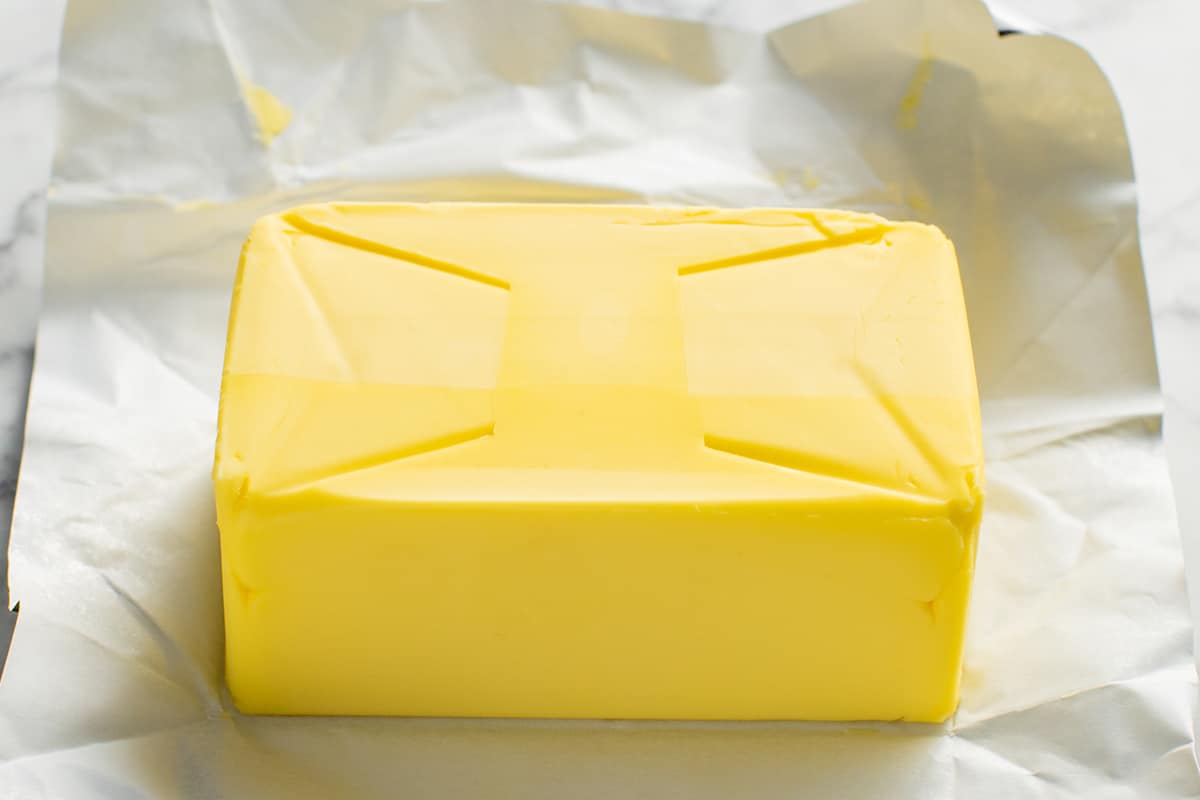
Unsalted butter is the best butter to use for clarified butter. It’s often used to cook meat, fish and vegetables (sometimes desserts) so in an effort to control the salt content in your recipes, unsalted butter is best.
How to Use Clarified Butter.
Ghee or clarified butter is used in cooking to give them a stronger butter flavor and often crispier results! Use it as you would oil when cooking. It makes veggies crispy, it makes hollandaise sauce even richer, you can drizzle it on top of soup, you can make rice dishes, amazing rich butter flavored steaks. You can even drizzle it on popcorn for a delicious butter popcorn experience and the best part is, it doesn’t make your popcorn soggy because there’s no butter or milk to make the popcorn go soft.
Can I use Clarified Butter in baking recipes?
Yes. But with caution. You wouldn’t use this to make frosting or cream it with sugar to make a cake. You could use this in recipes that call for melted butter. Even then though, you want to be careful. Baking is a science and when a baking recipe for cake or cookies calls for melted butter it includes the milk solids and water. Using clarified butter or ghee (often called brown butter when the milk solids are left in) could muck around with the end results because it has less moisture in it.
How to make Clarified Butter (Ghee)!
Ok! Here we go, I’m going to show you how to make ghee in this step by step. The only different between ghee and clarified butter is the ghee is cooked longer and the milk solids are completely strained out.

You’ll begin by melting your butter on low/medium heat. Once it melts, it will begin to froth up, that’s the milk and water separating. The water evaporates and the milk will sink to the bottom and begin to brown. After about 10 minutes you’re left with brown milk solids at the bottom.
Strain the butter by adding a paper towel in a sieve over a bowl. The butter will be really hot so make sure it’s a heatproof bowl. Your clarified butter/ghee is ready!
Tips and Tricks For Recipe Success!
- Cook your butter on low/medium heat. Anything higher and it’ll burn the milk solids and give your ghee a bitter flavor.
- Store in a jar with a lid for up to a year in your fridge!
- Take care when using in baking recipes instead of regular melted butter. Ghee has less water in it so you may need to take that into consideration.
Frequently Asked Questions about RECIPE
What does it taste like?
Clarified butter tastes slightly nutty with a strong buttery flavor. Ghee on the other hand, which is cooked longer and is strained completely has an even stronger flavor.
How do I store this?
Store Ghee/Clarified butter in a jar with a lid in your cupboard for 2 weeks or in the fridge for a year!
If you loved this recipe, check these out!
How To Make Chocolate Curls
How To Make Soft Boiled Eggs
How To Make Pumpkin Puree For Baking
How To Make Cake Flour
How To Make Sprinkles At Home
A Quick Baking Guide
If you’re new to baking or just want to brush up on the basics, these guides are a great place to start!
Loved the recipe? Let me know!
If you enjoyed this recipe, leave a star rating and comment below. It helps others find the recipe and keeps the baking community growing. Tag me on Instagram so I can see your version too!

Clarified Butter (Ghee)
This simple recipe for Clarified Butter (Ghee) is super easy, has a strong butter flavor and high smoking point giving you crispy results!
Serves 1 cup
Ingredients
Clarified Butter
- 1 cup / 250 g unsalted butter, cut into cubes, (see notes)
Instructions
Clarified Butter
- Add your cubed butter into a large pot (silver is best), then on medium-low heat allow it to melt completely.
- Let it simmer for 10 minutes. At about 5 minutes it will froth, it will go a couple minutes later. When you get little golden bits at the bottom (the milk solids), it’s done!
- To finish, place a paper towel on top of a fine mesh sieve and slowly pour the melted butter into a heat proof jar or bowl Allow to cool before placing a lid on top and storing in your pantry for 3 weeks or in the fridge for up to a year!
Notes
Butter – It’s the only ingredient you need! Couple things, make sure it’s good quality (strong flavor), make sure it’s unsalted that way you can control the salt content in your recipes and make sure it’s cubed! Cut into 2-inch cubes.
If making more or less – the recipe will take longer to get to the end result: golden bits at the bottom, if making less, it will be a quicker recipe. Just keep a close eye on it so those milk solids don’t burn!
Storage – clarified can be stored in a jar with a lid for up to three weeks in your cupboard in a cool dark place or in the fridge for up to a year!
Nutrition – Let’s be honest, nobody is eating butter for its nutritional value. But the nutritional value shown in this recipe card is per 1 cup (250ml)
A note on measurements – all ingredients in this recipe are offered in Australian cup measurements and weight measurements. Weight measurements are created by me, in my kitchen here in Melbourne Australia. The best way to get recipe success is to measure ingredients by weight, using kitchen scales.
Nutrition
Calories : 1628kcal
Carbonhydrates: 0.1g
Protein: 2g
Fat: 184g
Saturated Fat: 117g
Polyunsaturated Fat: 7g
Monounsaturated Fat : 48g
Trans Fat : 7g
Cholesterol: 488mg
Sodium: 25mg
Potassium : 54mg
Sugar : 0.1g
Vitamin A: 5673IU
Calcium: 54mg
Iron: 0.1mg
Nutrition Disclosure
Gave this recipe a go?Mention @thescranline or tag #thescranline!
previous post
1 comment
This is such a great recipe to know. I’m going to be posting some recipes that use it soon! N x