Fun Marshmallow Ghost Brownies for Halloween
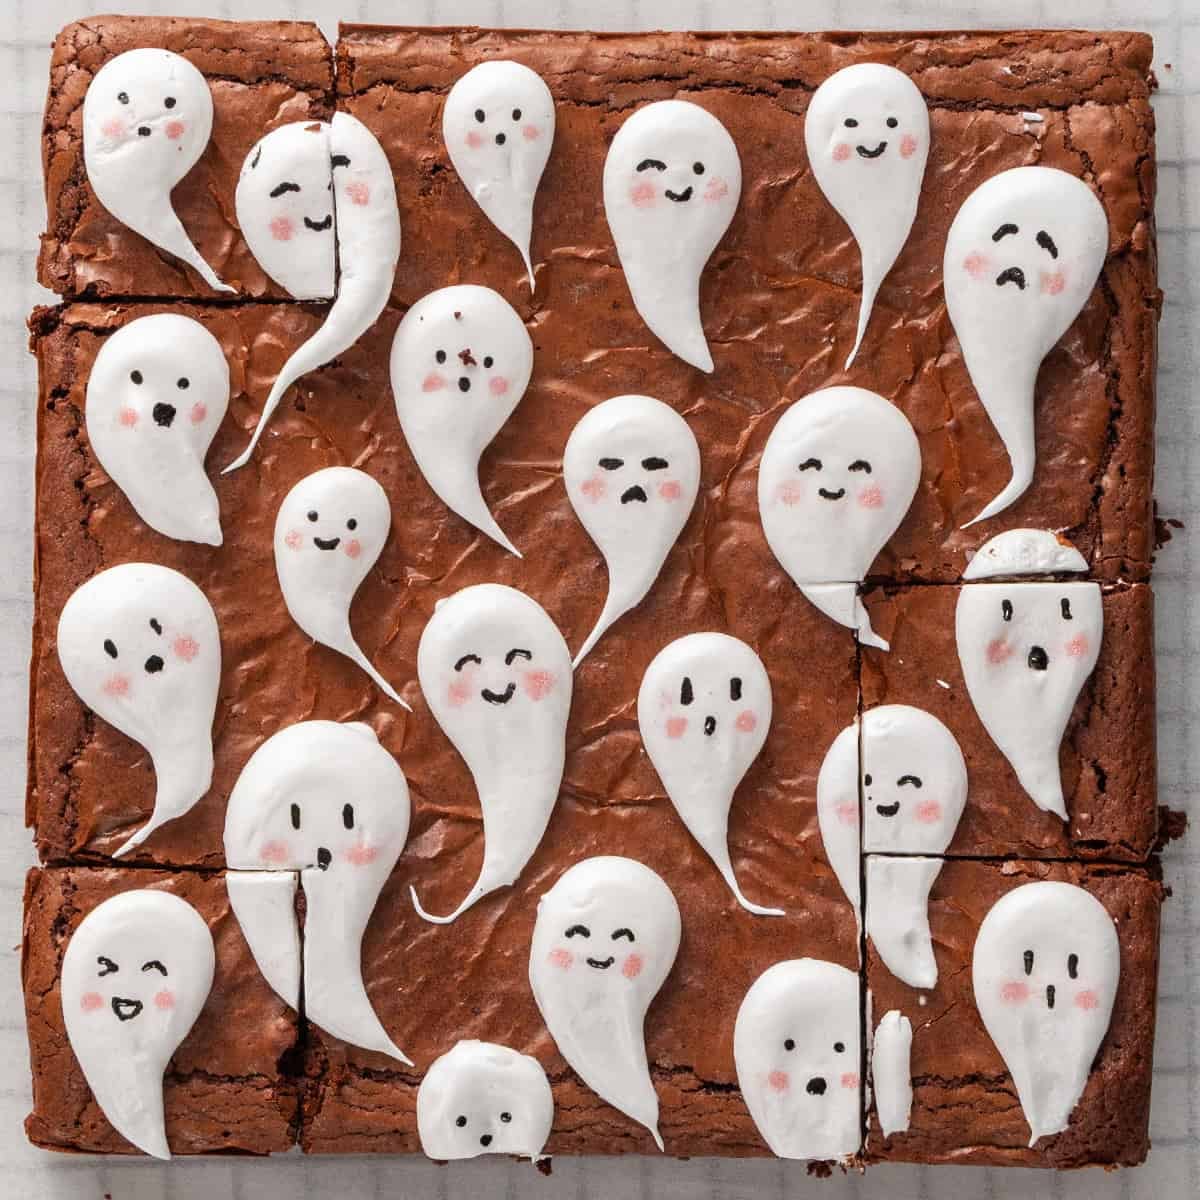
These cute Marshmallow Ghost brownies make a fun little Halloween project that you can get the kids in on during the holidays. The marshmallows come together with simple ingredients. They sit on top of my rich chocolate brownies.
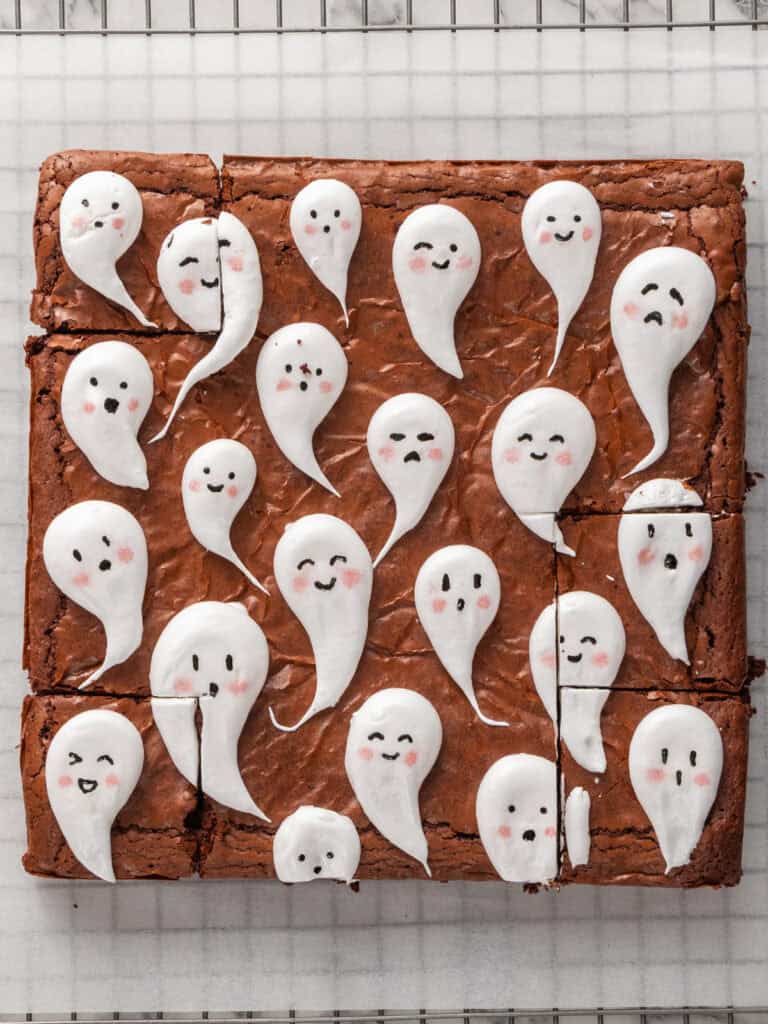
Hey team, Nick here. First of all, yes. I’m aware that these could double up as a fun baby shower brownie recipe. Ok?
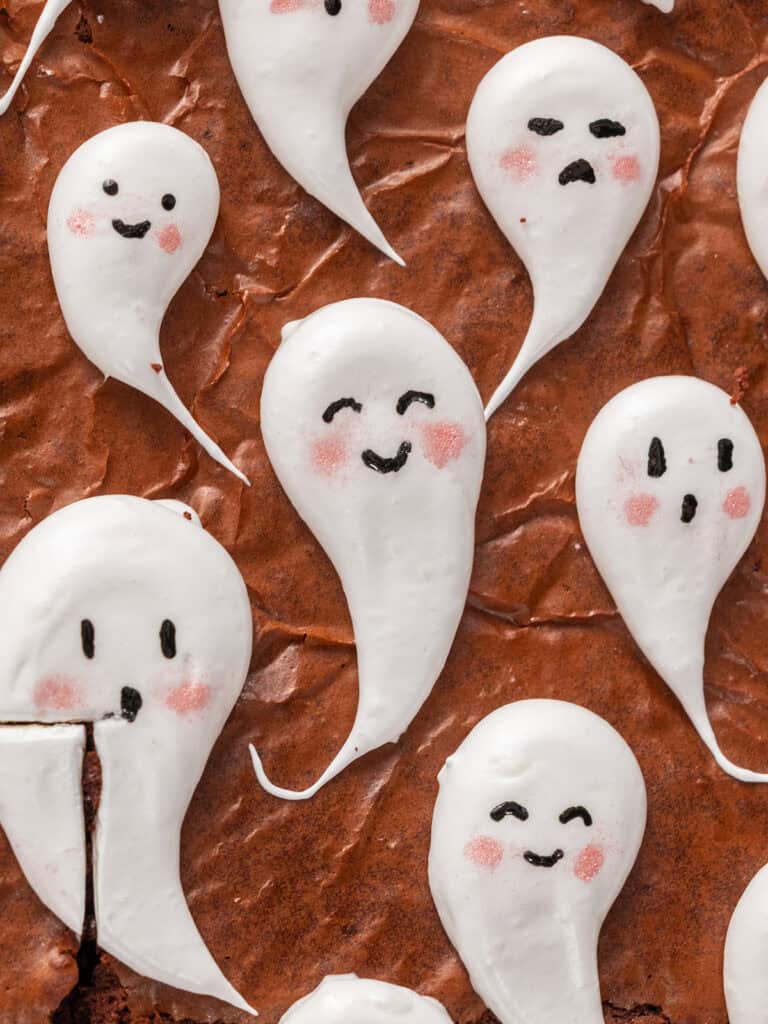
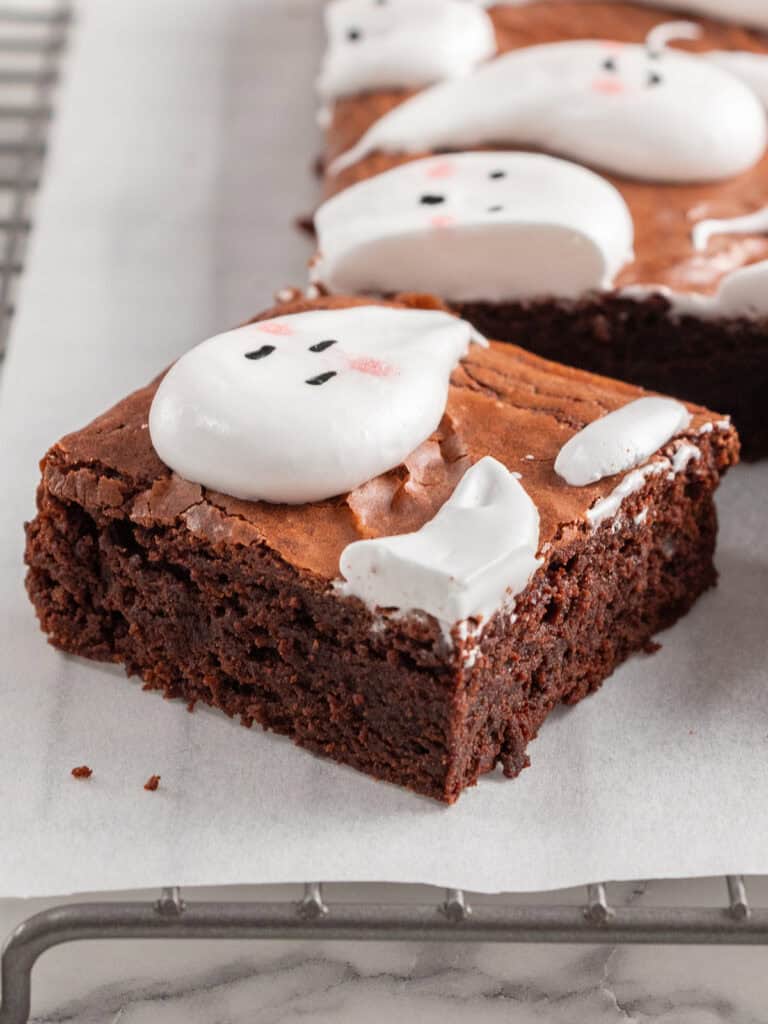
Now that’s out of the way, let’s get stuck into how cute these are! The ghosts are made out of an easy marshmallow recipe you can make at home. It’s a sugar syrup mixed with gelatin and then whipped up to perfection. Once you’ve piped them they set like a soft marshmallow.
The fun part if decorating though. I had my daughter get in on it as a fun Halloween baking project. She loved coming up with different faces for the ghosts. And the rosy cheeks top it all off. No nightmares during the night here. Just cute ghost brownies.
They all sit on top of what I think (and I’m not saying this lightly) is the best chocolate brownie ever. It’s rich in chocolate flavor, they’re really easy to make and they have that shiny crackly layer that the internet is obsessed with. To me though it’s the flavor and texture that makes them award winning (award pending).
Making the brownies
I have a full step by step recipe in the recipe card below and all my tips can be found in my rich chocolate brownie post, but I’ll give you a quick run down of how easy these are to make.
Tip – This recipe needs good quality ingredients to be amazing. The best 70% chocolate you can find (I used Nestle Plaistowe) and the best butter (New Zealand) and Dutch processed cocoa powder can you get. They don’t have to be the most expensive, just make sure you’re using good quality ingredients.
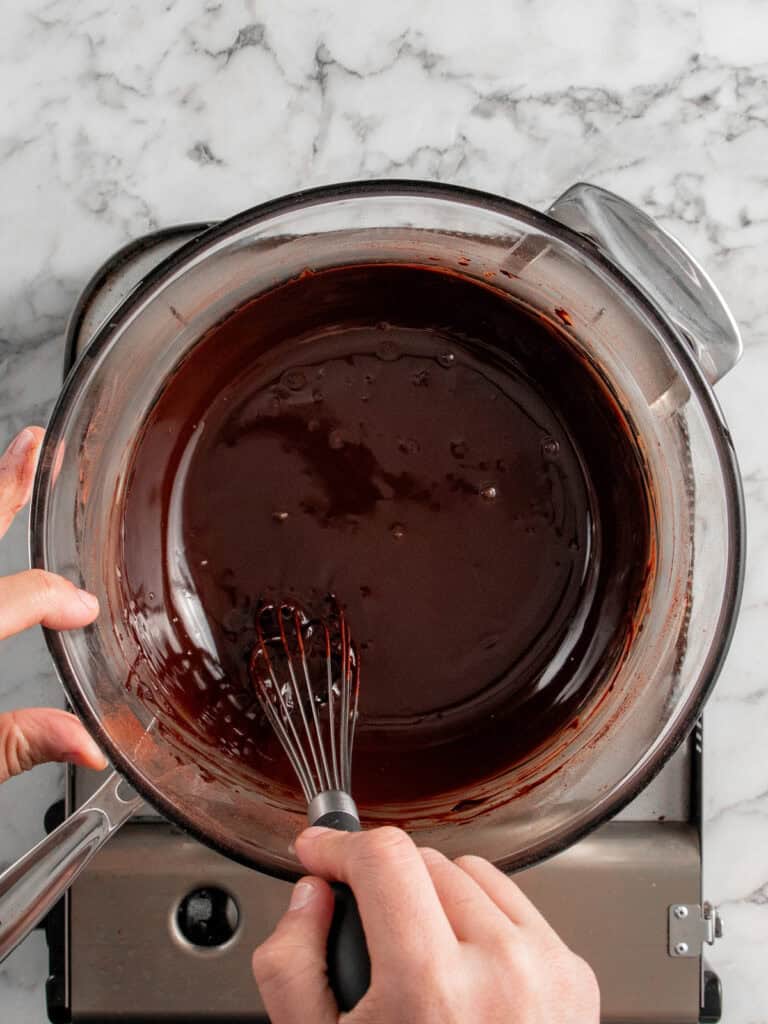
- Melt the chocolate and butter until well combined. Then add the cocoa powder while the mixture is hot and whisk until the cocoa is completely melted. Let it cool a little.
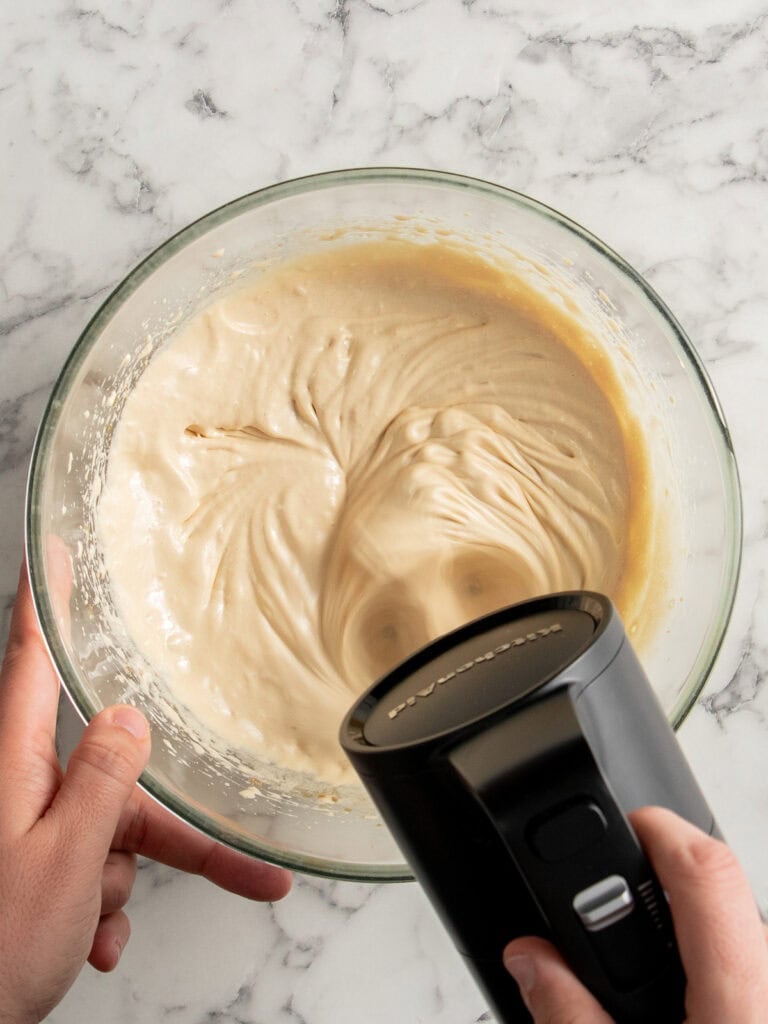
- Whisk the sugars and eggs until pale and fluffy. The longer you whisk, the shinier the top will be when the brownies are baked. And by the way, that shiny top is just a very thin meringue layer that is formed in this step. Were aiming to melt as much of the sugar as we can in the eggs.

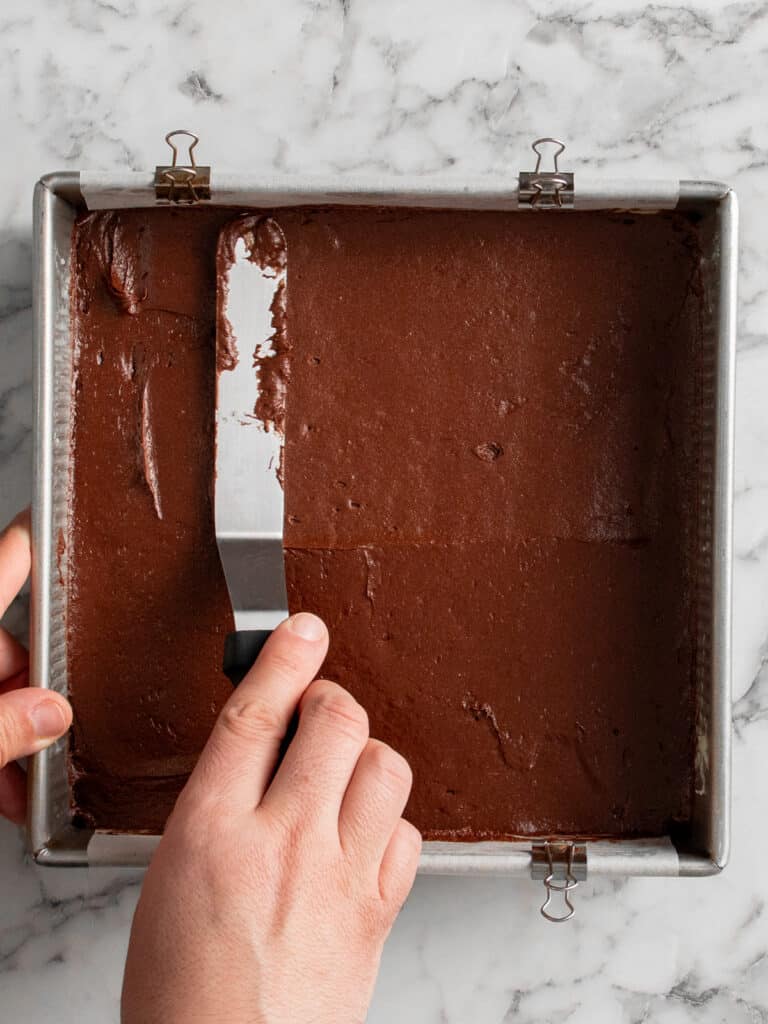
- Add the slightly cooled chocolate to the egg mixture and switch over to using a spatula to mix it until its well combined.
- Add the flour and salt and mix until it’s smooth.
- Pour it into the baking tin and spread it out evenly. Bake for 20-22 minutes. Then let it cool completely
Tip – You can even make the brownies a day or two in advance if you like! And by the way, cold brownies, or even frozen (my fave) make the best chewy treat.
Making the marshmallow ghosts
Before you start – Once the marshmallow has been made, it’s going to want to set quickly so it’s important to prep your piping bag by fitting it with a medium round tip.
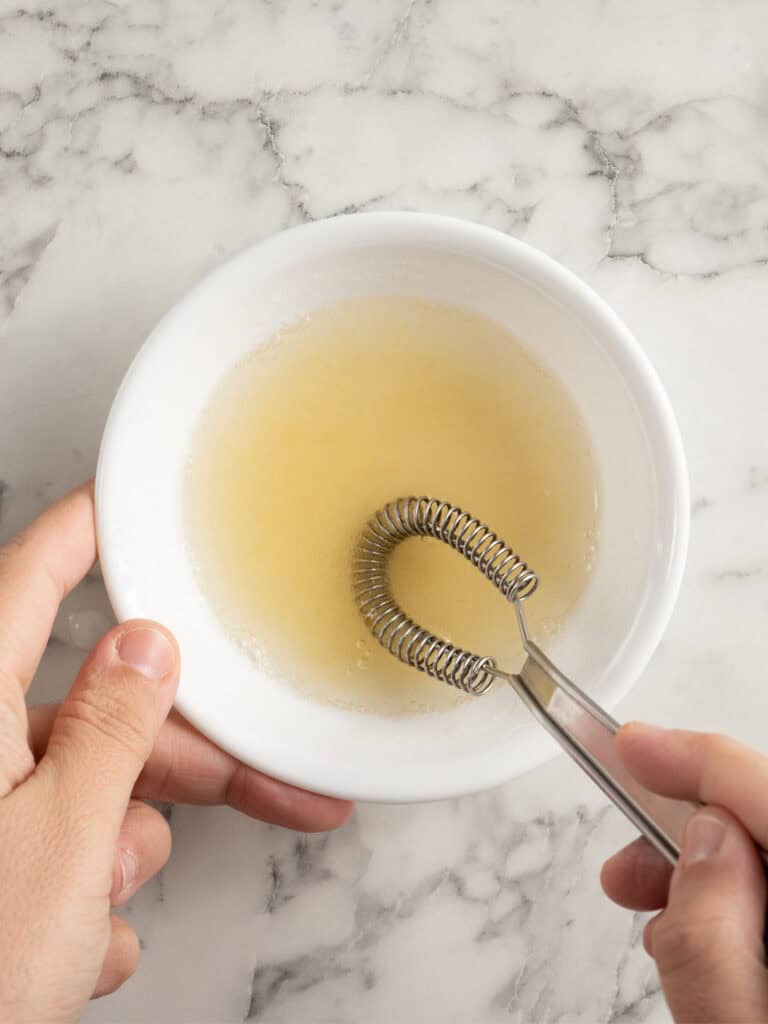
- Add 60g of water to a small mixing bowl. Then sprinkle on the gelatin powder. Immediately start mixing with a fork. It’s important to do this step in this order, it will prevent the gelatin from clumping up. Let it ‘bloom’ for 5 minutes. You’re letting the gelatin soak up the water.
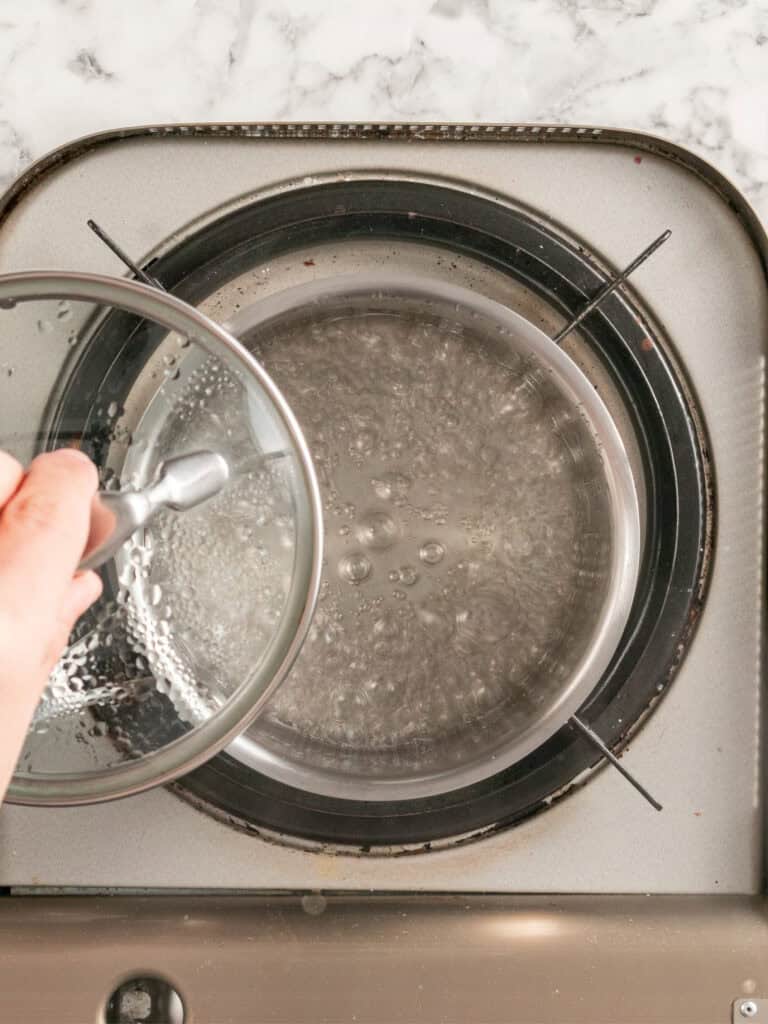
- Add 60g of water and the sugar into a small pot. Put the lid on top and bring to a boil. As soon as it begins boiling, set a timer for 3 minutes.
Why make syrup with the lid on? It helps create steam and prevents sugar crystals from forming on the sides of the pot.
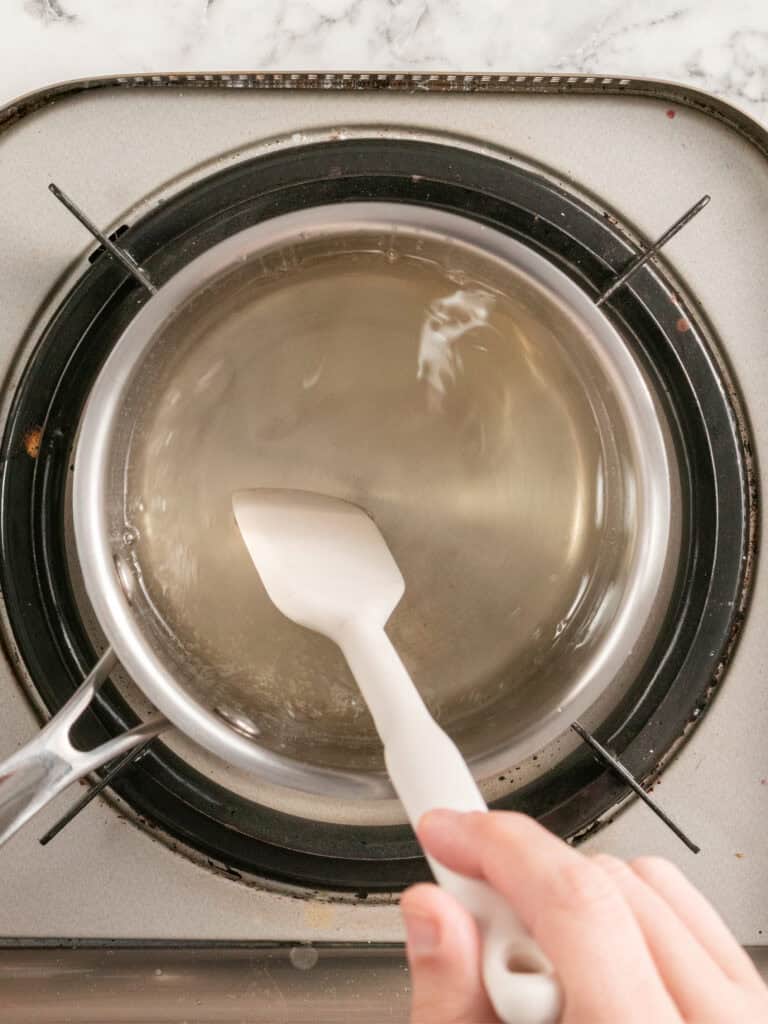
- Turn the heat off and add the gelatin. Stir with a spatula until fully dissolved.
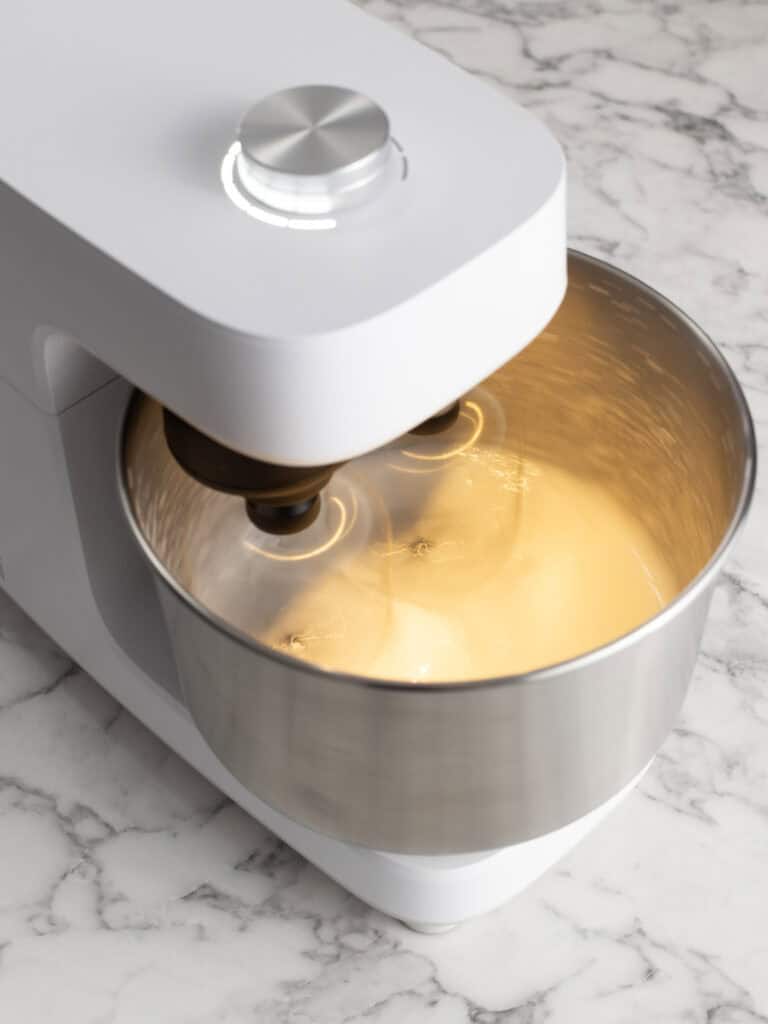
- Add the mixture to the bowl of a stand mixer fitted with the whisk attachments. If you have it, use the bowl guard to stop the mixture splattering outside the bowl. You can make this with a hand held mixer too.
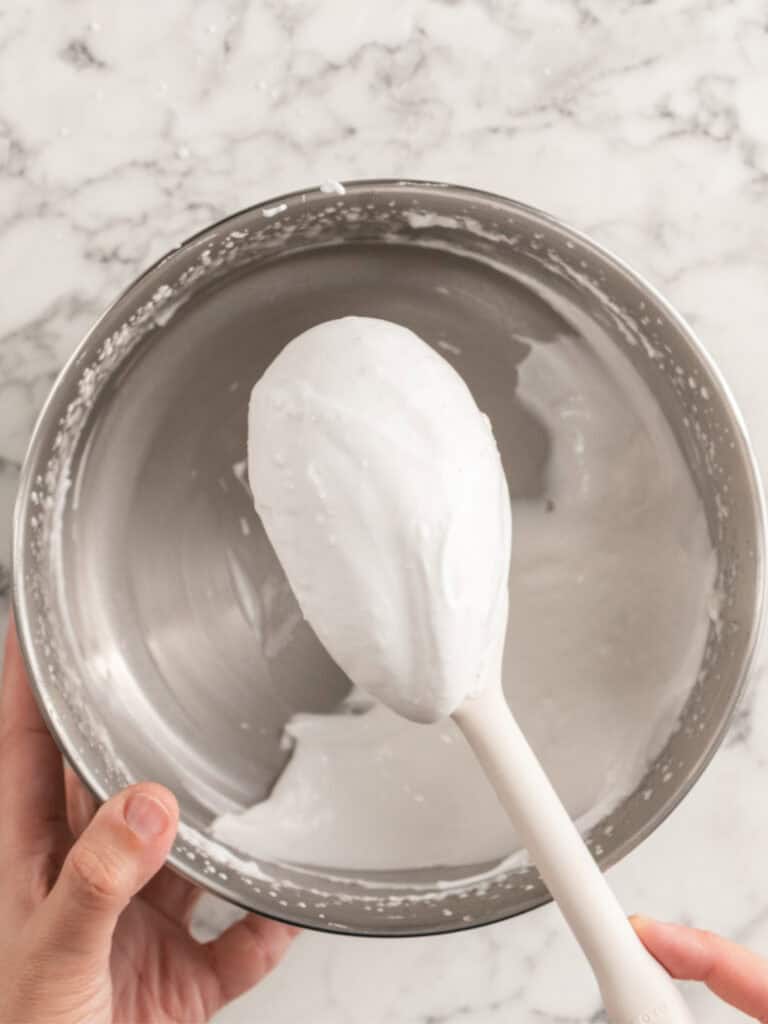
- Whisk the mixture on 70% speed for 8-9 minutes depending on how cold the room is. You’re looking for a mixture that is fairy thick but still falls off the spatula. You don’t want a mixture that looks lumpy. That means its starting to set.
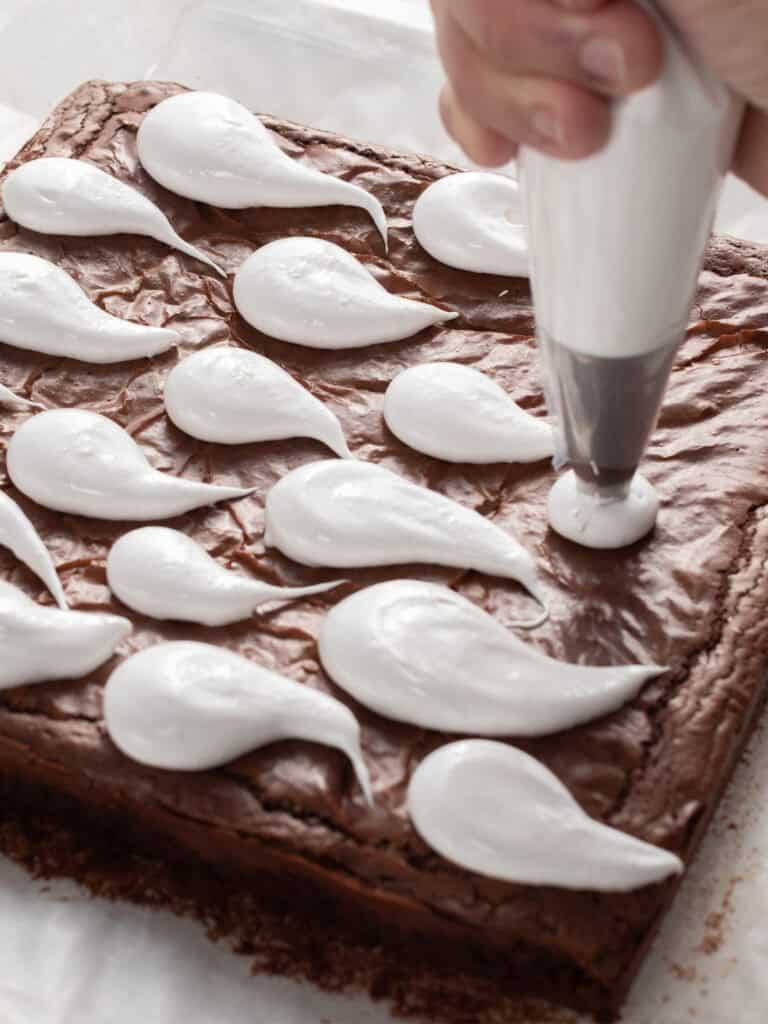
- Add the mixture to a piping bag and start piping. The mixture is sticky which works in your favor. Pipe blobs on the cooled brownies, then stop squeezing the bag and let the tails form as you pull away. Continue doing that until you’ve covered the brownies. Let them set completely before decorating.
Tip – Second reminder, but super important. You want to work quickly when the marshmallow is finished being made. It will want to set quickly. So have your piping bag ready to pipe them onto your cooled brownies! The upside is, the marshmallow mixture can easily be made from scratch again if you have issues with them setting too quickly.
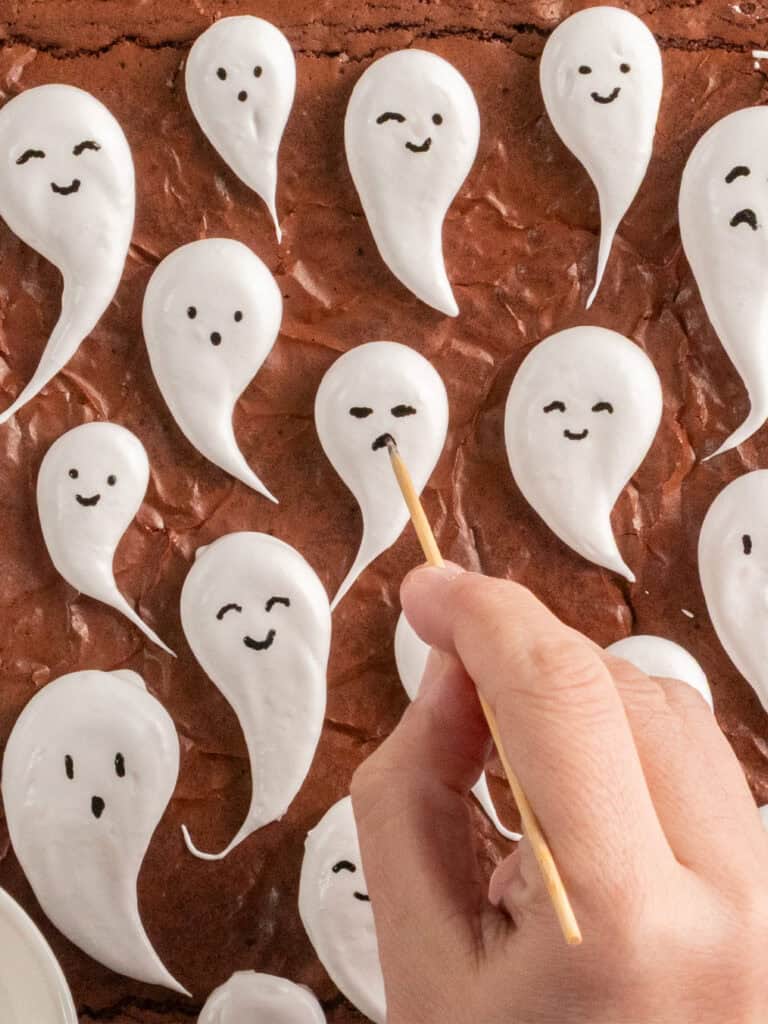
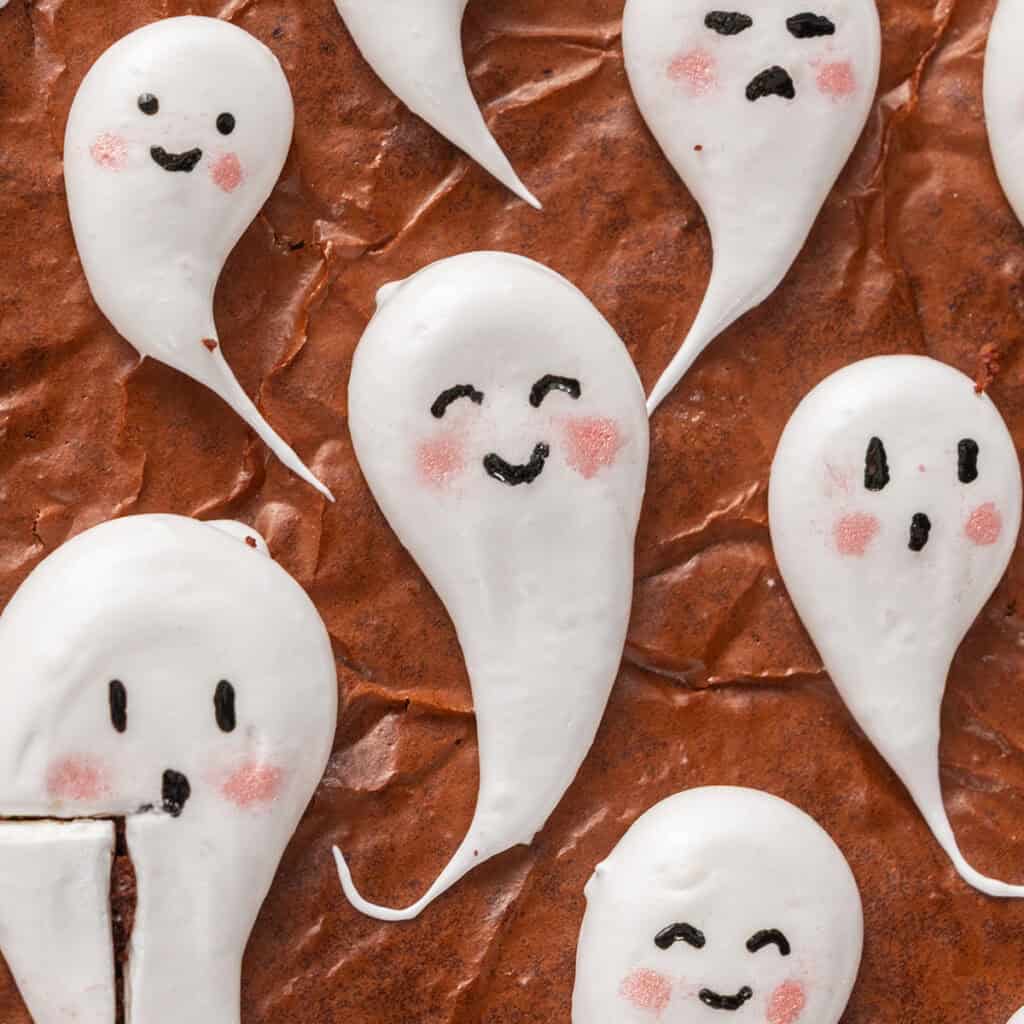
- To form the eyes dip the end of a toothpick or skewer into some black food dye. Then draw on the eyes and mouth in any expression you like. Use the photos in this post as inspo.
- Dip the end of a small food safe brush into some red or pink luster dust and dab on the rosy cheeks. Blow away any excess.
Black food dye alternative – If you don’t like the idea of using straight black food dye, you can use a black food safe marker. Yes, those exist! Just draw on lightly because they tend to draw on thick lines. I even experimented with making a cocoa powder slurry with boiling water and cocoa powder with just a hint of black food dye and that worked too.
To get neat looking slices
Here comes the AuDHD in me, but you want to measure out the brownies around the edges first to make sure we’re getting same sized brownies. It’s 12 brownies all up which means 4 brownies on each side. Each slice should measure 5.5cm in length. I use a small pairing knife to help me do that. Then I use a large knife dipped in boiling water and dried to make each slice. You’ll want to wash the knife, dip it in bpoiloing water and repeat for each slice. The marshmallow ghosts are very sticky, so the boiling water helps slice through them neatly.
A Quick Baking Guide
If you’re new to baking or just want to brush up on the basics, these guides are a great place to start!
Loved the recipe? Let me know!
If you enjoyed this recipe, leave a star rating and comment below. It helps others find the recipe and keeps the baking community growing. Tag me on Instagram so I can see your version too!
Fun Marshmallow Ghost Brownies for Halloween
These cute little ghost brownies are perfect for Halloween. They’re fudgy and topped with super cute little ghost marshmallows!
Serves 9
Ingredients
Chocolate Brownies
- 125 g unsalted butter, cubed
- 180 g dark cooking chocolate, I used 70% (see notes)
- 25 g Dutch process cocoa powder, sifted (see notes)
- 3 large eggs, room temperature (55g each)
- 160 g caster sugar, superfine
- 100 g brown sugar
- 1 tsp vanilla extract
- Pinch of salt
- 75 g all-purpose flour, plain flour
Marshmallow Ghosts
- 1 1/2 tsp gelatin powder, see notes
- 60 g cold water, for the gelatin
- 100 g granulated sugar
- 60 g water
- 7 g vanilla extract
Decorations
- Black food dye
- Pink luster dust
Instructions
Chocolate Brownies
- Preheat your oven to 180C / 355F (fan off), 160C / 320F (fan on). Spray a 9-inch / 23cm square baking tin with cooking oil and line the bottom and sides with baking paper, leaving some overhang on the sides. I used bulldog clips to keep the paper in place. TIP: See notes for different baking tin sizes.
- Melt chocolate and butter – Fill a large pot a 3rd of the way with water and bring to a gentle boil. Place a heatproof glass or metal bowl on top (making sure the bottom of the bowl doesn’t touch the water). Add the chocolate and butter. Stir until melted and smooth. Alternatively, you can melt the chocolate in the microwave for 30 seconds at a time, stirring each time until smooth.
- Add cocoa powder – Turn the heat off and the sifted cocoa powder in. Use a whisk to combine until smooth. Set aside to cool to room temperature, about 10 minutes.
- Whisk eggs and sugar – To a large mixing bowl, add the eggs, both sugars, vanilla extract and salt. Use an electric hand mixer to whisk until pale, fluffy and doubled in volume, about 2-3 minutes.
- Add the chocolate mixture – Add 1/3 of the cooled chocolate mixture and whisk until well combined. Repeat with the next 1/3 until all of it has been added.
- Add dry ingredients – Add the sifted flour and fold using the spatula until no dry ingredients are showing.
- Bake – Pour the mixture into the baking tin. Bake for 20-22 minutes or until a toothpick inserted into the center comes out with moist crumbs. Take out of the oven and allow to cool at room temperature. Transfer to the fridge to cool for 2 hours. That’ll make slicing them up much easier.
Marshmallow Ghosts
- Prep work – Once the marshmallow is made it will want to set quickly so have a piping bag fitted with a medium round tip ready so that you can pipe it as soon as its made.
- Bloom gelatin – Add the gelatin powder and 60g cold water to a small bowl and mix using a fork. Let it set or ‘bloom’ for 5 minutes.
- Make syrup – Add the sugar and remaining 60g of water to a small pot and bring to a boil on medium heat. Put the lid on and simmer for 3 minutes. This will create steam and prevent sugar crystals from forming on the sides of the pot. Turn the heat off and add the gelatin. Stir with a spatula until fully dissolved.
- Whip marshmallow – Add the mixture to the bowl of a stand mixer with the vanilla and whip on medium high speed until it’s thick and glossy, about 7-8 minutes. You’re looking for a mixture that is fairy thick but still very smooth and isn’t setting. It could take longer if your room is warm.
- Pipe the ghosts – Add to a piping bag and pipe the marshmallow ghosts. It’s a blob and a tail as you taper off squeezing the bag. Let the ghosts fully set before decorating.
- To decorate – Tip the end of a toothpick in some black food gel and add the eyes and mouth. Then dip the end of a small food safe paint brush into some pink luster dust to create the rosy cheeks. Slice and serve!
Notes
Chocolate – I used 70% dark cooking chocolate for this recipe for it’s slightly bitter chocolate flavor and because the brownies come out less sweet. Regular dark chocolate will also work, but the brownies come out sweeter.
Dutch processed cocoa powder – is an unsweetened cocoa powder which has been treated with alkaline and potassium carbonate to neutralize the acidity that is naturally found in cocoa powder. It’s darker in color and strong in chocolate flavor.
Storage – These brownies can be stored in an airtight container at room temp for up to three days.
Nutrition – is an approximate and is based on per slice.
A note on measurements – This recipe uses weight measurements for the most accurate results. Cup measurements can vary depending on where you are, which affects the precision needed for a recipe like this. Here is where you can learn more about how to measure ingredients using digital kitchen scales.
Nutrition
Calories : 407kcal
Carbonhydrates: 42g
Protein: 5g
Fat: 22g
Saturated Fat: 13g
Polyunsaturated Fat: 1g
Monounsaturated Fat : 6g
Trans Fat : 0.5g
Cholesterol: 92mg
Sodium: 30mg
Potassium : 119mg
Fiber: 3g
Sugar : 31g
Vitamin A: 434IU
Calcium: 28mg
Iron: 1mg
Nutrition Disclosure
Gave this recipe a go?Mention @thescranline or tag #thescranline!

previous post
1 comment
Så cute and delicious 😋. Thanks 🌹