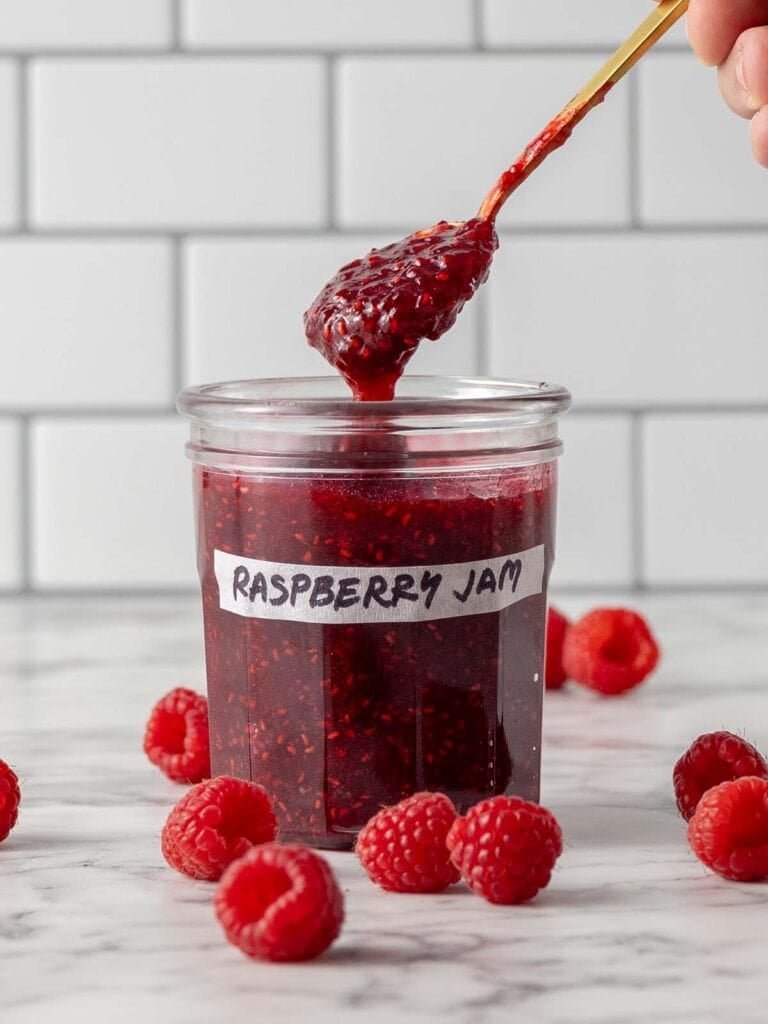
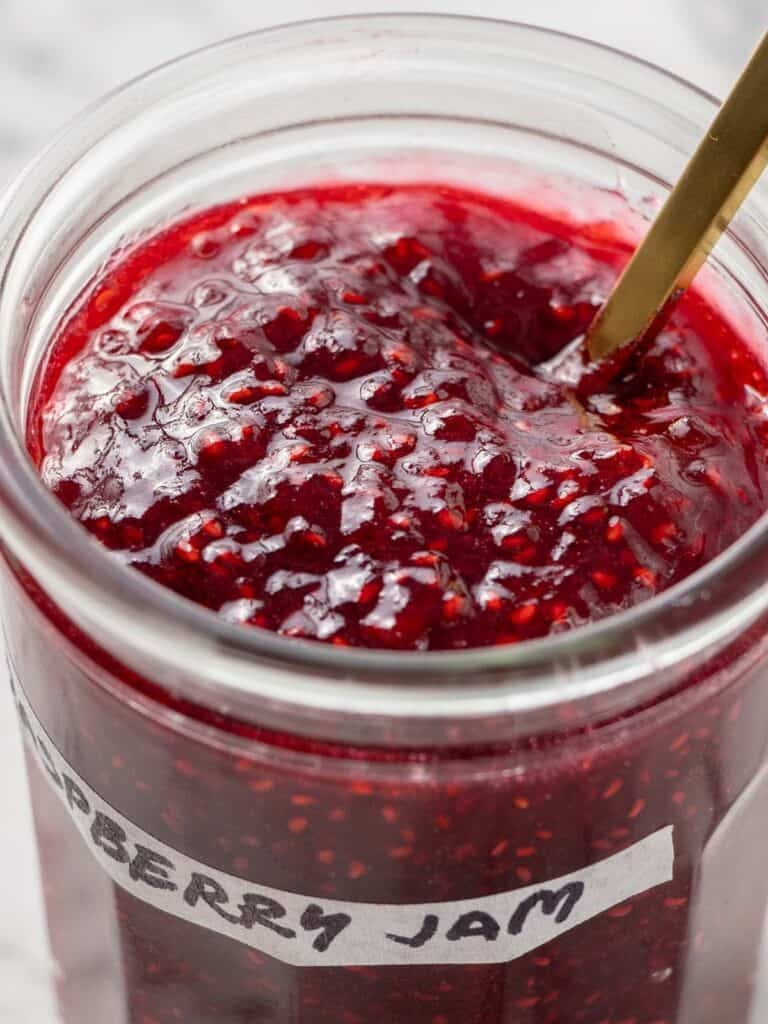
Thick Raspberry Jam Recipe (Small Batch)
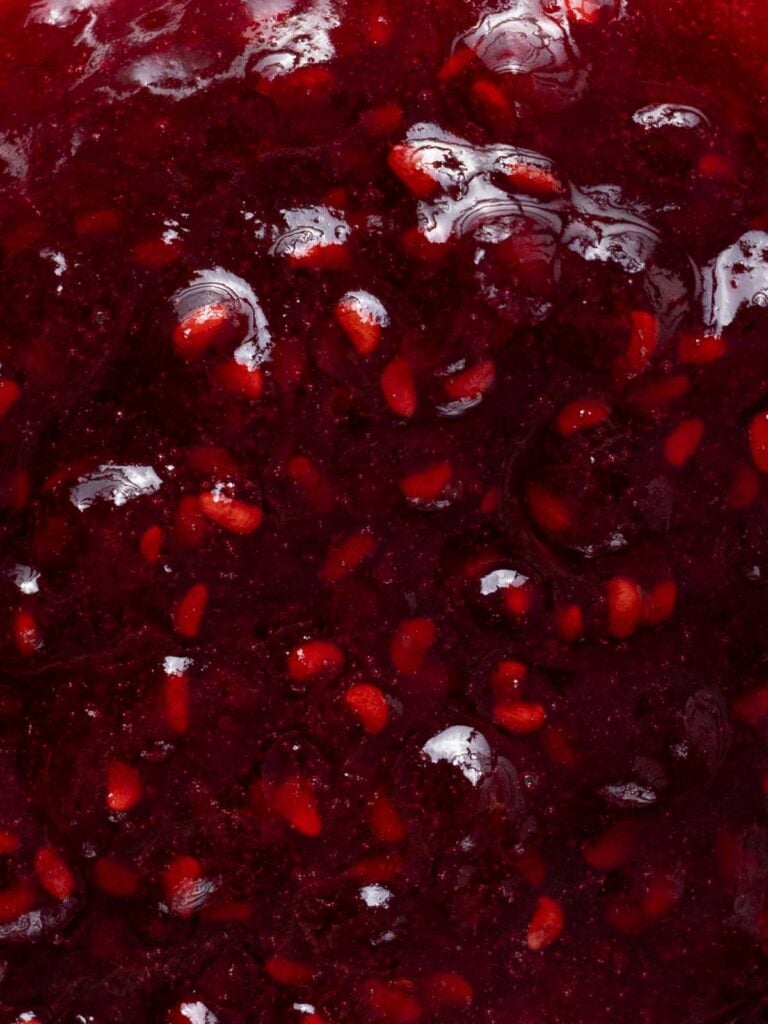
This fresh raspberry jam comes together in about 20 minutes with just 3 simple ingredients. It’s soft set, glossy, and a vibrant red, making it the perfect filling for cakes, tarts, or anything that needs a burst of fresh berry flavor.
Hey team, Nick here. Listen, you’re just not going to get that same bright red color from store-bought jam. That’s exactly why I’m sharing my raspberry jam recipe. It elevates any dessert and lets people know there’s fresh raspberry flavor coming their way.

Nothing compares to the flavor of fresh raspberry jam. It’s not as sweet as store-bought, which I prefer. I add a little lime juice for that bright, tart flavor, but it also helps the jam set properly by supporting the natural pectin.
This recipe sets a little thicker than store-bought, which makes it perfect for filling biscuits or cakes. It holds its shape, so it won’t ooze out or leave your desserts looking messy.
The best part is this recipe works beautifully with frozen raspberries, so you can make it any time of year. Fresh raspberries are great if you have them, but frozen ones are usually much cheaper and just as flavorful once cooked.


Recipes I use it in
- Lamingtons (pictured)
- Sponge Kisses (pictured)
- Raspberry Lamington Cake
- Lamington Cake
- Linzer Cookies
- Viennese Butter Biscuits
- Lamingtons
How to make Raspberry jam
It literally couldn’t be easier. The thing you want to look out for is texture.
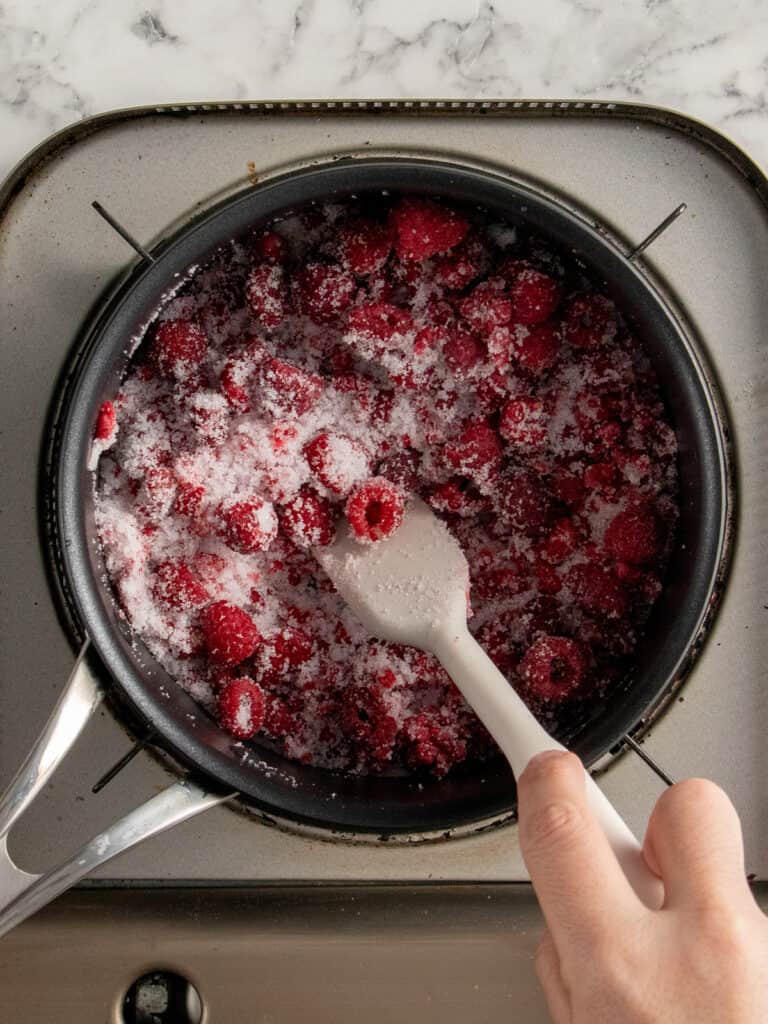
- Begin by adding the raspberries (frozen straight out of the freezer) into a large pot. Add the sugar and fresh lime juice. You can use lemon if you prefer.
- Stir on medium heat until it begins to bubble.
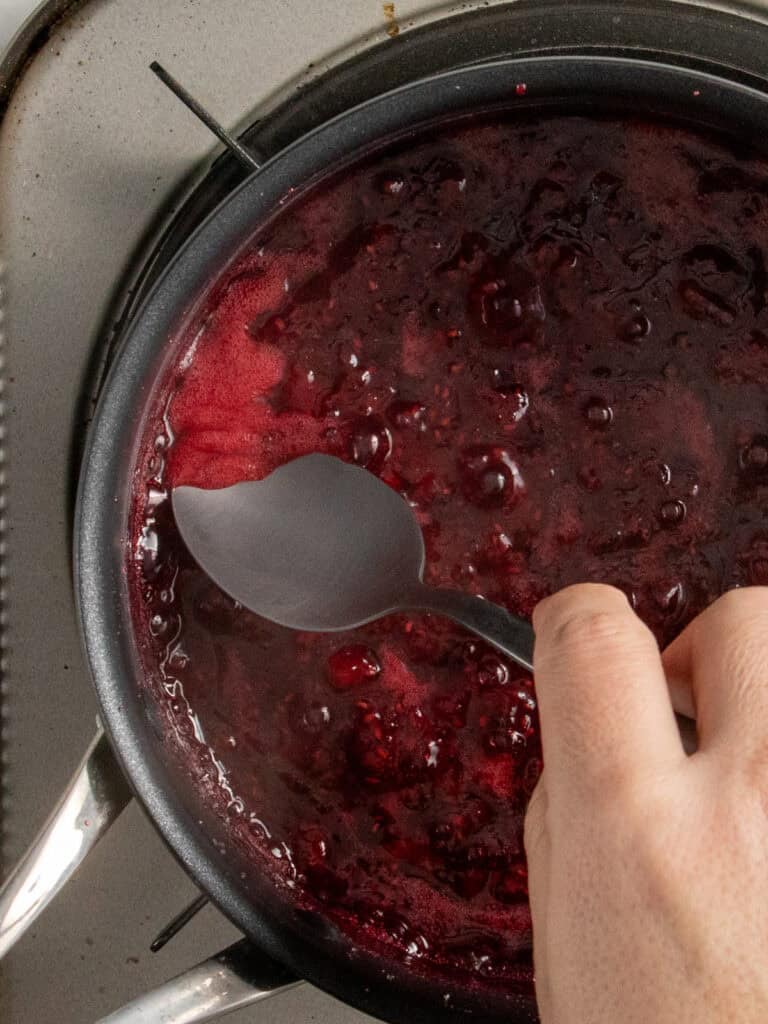
- A little froth will form on the top. Use a spoon to skim that away into a bowl to get rid of later. It helps you get a nice clear jam.
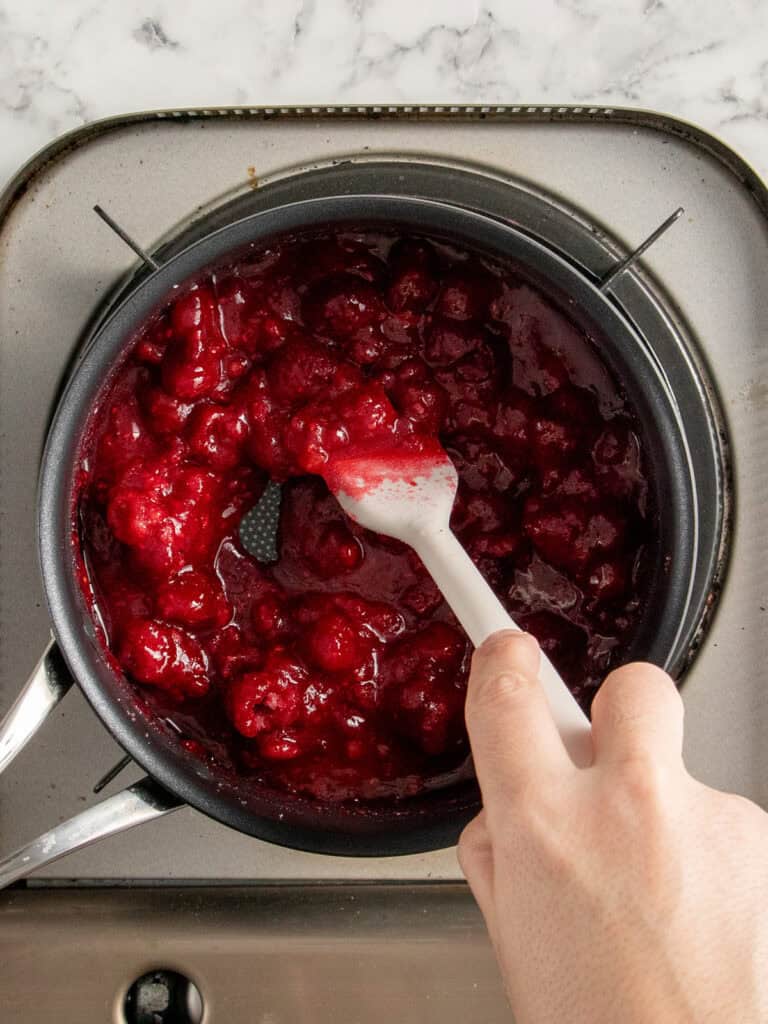
- Then let it simmer away on low medium heat for about 10-15 minutes, stirring occasionally.
Tip: I like using non-stick because there’s less chance of it catching and burning at the bottom of the pot.
How to know if your jam is finished cooking
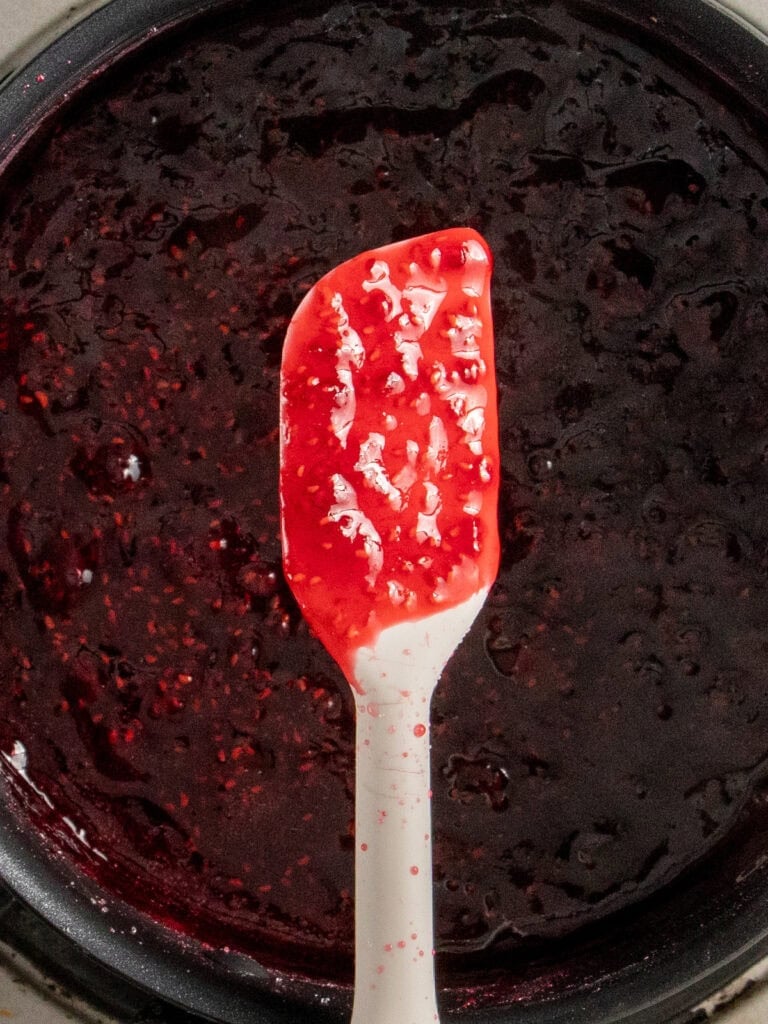
We’re going to test how much it sets. You can cook it less if you want a thin sauce consistency. I like mine on the thicker side.
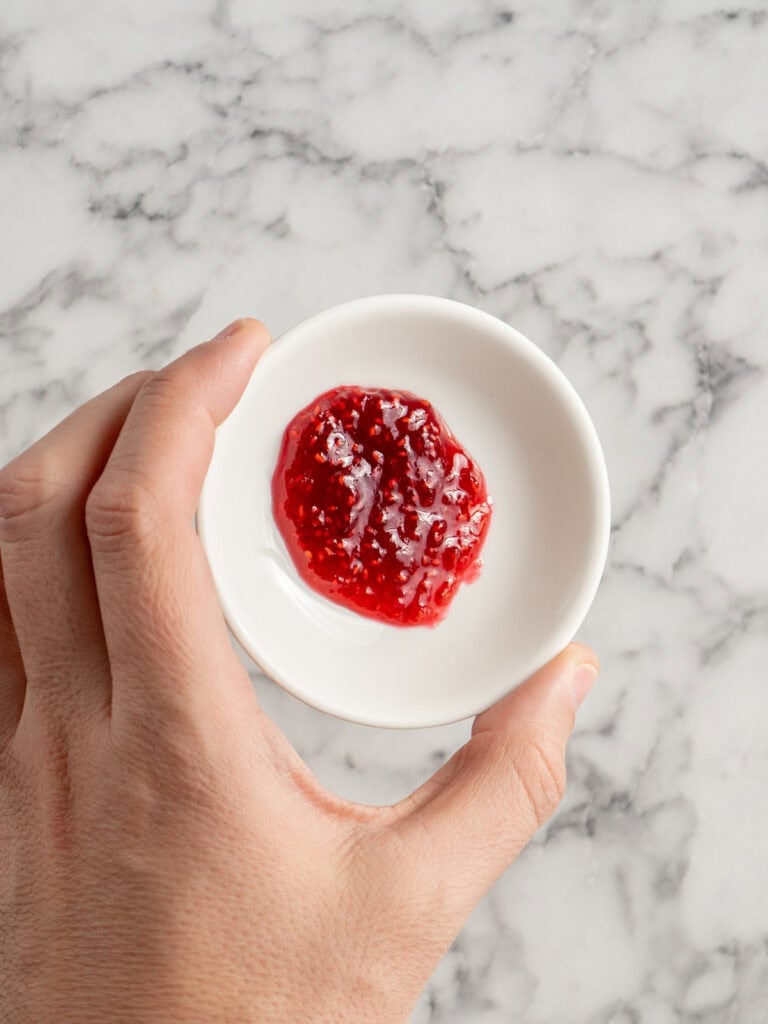
Just add a small bowl or saucer in the freezer for 10 minutes. Then add about a teaspoon of jam in the cold saucer and let it sit on your bench for a couple minutes.
If you tip the saucer on its side a little, that’ll show you how set it is. If it doesn’t slide at all, it’ll set thick which is great for your desserts. If it still moves a little, it’ll be on the thinner side. Great as an ice cream sauce.
This raspberry jam keeps for ages.
This recipe isn’t designed to be jarred, but I’ve left instructions in the recipe card at the bottom of the post if you want to do that. It’ll certainly help it last longer.
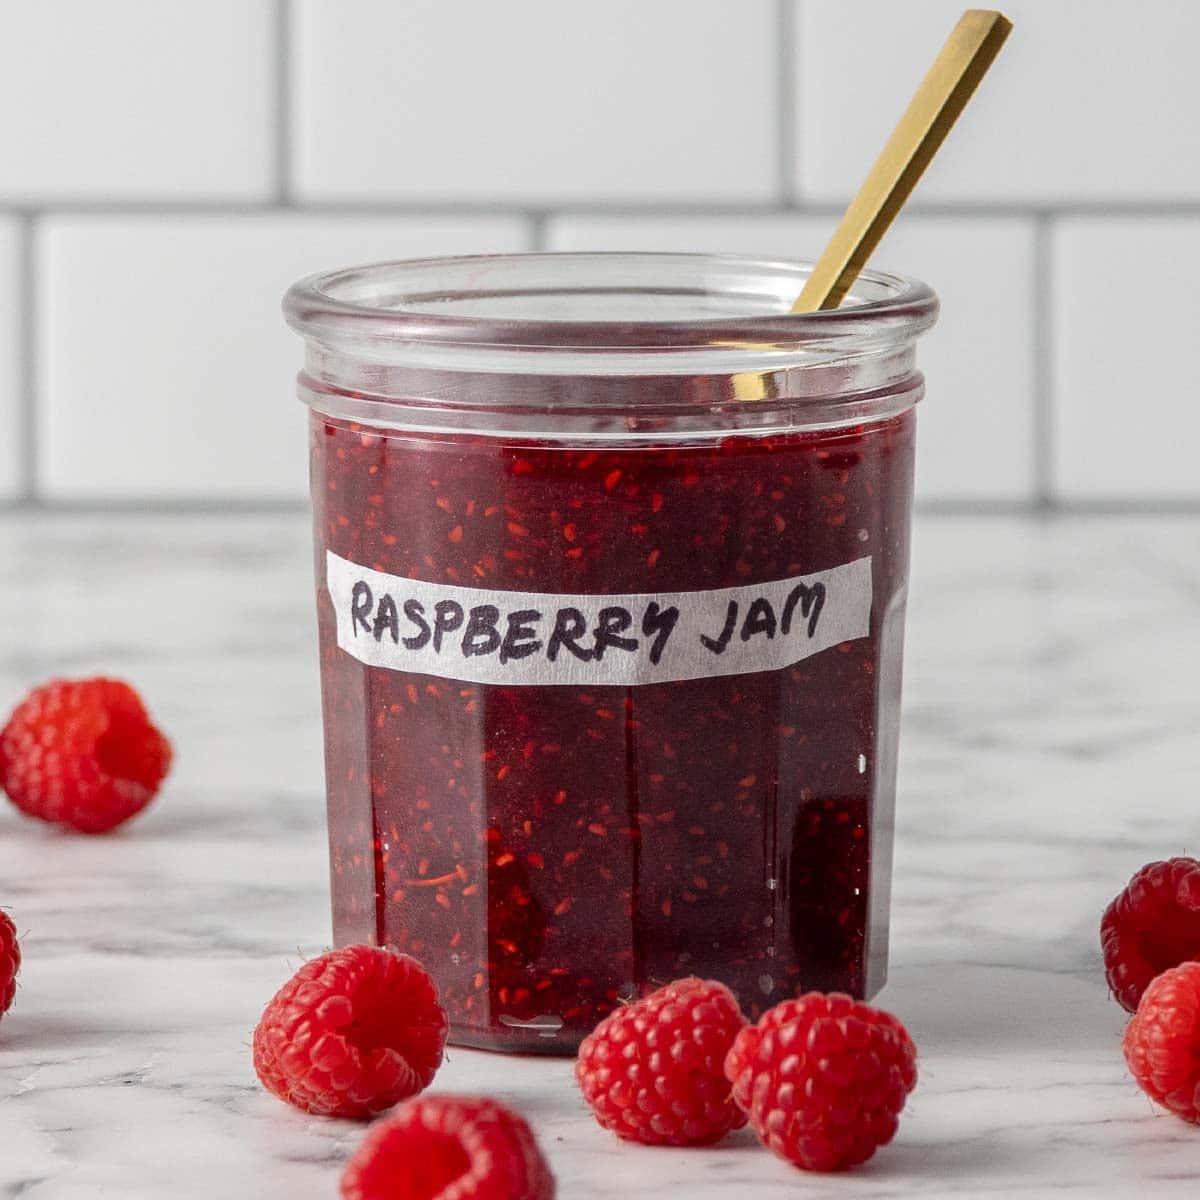
Store you jam in a glass jar with a screw on lid. I like having mine in the fridge, but it’ll keep in a cool dry place at room temperature for a couple weeks.
You can easily scale this recipe by increasing the ingredients if you want to make larger batches.
What about the seeds?
Listen, I know some people don’t like the seeds and you can sieve them out after the jam is cooked, but your jam won’t set as thick. Just keep that in mind.
A Quick Baking Guide
If you’re new to baking or just want to brush up on the basics, these guides are a great place to start!
Loved the recipe? Let me know!
If you enjoyed this recipe, leave a star rating and comment below. It helps others find the recipe and keeps the baking community growing. Tag me on Instagram so I can see your version too!
Fresh Raspberry Jam Recipe (Small Batch)
This small batch raspberry jam is soft set, glossy, and bright. My go-to 3 ingredient recipe for fresh raspberry flavor, perfect texture, and rich color.
Serves 1
Ingredients
Raspberry Jam
- 250 g raspberries, fresh or frozen
- 210 g granulated sugar
- 1 tsp lime or lemon juice, freshly squeezed
Instructions
Prep work
- Wash your jar (if jaring) – I used a 300ml sized glass jar with a metal lid that screws on. Wash the jar and screw top lid with hot, soapy water. Rinse them thoroughly with hot water. Place them on a clean towel facing down to air dry completely. I don’t bother sterilizing the jar. The jam has that much sugar in it, it doesn’t seem to go off and I use it within a couple of weeks.
- Place a small plate in the freezer – This will help you check if the jam is at a setting consistency to know when to stop cooking.
Raspberry Jam
- If using fresh raspberries – dunk them in cold water and drain them well. Then place on a large baking tray lined with baking paper and shuffle around the dry them.
- Combine ingredients – Add the raspberries, sugar and lime juice to a heavy bottomed pot. Place on medium high heat and stir as it comes to a boil. Turn down to medium heat.
- Skim the top – as the mixture bubbles away, use a spoon to skim off the froth that develops on top.
- Finish cooking – cook on medium heat while gently stirring for 10-12 minutes. The mixture will thicken slightly and turn a darker red color.
- To check if the jam is done – At the 5 minute mark, begin testing the doneness of your jam. We want to see if it sets when it’s cooled. Use a spoon to add a small amount on the frozen plate. If it sets and thickens when you press your finger to it, then it’s done. We want it at a spreading consistency, not runny.
- To store – Pour into the cleaned jar. Let it cool completely at room temperature before putting the lid on.
Notes
Storage – Jam can be stored in an airtight container, in the fridge for up to two weeks. It lasts even longer if you store it in the fridge!
Nutrition – is an approximate only. This recipe makes about 1 cup (250g) of jam. If I call for one batch of raspberry jam in my recipes, it’s this recipe.
A note on measurements – This recipe uses weight measurements for the most accurate results. Cup measurements can vary depending on where you are, which affects the precision needed for a recipe like this. Here is where you can learn more about how to measure ingredients using digital kitchen scales.
Nutrition
Calories : 939kcal
Carbonhydrates: 239g
Protein: 3g
Fat: 2g
Saturated Fat: 0.1g
Polyunsaturated Fat: 1g
Monounsaturated Fat : 0.2g
Sodium: 5mg
Potassium : 384mg
Fiber: 16g
Sugar : 221g
Vitamin A: 84IU
Vitamin C: 66mg
Calcium: 65mg
Iron: 2mg
Nutrition Disclosure
Gave this recipe a go?Mention @thescranline or tag #thescranline!
previous post
6 comments
Made this yesterday, followed the recipe exactly and it worked perfectly.
I mean listen, there is no higher praise! haha. Thanks for letting me know Jules! N x
This recipe works perfectly, and makes delicious jam!
Yay! I’m actually making a batch today haha. Glad you loved it Julie! N x
I made this jam today with homegrown raspberries, and as it’s the first time I’ve actually made jam I was nervous. It came out wonderfully! Will save this one for later. Thanks so much for sharing.
That’s so amazing to hear Katy! N x