Buttery Shortbread Cookie Recipe
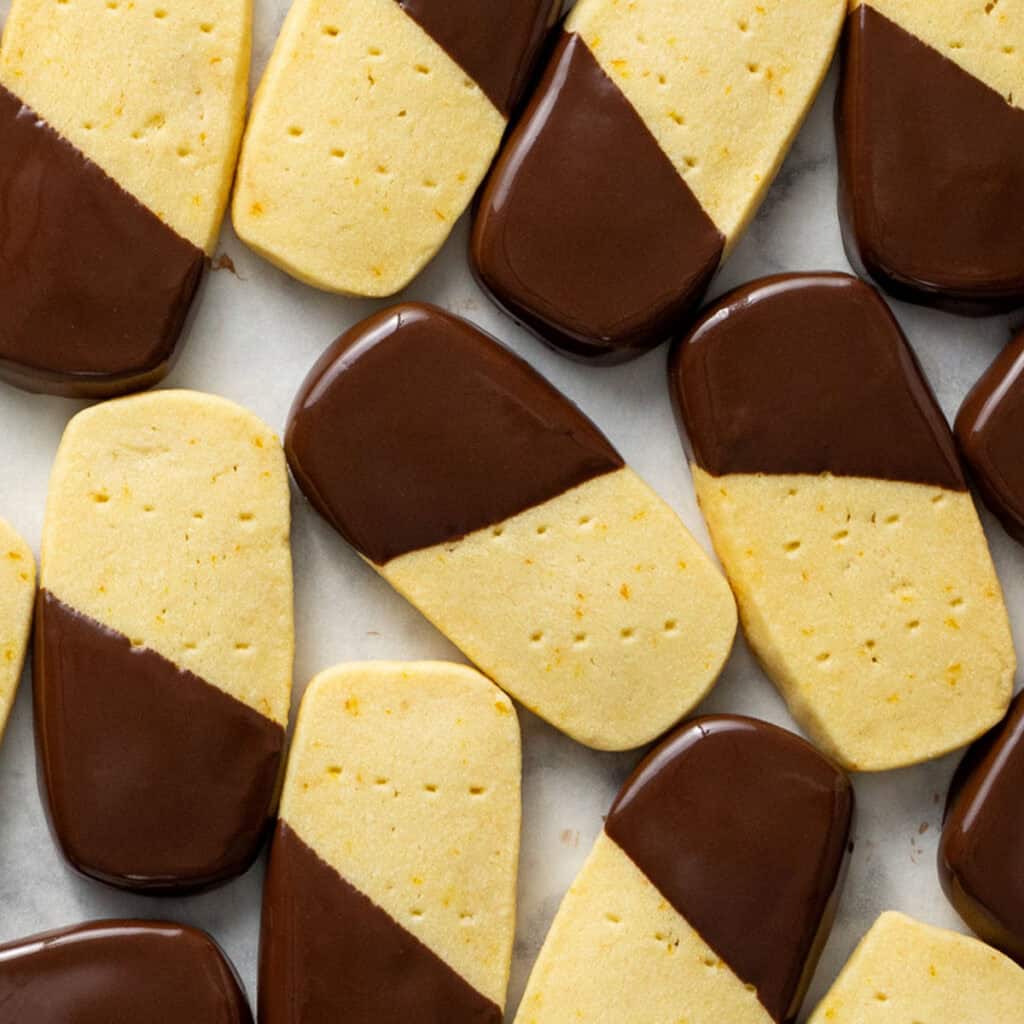
These are my tender, buttery shortbread cookies which have a melt in your mouth texture. I love dipping them in a thin coating of chocolate which frankly makes them irresistible. This is a simple biscuit recipe that is so quick and easy to put together and it’s only made up of 5 simple ingredients. That’s why I always make sure they’re in my holiday cookie box every year. Low effort, big return!

Hey team, Nick here! Listen, this is a cookie recipe you have no business buying from the shops because not only is shortbread super easy to make at home, they taste loads better. I’m talking buttery and melt in your mouth. That’s why these are in my top 5 personal fave cookie recipes on the blog. I mean the rich Chocolate Shortbread is pretty up there too. Honorable mention to my Piped Viennese Butter Biscuits.


Oh! And these are egg free by the way! You just need flour, butter, vanilla, salt and a bit of sugar. I say a bit, because these aren’t overly sweet which is why I love boosting the sweetness with a bit of dark chocolate. Makes them look classy and a bit extra if you ask me.
If you make these pressed and baked in a single tin and then slice them after the fact, they come together in 30 minutes from start to finish. But my favorite way is to roll the dough up into a log, chill it and then slice them up into rounded bars which I bake and coat. I’ll show you both ways in this post!
Dipla
Another classic! Well done making easy and amazing tasting recipes. Did the chill the log and cut methods than dipped in chocolate and crushed pistachios. Was a hit as teachers gifts this year. All rave reviews from all!
Thanks again Nic
Don’t skimp on the butter
To me, it’s the most important ingredient. Whenever I’m making these biscuits, I reach for the good stuff. I prefer New Zealand made butter (European works great too!) that has a fat content of at least 80-82%.

Just one more thing, make sure your butter is properly softened. It’ll make shaping your biscuits so much easier. I actually didn’t know what properly softened butter was until I looked into it last year and then I decided to create a post all about it.
Making the dough


- Cream the butter, sugar, salt and vanilla until fluffy
- Add half the flour and mix with a spatula. Then add the rest and repeat.
Shaping and baking

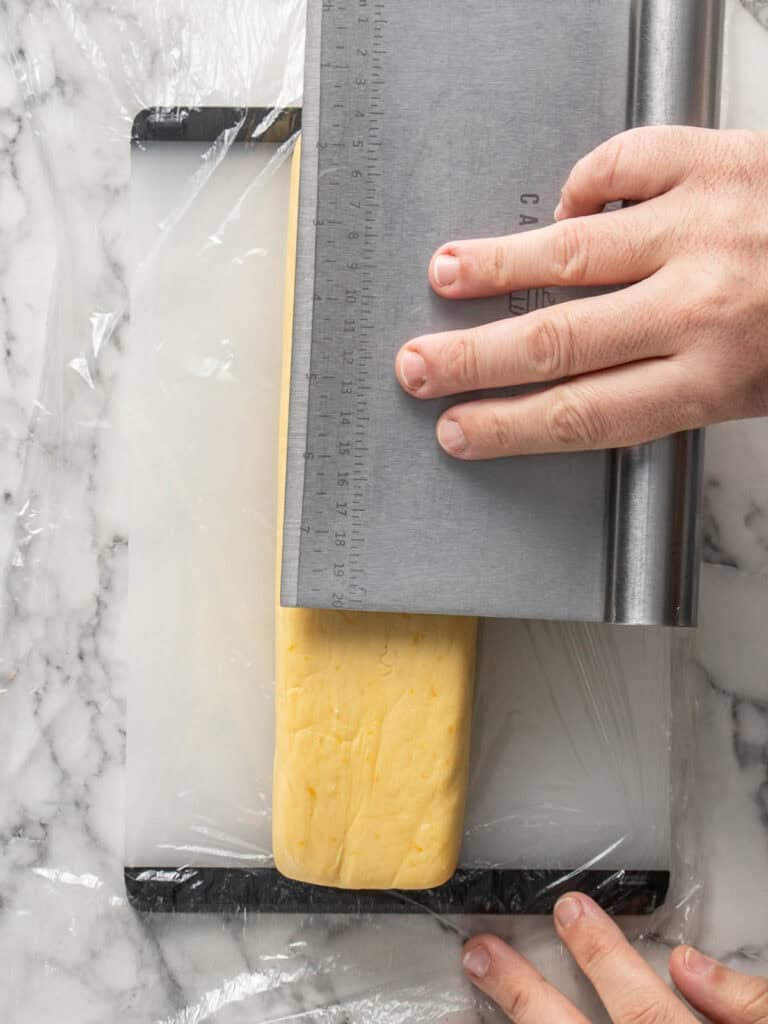
- Once you’ve made the dough, form it into a 20cm long log. Transfer it to a large piece of baking paper and then use a bench scraper or something flat and long to help you shape it into a long rectangle-like shape.
- Mine dough log was about 20cm in length, 6cm wide and 2-3cm in height. Wrap in baking paper and chill in the fridge for about 1-2 hours to firm up.
Tip – You can use plastic wrap to help shape it, but I’ve found using baking paper helps you get a better shape.
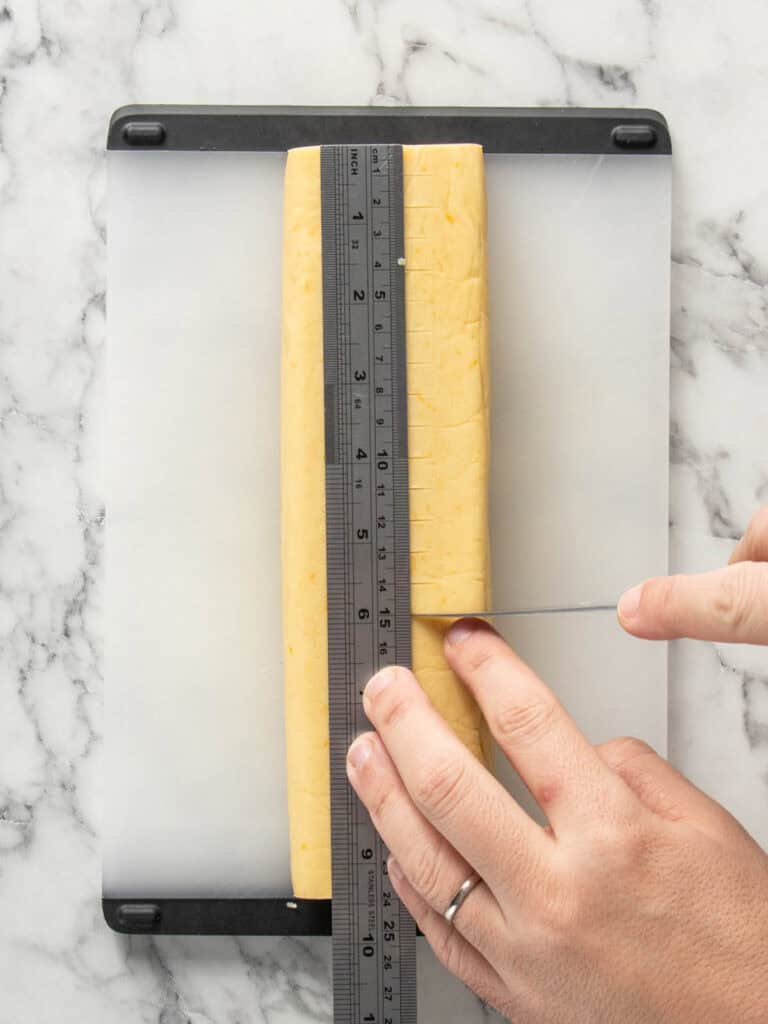

- Once its chilled, use a sharp knife to slice into 1cm thick cookies.


- Place on a baking tray and use the end of a fork or toothpick (for larger holes) to dock. This is purely done for aesthetics.
- Space the chilled cookies out across two baking trays with about 2cm of space in between to leave room for spreading. Bake for 30 minutes or until very lightly golden. Allow to cool completely to room temperature
Coating the cookies (optional, but also not)
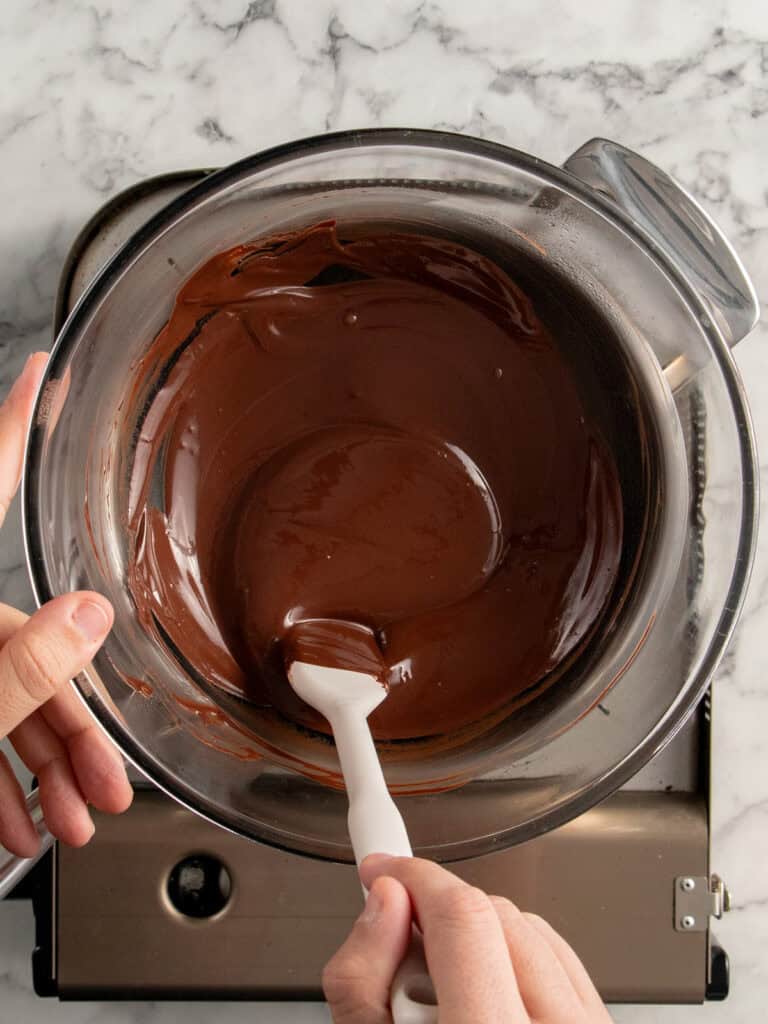
- Pop the chocolate and oil in a large heat proof bowl and place on a double boiler. Make sure the bottom of the bowl isn’t touching the gently boiling water. Stir until smooth and melted.
- Dip your cookies in the chocolate, allow excess to drip off before placing on a baking tray lined with baking paper to set.
Tip – I like popping the coated cookies in the fridge to speed up setting.
Jazz up your shortbread
You can dress them up adding things like toasted nuts (hazelnut is a fave of mine) or even chopped cooking chocolate to the dough.
A Quick Baking Guide
If you’re new to baking or just want to brush up on the basics, these guides are a great place to start!
Loved the recipe? Let me know!
If you enjoyed this recipe, leave a star rating and comment below. It helps others find the recipe and keeps the baking community growing. Tag me on Instagram so I can see your version too!

Buttery Shortbread Cookie Recipe
This tender, golden Butter Shortbread Biscuit Recipe has a crumbly, melt in your mouth buttery inside with lightly crisp edges , and it’s ready in 30 minutes!
Serves 30
Ingredients
Shortbread
- 200 g unsalted butter, softened (see notes)
- 110 g powdered sugar, icing sugar
- 3 g fine salt
- 14 g vanilla extract
- 1 orange zested, optional
- 300 g all-purpose flour, plain flour
Chocolate Coating (optional)
- 300 g dark cooking chocolate, see notes
- 20 g vegetable oil
Instructions
To Make The Shortbread Dough
- Whip butter and sugar – Add your softened butter, sugar, salt, vanilla extract and orange zest (optional) to a medium sized mixing bowl. Use an electric hand mixer or stand mixer fitted with the paddle attachment to cream the ingredients together until pale and fluffy, about 60 seconds or until it’s all lightly creamed together. We’re not trying to whip air into the butter.
- Add flour to form dough – Add half the flour and use a spatula to mix until a dough forms and no dry ingredients are showing. Then add the remaining dry ingredients and repeat. You want to make sure the dough is mixed really well and that there are no dry ingredients showing. Try not to overmix though otherwise you’ll end up with tough cookies without a delicate crumbly and tender texture.
To bake in a baking dish – ‘Scottish’ Style (Speedy 30-minute option!)
- Preheat at a fan-forced oven to 130C / 265F (150C / 300F for no fan).
- Preparing the baking tin – Spray the sides and bottom of a 22cm x 31cm / 9 x 13-inch baking tin with oil spray and line with baking paper, leaving some overhang for ease of lifting out later.
- Forming the biscuits – Pour the biscuit dough into the tin and use your hands to press as flat as you can. You can even use the bottom of a flat cup or measuring cup to get it perfectly flat for uniform looking biscuits. Be gentle and mindful not to press down too hard otherwise the cookies will be dense.
- Baking – Bake for 15 minutes, take out of the oven and use a large knife to cut into 8 x 3 bars. Then use a fork to dock each bar 3 times. Place back into the oven and bake another 10-15 minutes or until lightly golden.
- Cooling – Take out of the oven and allow to cool completely before gently run in the knife back over where you cut the bars. Take apart and serve.
To form your cookies into rectangles – my favorite (requires chill time)
- Prepare baking trays – Line two half-sheet baking trays with baking paper.
- Forming the dough log – Pour the biscuit dough onto your workbench and bunch together forming a rough log shape. Transfer to a large piece of baking paper and begin shaping it. I used a bench scraper to form my dough into a neater rectangle shape that is about 20cm in length, 6cm in height and about 3-4cm in width. Get the sides as evenly flat as you can. Lightly wrap in plastic and chill in the fridge for 1-2 hours.
- Preheat at a fan-forced oven to 130C / 265F (150C / 300F for no fan).
- Cutting the biscuits – Take the dough log out of the fridge and unwrap. Allow to sit for 5 minutes at room temperature to soften slightly. Use a sharp knife to slowly cut into 1cm wide biscuits. Place on the baking tray, spacing about 2cm apart to allow them to spread slightly. I used the flat end of a skewer to indent holes into my cookies which is purely for decoration.
- Baking – Bake for 20 minutes or until lightly golden. Allow to cool completely.
Using cookie cutters – great for holiday cookies (requires chill time)
- Rolling out the dough – Form the dough into two flat oval shapes using your hands. Place one dough disc on top of a large piece of baking paper and place another large piece of baking paper on top. Roll out to about 1/2cm / 0.20-inch in thickness. Repeat with the other dough disc.
- Chill the dough – place the rolled dough onto a large baking tray and chill in the fridge for an hour.
- Preheat at a fan-forced oven to 130C / 265F (150C / 300F for no fan).
- Cutting out the biscuits – use any cookie cutter shapes you like to cut out your cookies.
- Baking – Place on the baking tray, spacing about 2cm apart to allow them to spread slightly. Bake for 30 minutes or until lightly golden.
Chocolate Coating (optional)
- To prepare the chocolate coating – Add the chocolate and oil into a heat proof bowl and melt in the microwave for 30 seconds at a time, stirring each time until melted. Alternatively, you can bring a pot of water to a gentle simmer and place the bowl on top, making sure the bottom of the bowl isn’t touching the water and stir until melted. Allow to cool slightly before using.
- Coat in chocolate (optional) – I like to dip some of my shortbread into melted chocolate allowing excess chocolate to drip off. Place them on a baking tray to set before serving.
Notes
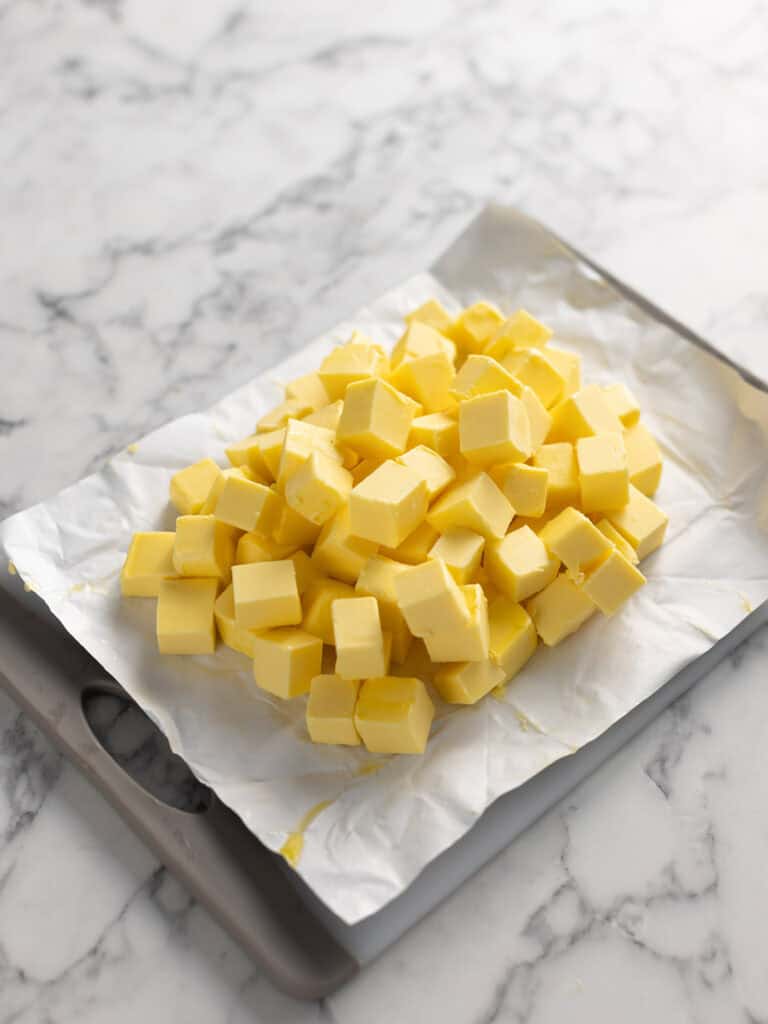
Softened Butter – you want your butter to be soft for this recipe so that it creams with the sugar properly. Softened butter should be firm enough that it holds its shape, but yields gentle pressure when pressed gently with your finger. Room temperature method: you can do this by taking your butter out of the fridge and cutting into cubes. Let it sit at room temperature for 1 hour before using. Microwave method (quicker): cut into cubes and place in a heatproof bowl or plate. Microwave for 10 seconds at a time until it’s soft but firm enough to hold its shape with some resistance.
Cooking chocolate – this is chocolate that is designed to be used for melting and cooking and can be found in the baking isle of your supermarket.
Storage – Shortbread can be stored in an airtight container for up to three days.
Nutrition – is an approximate and is based on per cookie and includes the chocolate coating. This recipe makes anywhere from 24-32 cookies depending on how you choose to make them!
A note on measurements – this recipe is offered in weight measurements. This is in an effort to offer the most accurate way to get the best results. Cup measurements simply aren’t accurate enough for a recipe that needs precision and cup sizes differ depending on where you are in the world. To learn more about how to measure ingredients using digital kitchen scales, click here!
Nutrition
Calories : 153kcal
Carbonhydrates: 16g
Protein: 2g
Fat: 10g
Saturated Fat: 6g
Polyunsaturated Fat: 0.4g
Monounsaturated Fat : 3g
Trans Fat : 0.2g
Cholesterol: 14mg
Sodium: 40mg
Potassium : 14mg
Fiber: 1g
Sugar : 7g
Vitamin A: 168IU
Vitamin C: 1mg
Calcium: 4mg
Iron: 0.5mg
Nutrition Disclosure
Gave this recipe a go?Mention @thescranline or tag #thescranline!
previous post
9 comments
So excited for you guys to try this recipe! It’s easy and taste phenomenal!
Glad I found an Australian cooking site and your recipes do sound delicious. Also, very happy that you use weight measurements, but what I don’t understand is why you use American terminology first in the ingredient list and then the Australian equivalent.
Hey Chessy! So glad you found my site—welcome! As for using American terminology, it really comes down to two things. First, it helps Google understand my site better, which improves how it ranks. Second, most of my audience is based in the US, so I need to cater to them. Trust me, I’d love to just use Aussie terms, but that’s the reality of being online! I’m still 100% proud to be a Melburnian through and through. Hope that clears things up! N x
Another classic! Well done making easy and amazing tasting recipes. Did the chill the log and cut methods than dipped in chocolate and crushed pistachios. Was a hit as teachers gifts this year. All rave reviews from all!
Thanks again Nic
Dipla, that makes me so happy to hear. Love that you used the log and slice method, and the chocolate with pistachios combo sounds perfect. So glad they were a hit as teacher gifts. Thanks for making them and for the lovely message. N x
Very easy to follow recipe and cooked to perfection. Very melt in your mouth shortbread. Highly recommend
So glad to hear you loved it Maz! N x
Loved this recipe. Super easy and great shortbread. My only thought – not a criticism – is I may add a touch less salt next time.
Thanks Nick. Great job.
Thanks so much David! To each their own but I appreciate you sharing your thoughts and I’m glad you loved the recipe. It’s made my day! N x