Soft Hot Cross Buns (soft for days!)
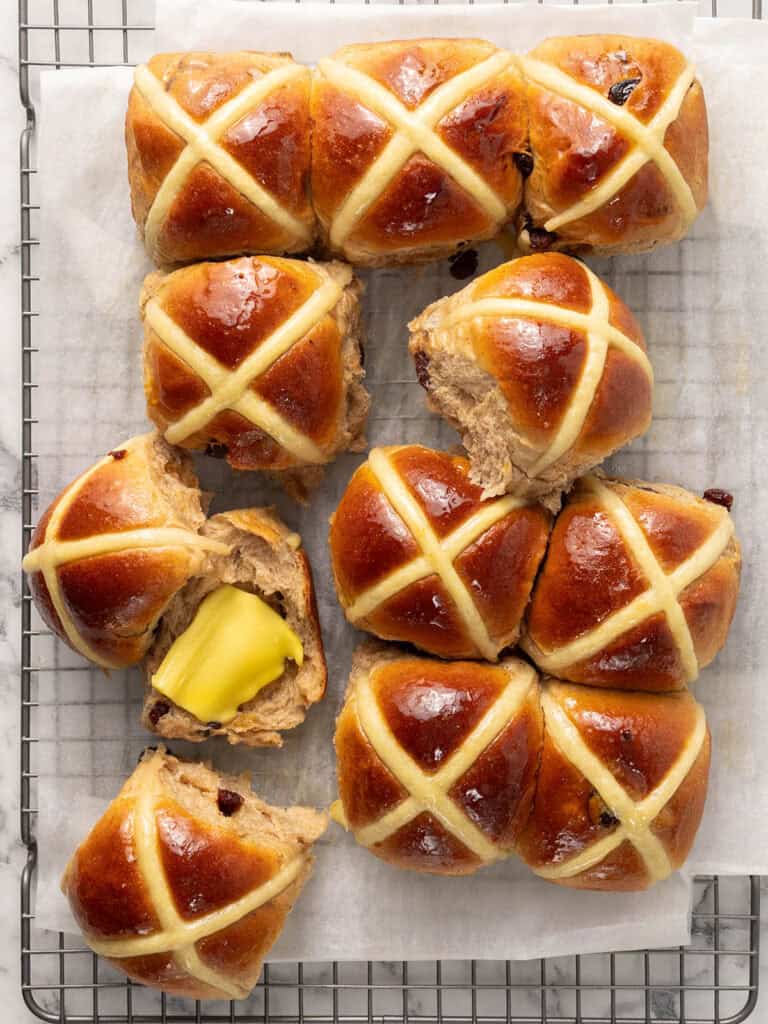
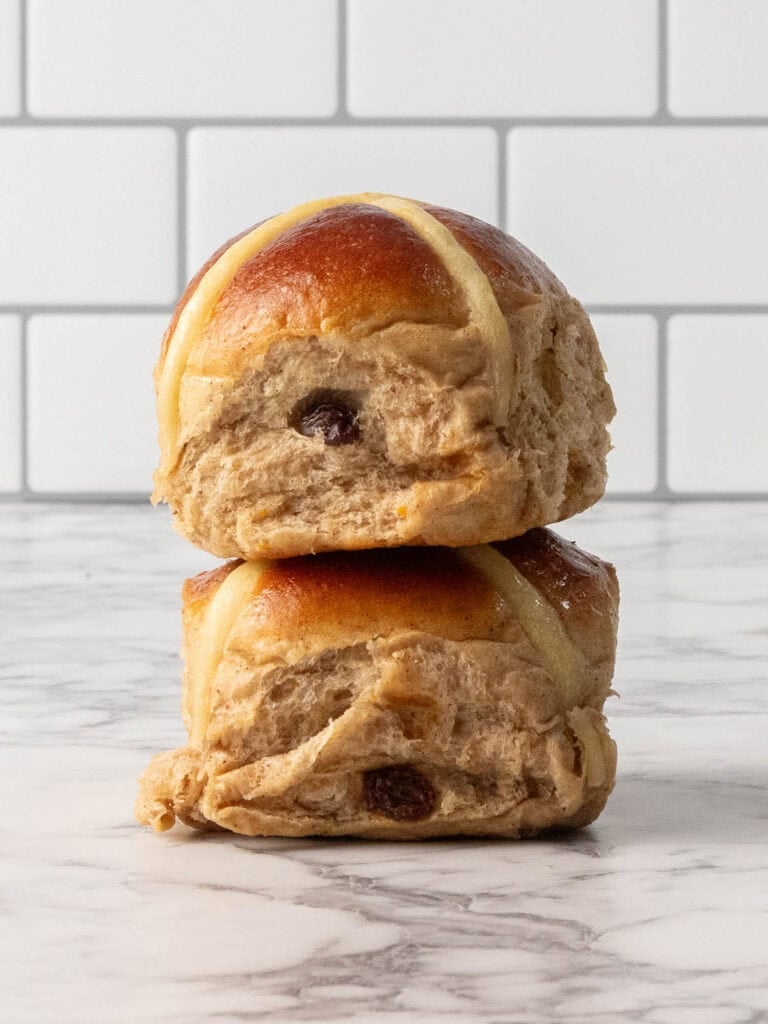
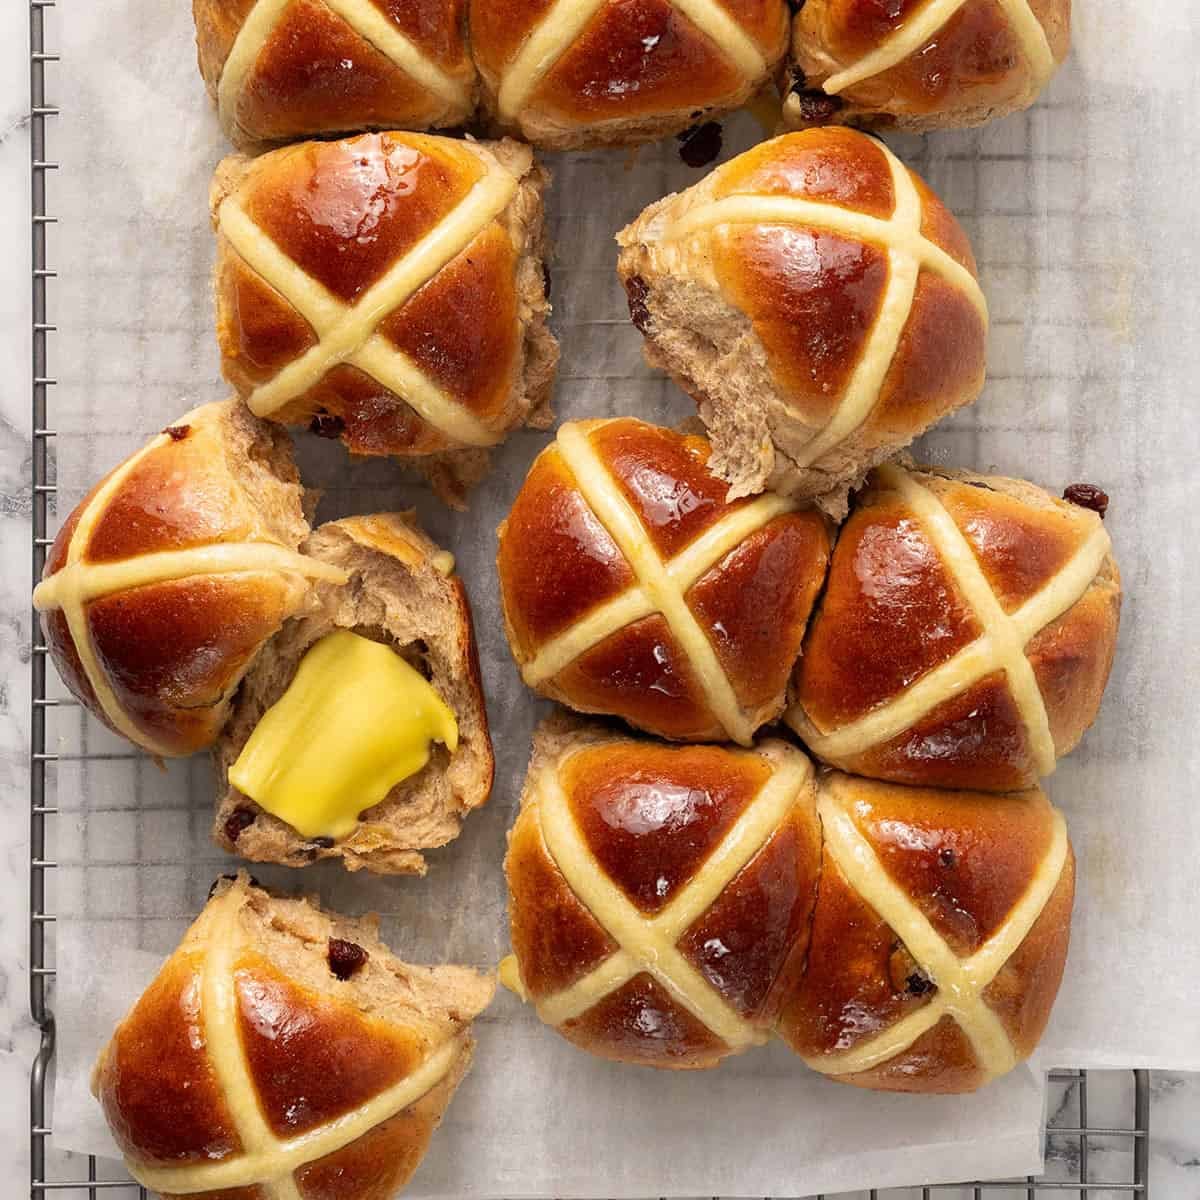
These buttery hot cross buns are bakery level soft, with warm spices, a lightly chewy bread crumb and a glossy orange glaze on top. They stay soft for days and they’re not overly sweet which means the sultanas littered throughout give each bite a little burst of sweet.
HOT CROSS BUN LAW
You must tear your soft hot cross bun in half with your fingers. Not a knife. It must be warm. You must add a 1/2cm thick slice of SALTED butter (minimum!) and then sandwich it again BEFORE you eat it. Under penalty of shame.
Moving on…😂
I’m not just giving you any old hot cross bun recipe here. You’re getting a bakery level soft bun today. And that’s thanks to this method called the Tangzhong method. It’s a tiny little extra step at the beginning of the recipe that gives you a bun that’s ultra soft and buttery and stays that way for days.
This is my classic hot cross bun recipe. It’s an enriched dough with egg and butter which makes them fluffy and buttery. And like a good hot cross bun it has all the spices you expect, orange zest (a must in my opinion) and the sultanas of course!
Related – If you’re after a rich chocolate version I have a chocolate hot cross bun recipe and it’s my personal favorite. Same laws apply on that one too.
You can make these in one day. But they’re more manageable if you make the dough the day before, let it chill (stiffens it and makes shaping way easier) and then bake the next day. Plus that overnight rest in the fridge gives them a much better bread flavor. And as usual, this post has step by step photos, so you know which textures to look out for depending on the stand mixer you use.
Tangzhong. The secret to bakery soft buns!
I’ve used this method for my dinner rolls and brioche buns because it helps them come out really soft. You gently cook a portion of the flour and water together and it gelatinizes the flour which helps the buns retain moisture. It’s a Japanese technique that a lot of bakeries use to help breads stay soft.
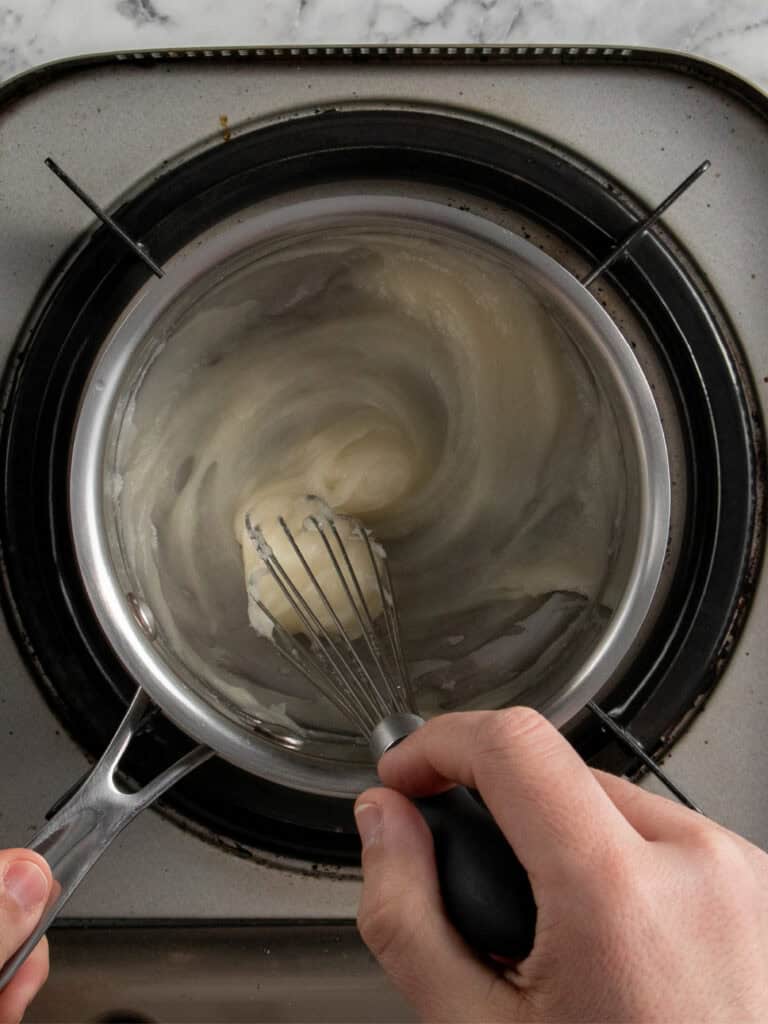
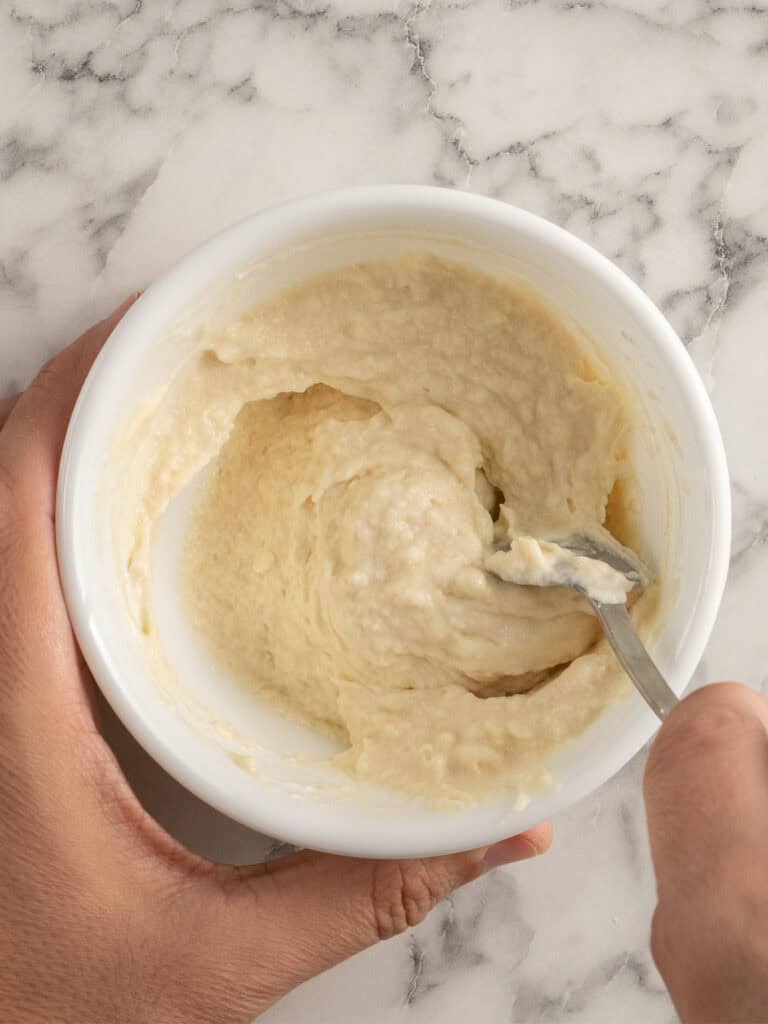
- To make it, add the flour and water to a small saucepan and use a whisk to combine. Place on medium heat and continue whisking until the mixture thickens and begins to bubble.
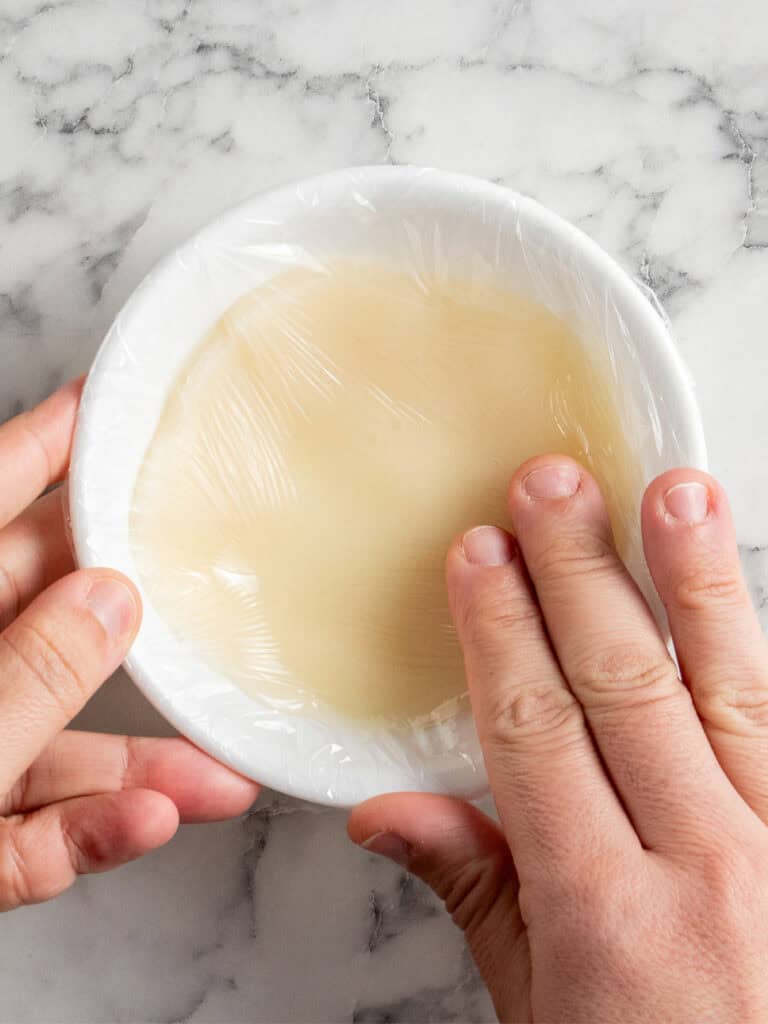
- Place in a small bowl and cover with plastic wrap so that the plastic is directly on the surface of the paste. Allow it to cool at room temp
Cool down – Make sure you let it cool down at room temperature. You can’t add it to the dough if it’s still warm.
Pay attention to texture, not mixing time.
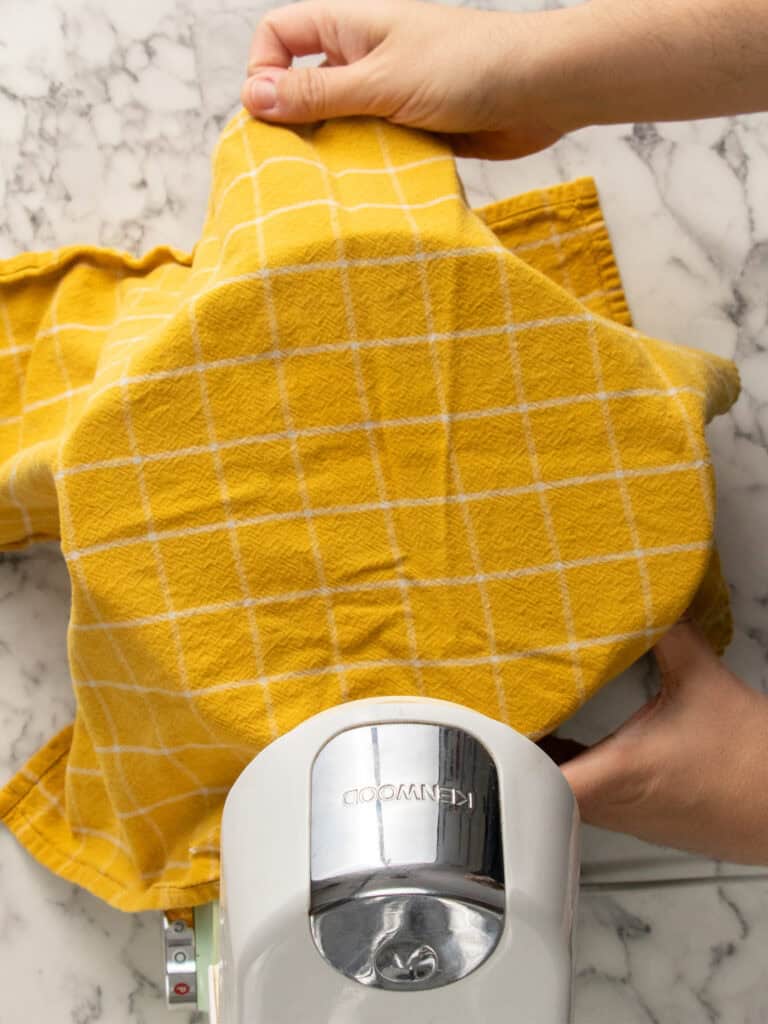
I tested this using the Ooni Halo Pro mixer and a traditional stand mixer with a dough hook. Both of those differ in mixing time because they work differently.
The ooni is a spiral mixer and has more friction which means it develops gluten quicker than my Kenwood. In the recipe I’m going to give you mixing times, but it’s better for you to go off texture to know when each step is done. So look out for those descriptions and photos in this post!
How to make the dough
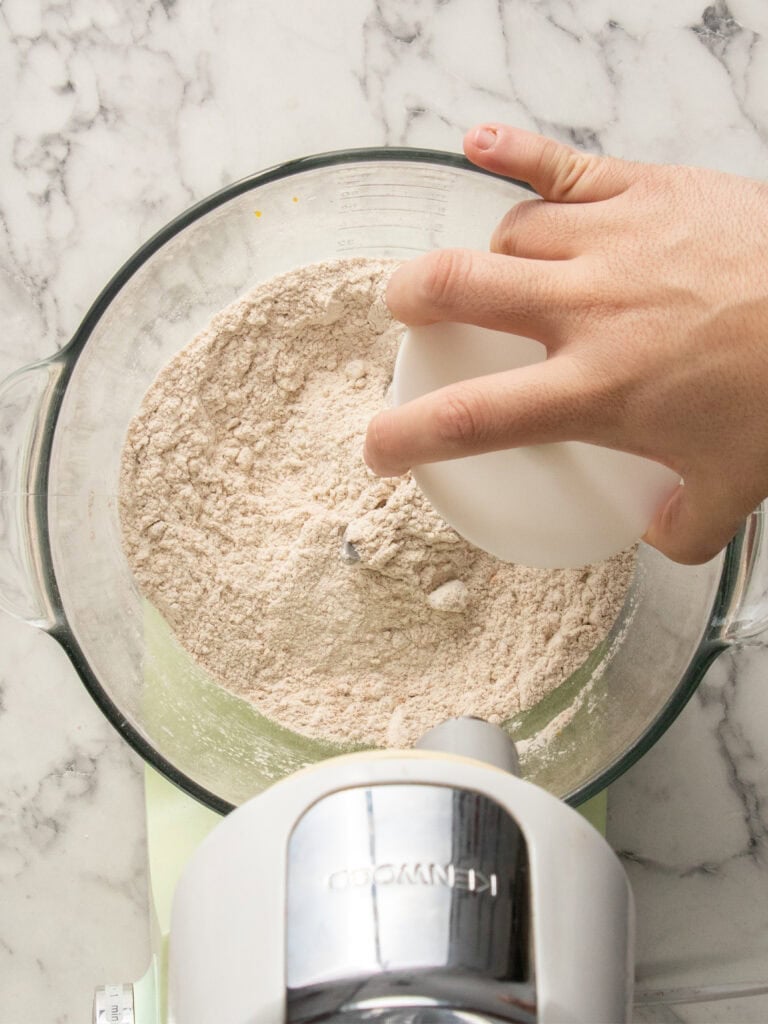

- Add the flour, yeast, brown sugar, cinnamon, allspice, nutmeg, milk powder (helps make the bread more tender) and orange zest to the bowl of your stand mixer. More on stand mixers below. Whisk the ingredients together using the dough hook.
- Whisk the eggs and milk and add to the dry ingredients along with the cooled Tangzhong. Knead for 15 minutes or until the dough looks very smooth and comes away from the bowl.
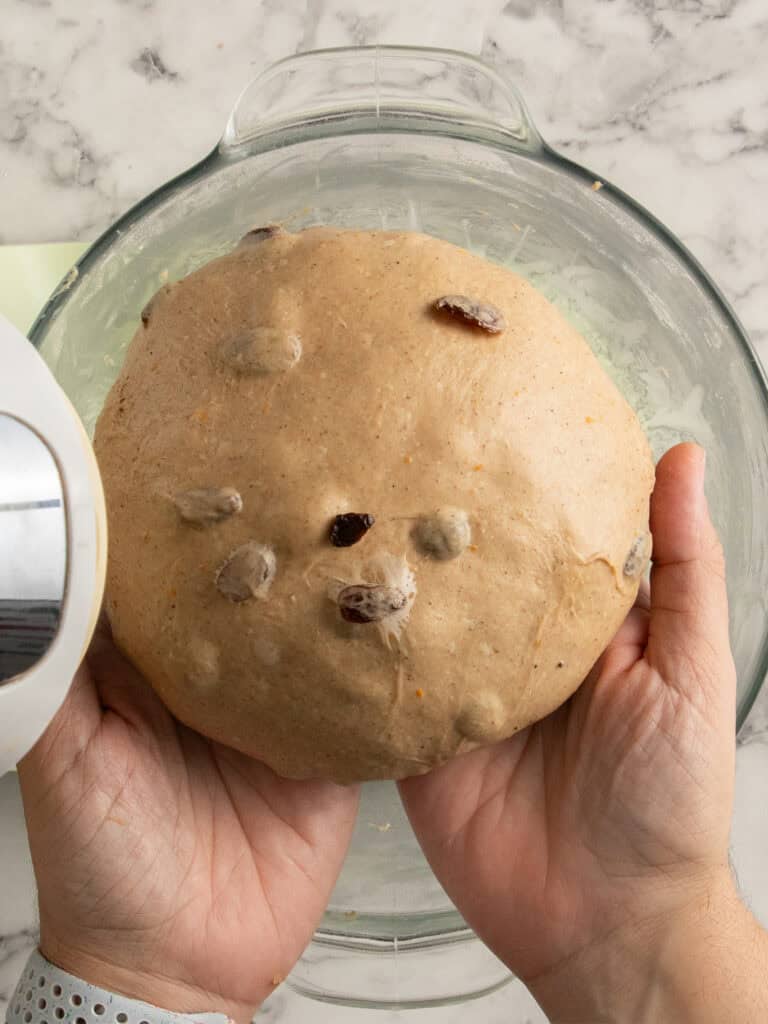
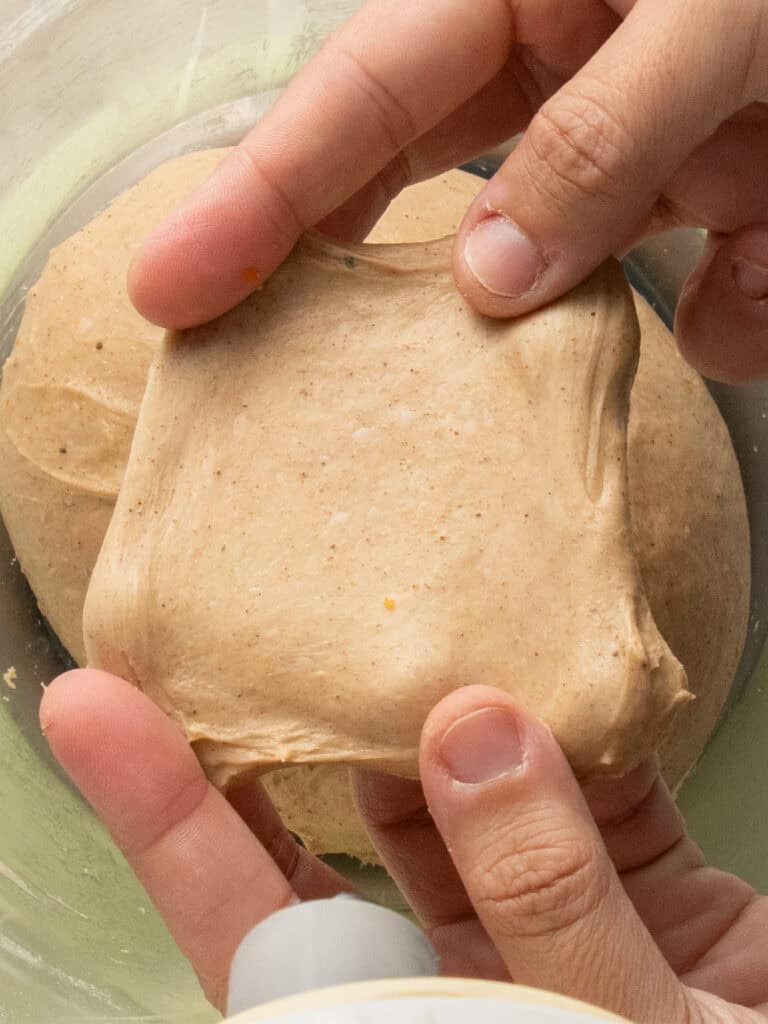
Texture – You’ll know the dough is done when you can do the windowpane test. Stretch some of the dough between four fingers. If you can stretch it without it tearing easily, it’s done! It’ll also be slightly sticky and tacky at this point, but it shouldn’t stick to your hands.
Kneading time is so important. That longer knead, combined with bread flour, builds a strong gluten network. That structure is what allows the dough to hold onto gas as it rest in the fridge and does a slow rise and then again as it rises in the oven, giving you a soft, fluffy bun with that light, airy texture.
Every part of this recipe is about trapping air.

Theres a short 10 min rest after kneading which important. It gives the gluten time to relax, making the dough smoother and easier to work with before adding the butter. It also helps the dough stretch more easily, so it can trap more air as it proofs and bakes.
It also gives the dough a chance to cool down after the long kneading time so it doesn’t melt the butter in the next step!
Final dough step: Adding the butter
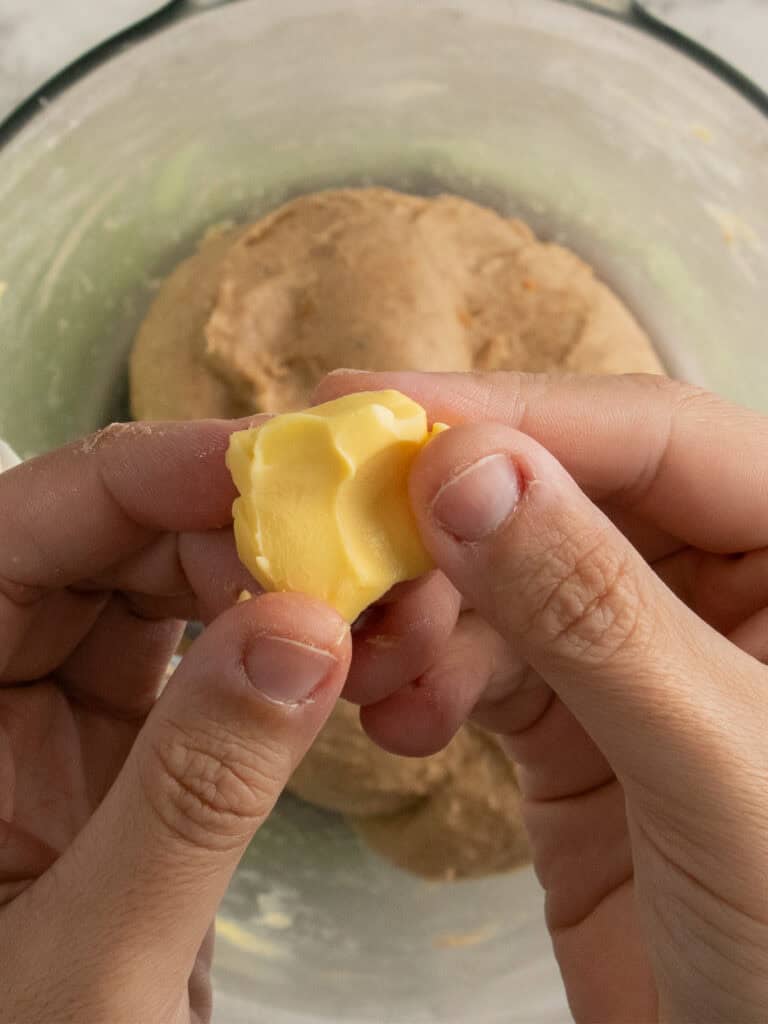
- Knead the dough for 2-3 minutes then begin slowly adding the softened butter once cube at a time. Let it mostly knead into the dough before adding the next cube. It’ll take about 2-3 minutes.
- Then knead for another 2-3 minutes and add your sultanas in the final 90 seconds. You can knead them in by hand too if you like.
Texture – the dough will be very slightly sticky, but won’t stick to your hands. It will feel smooth and soft but strong enough to stay together when you do the window pane test again.
Pop it in the fridge to chill
I transfer my dough to a medium sized bowl and cover it with plastic wrap because the mixer bowl takes up too much space in the fridge.
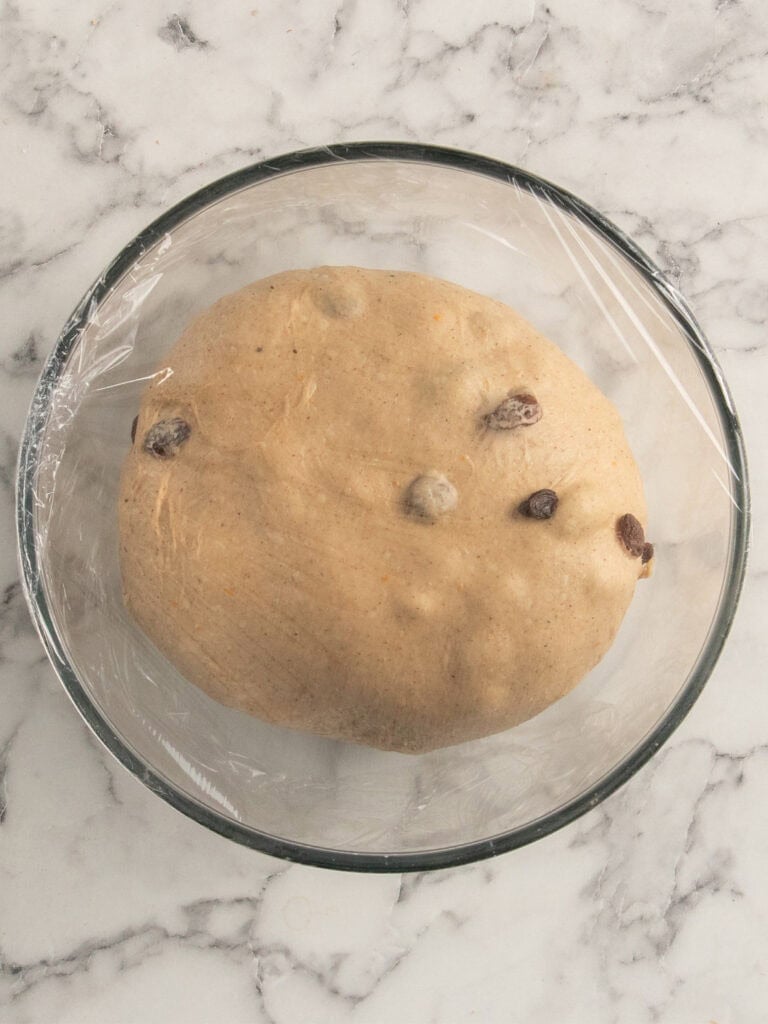
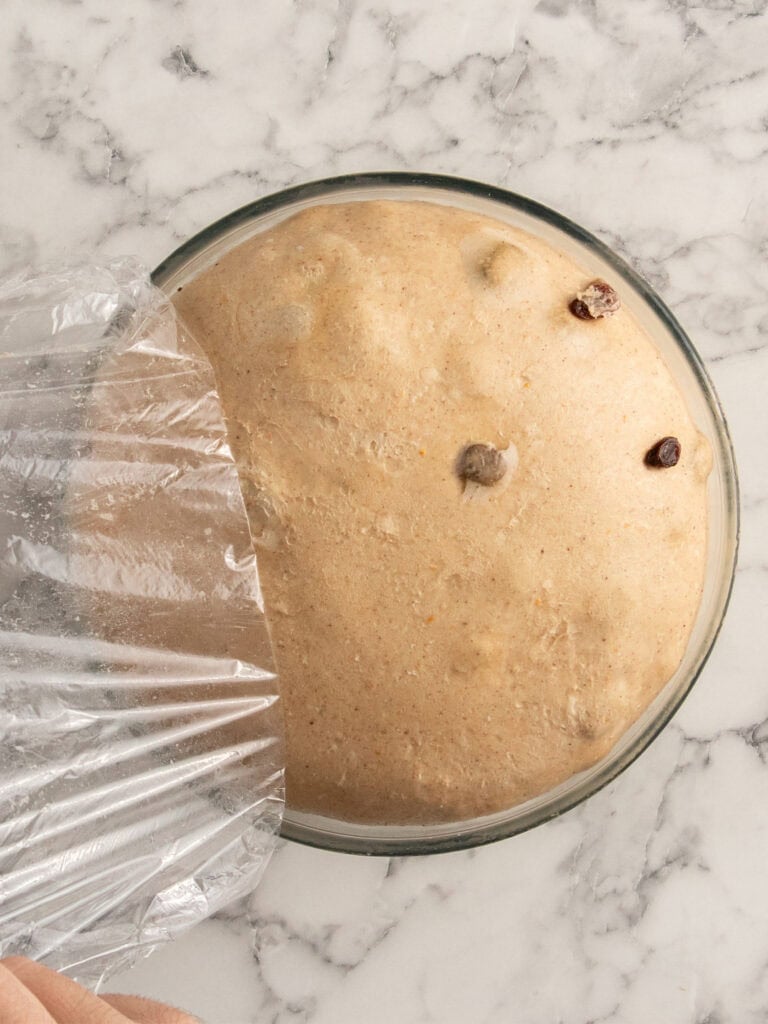
Let it rest for 1 hour at room temp or until it doubles in size. Then transfer to the fridge for at least 4 hours to chill and slow ferment. This is when it develops a lot of flavor.
An overnight rest in the fridge gives it loads of flavor – I like adding mine to the fridge overnight and then shaping and baking the buns overnight. Better flavor and much more manageable to make the recipe this way.
Shaping and baking your buns
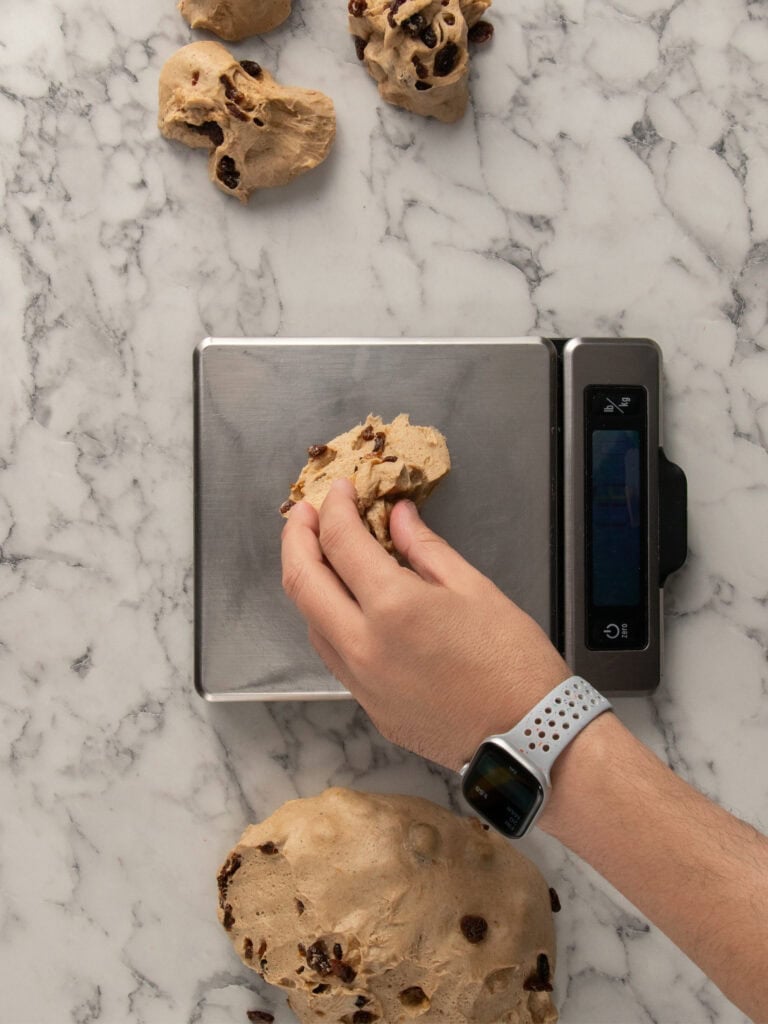
- I like my buns even in size. So I use kitchen scales to measure the dough then divide that by 12. For this recipe it works out to about 90g per bun.
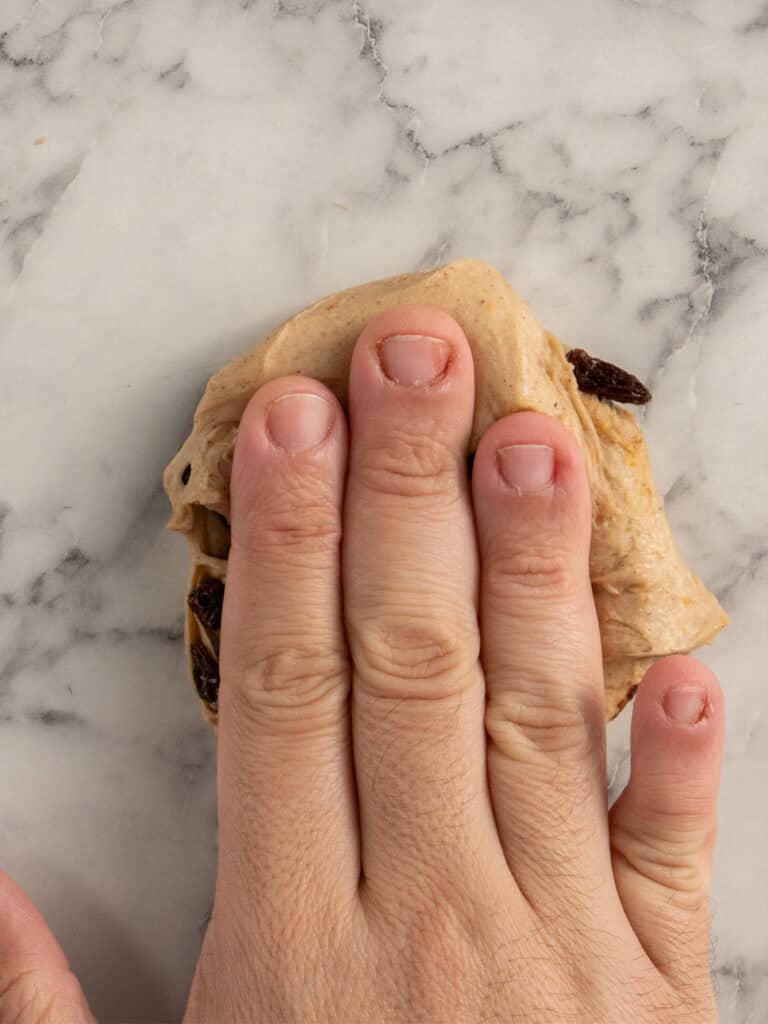
- Squash it down on your work bench to flatten it
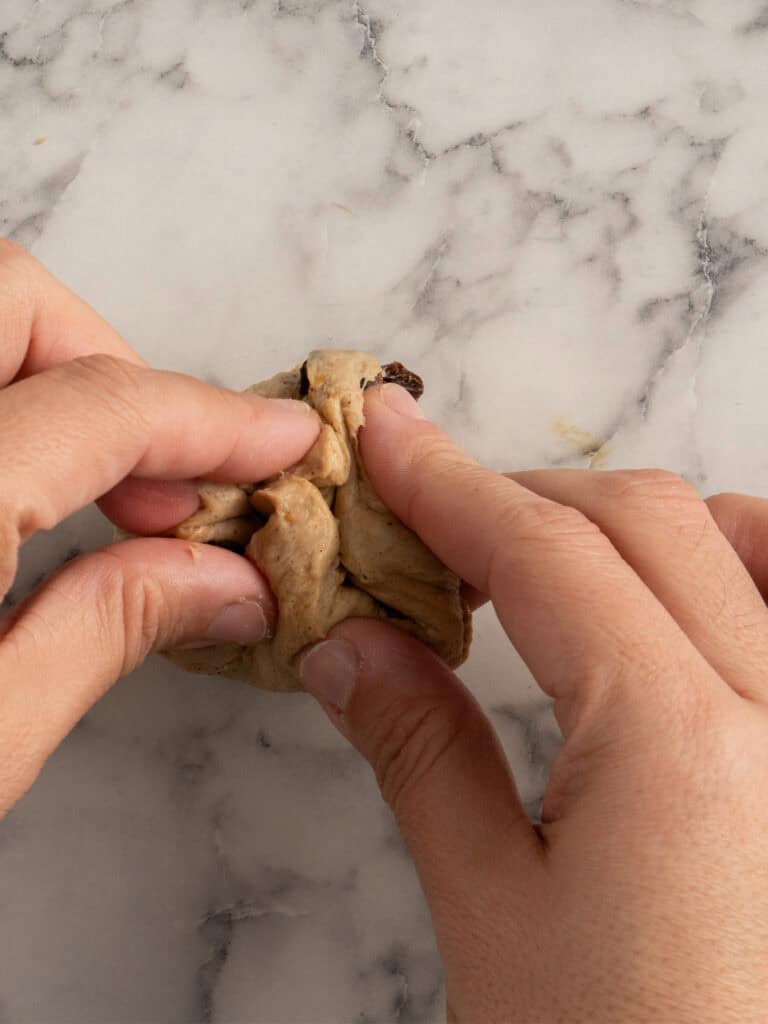

- Then pinch the sides into the middle. This pinched side will be the bottom of the bun.
- Use the heel of your hands to roll that pinched side together and shape it into a rounder shape OR
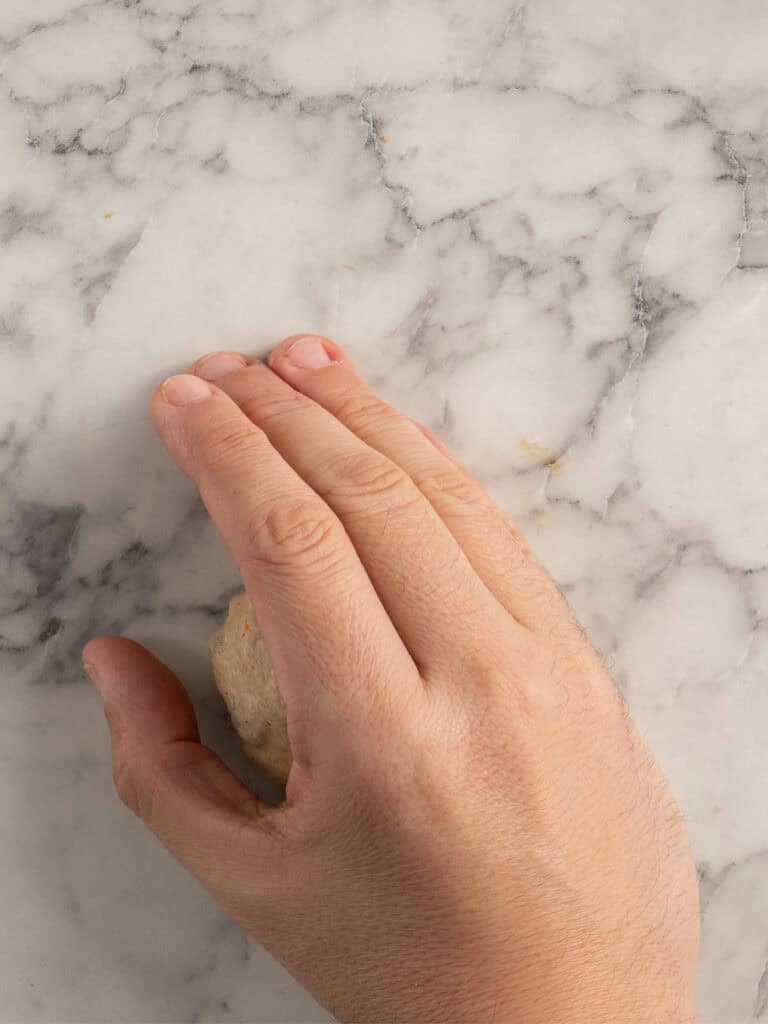
- You can cup your hand over the ball and roll it around on your benchtop.
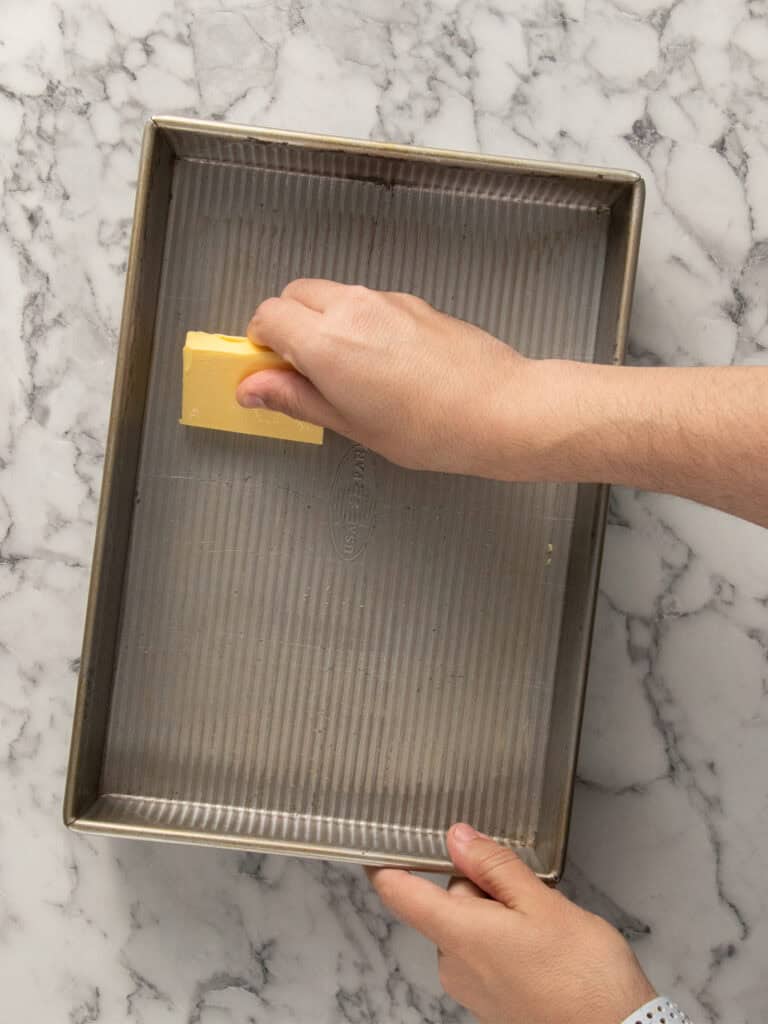
- I rubbed some cold butter on my baking tin and then lined it with baking paper. Makes lifting out the baked buns much easier.
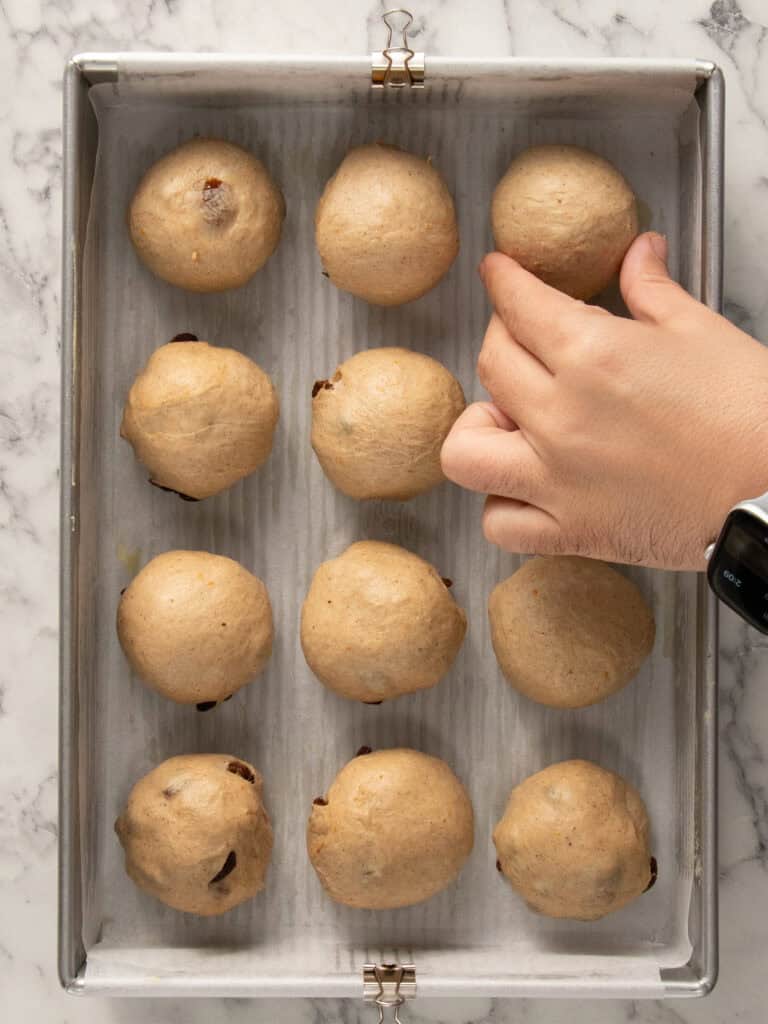
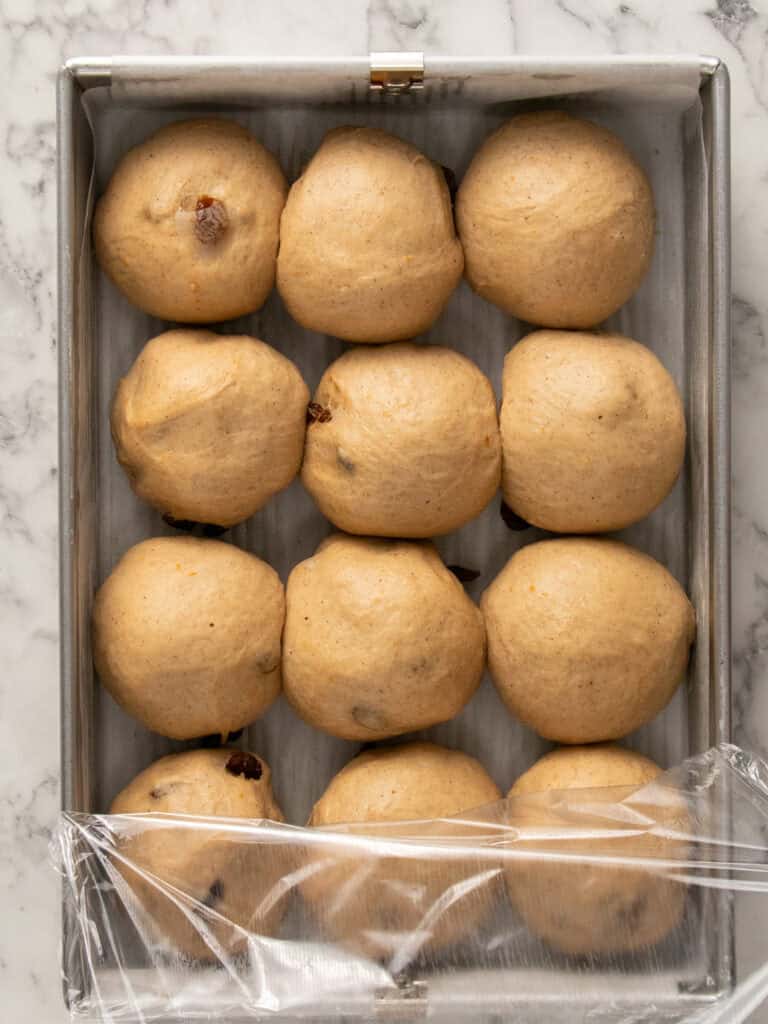
- Place the shaped buns in the baking tin and cover with plastic wrap. They need to rest for a couple hours because the dough is cold. It could take 1 hour in a proofing box, it could take 3-4 hours on a cold day on your kitchen bench.
- The dough will more than double in size. About 2.5 times and the buns will be slightly touching each other.
To make the crosses on top
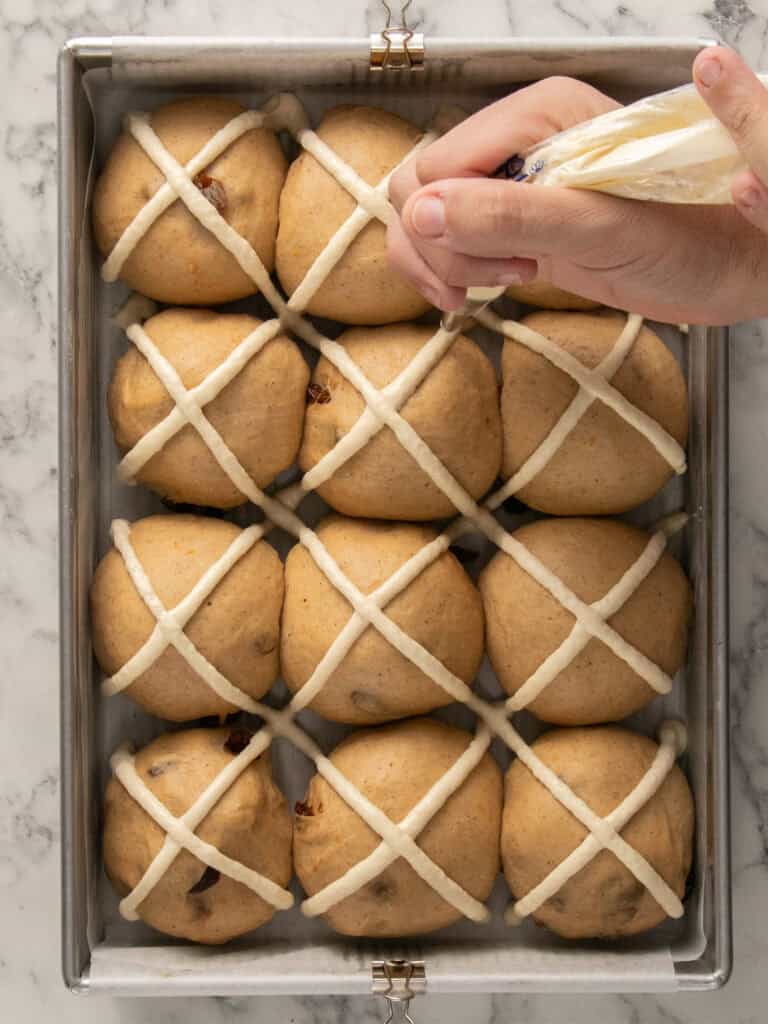
- Mix the flour, water and melted butter together in a bowl until theres no flour showing. Don’t overmix, we don’t want to develop gluten. Add it to a piping bag with a small round tip and pipe the x shapes on top of your buns.
Tip – Don’t make this paste ahead of time. The paste develops gluten and it pipes out weird and lumpy.
Baking your buns
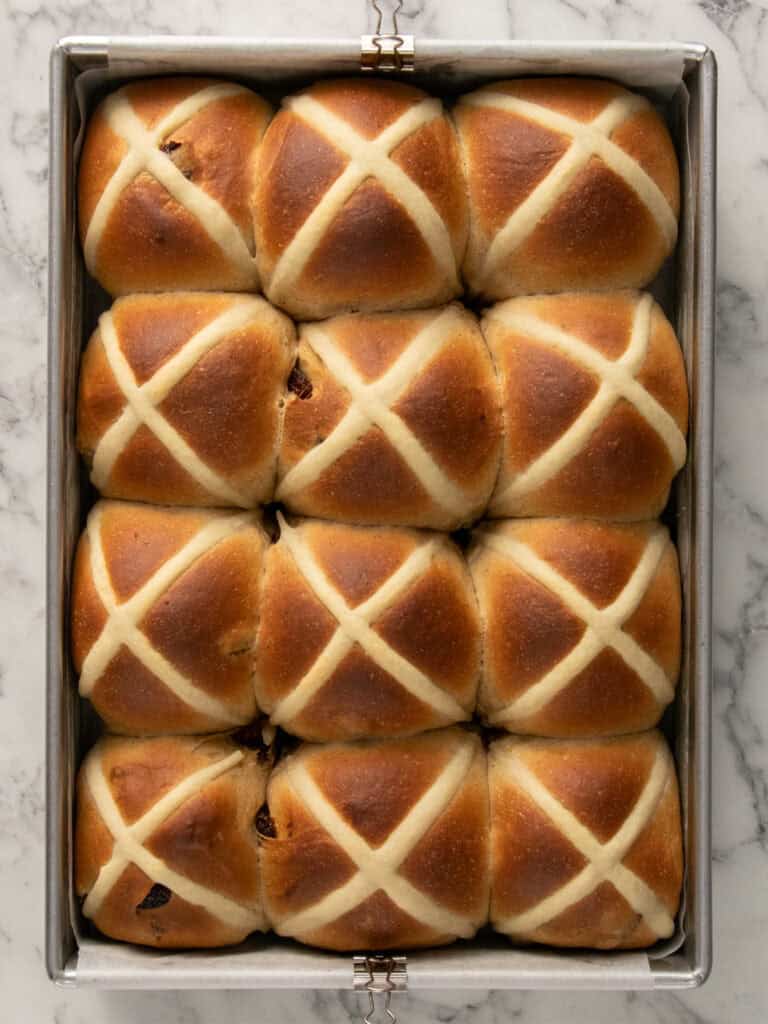
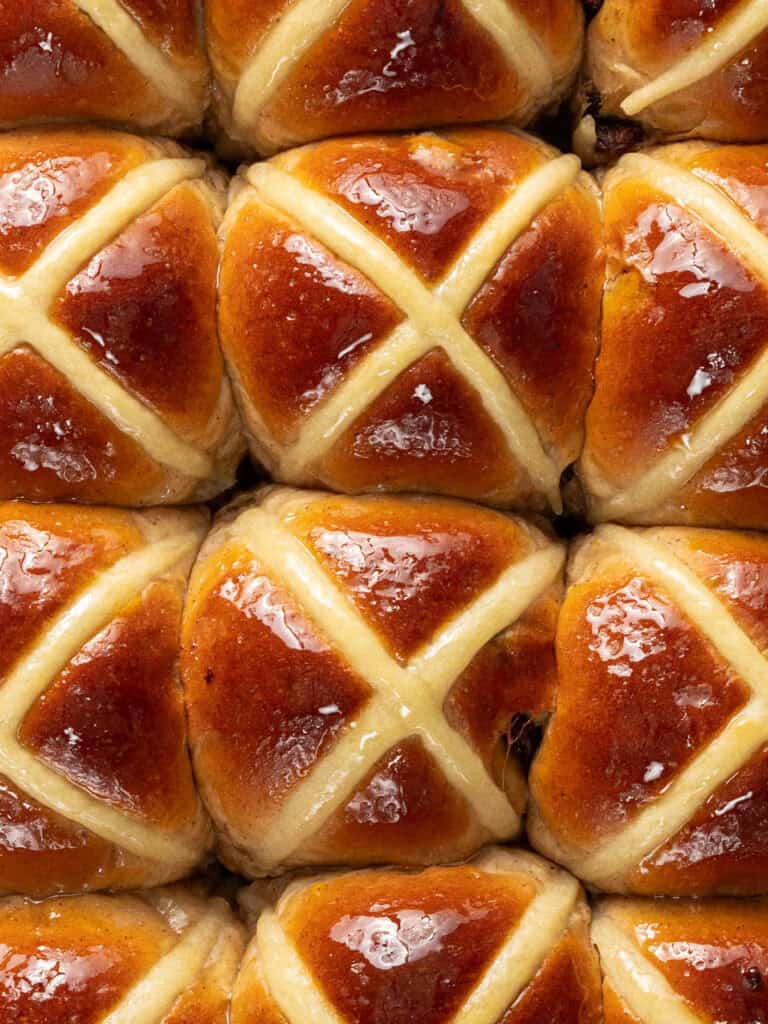
Bake for about 30-32 minutes or until golden on top. Not lightly golden, you want a good strong golden color.
To glaze your buns
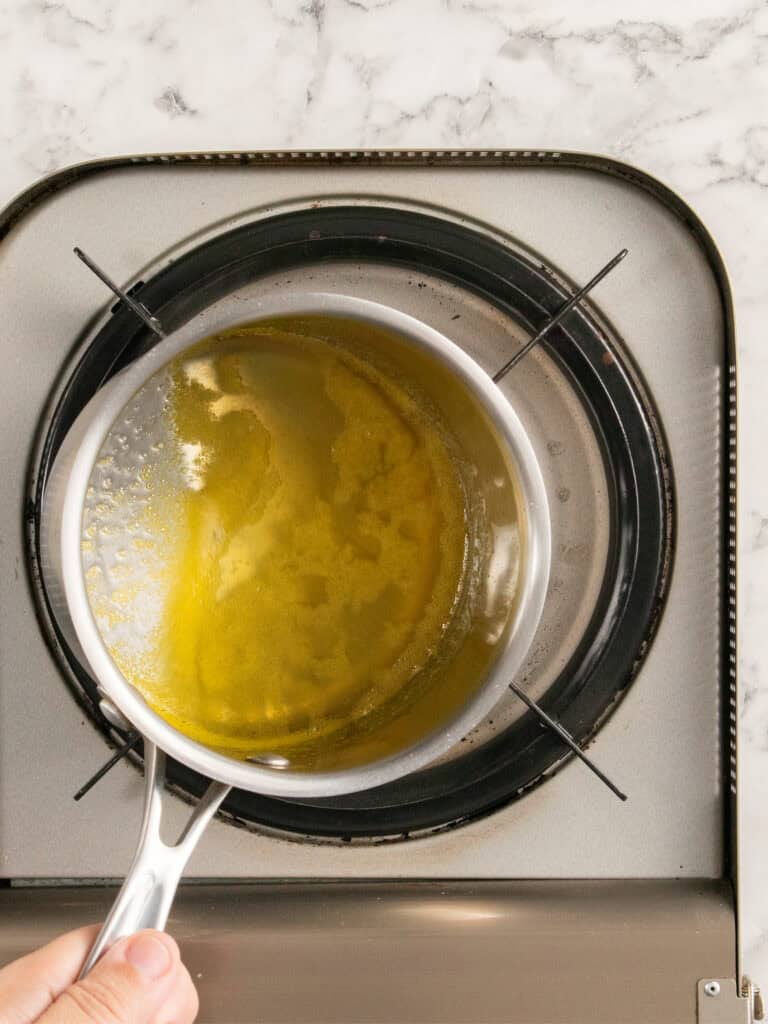
The glaze is really easy to make. Just add the juice of one orange into a small pot and then top it up with enough water to bring the liquid up to 100g. Then add the sugar and a cinnamon stick and bring to a boil. Continue simmering for about 5 minutes on medium heat. It’ll help thicken the syrup slightly.

- Use a pastry brush to brush onto the baked buns. Fresh out of the oven is best because it helps dry the glaze out a little so it’s not overly sticky when you pick one up to eat it!
Reminder – I have a rich and soft chocolate hot cross bun recipe too. And as someone who is about 75% chocolate, I reckon those are way better!
A Quick Baking Guide
If you’re new to baking or just want to brush up on the basics, these guides are a great place to start!
Loved the recipe? Let me know!
If you enjoyed this recipe, leave a star rating and comment below. It helps others find the recipe and keeps the baking community growing. Tag me on Instagram so I can see your version too!
Soft Hot Cross Buns (soft for days!)
My bakery soft hot cross buns are light, fluffy and buttery with a hint of orange, and stay soft for days
Serves 12
Ingredients
Tangzhong
- 30 g all-purpose flour
- 125 g water
Dough
- 450 g bread flour, see notes
- 9 g instant dry yeast, see notes
- 60 g brown sugar
- 2 tsp cinnamon
- 1 tsp allspice
- 1/4 tsp nutmeg
- 5 g milk powder, see notes
- 10 g salt
- 1 tsp orange zest
- 170 g whole milk, cold (see notes)
- 1 large egg, 55g
- 8 g pure vanilla extract
- 60 g unsalted butter, softened and cut into cubes (see notes)
- 150 g sultanas
Flour Paste
- 60 g flour
- 60 g water
- 10 g melted butter
Syrup
- 1 large orange, juiced (about 60g of juice)
- 40 g water, you need 100g liquid all up
- 100 g granulated sugar
- 1 cinnamon stick, optional
Instructions
Tangzhong
- Cook paste – Add the flour and water to a small saucepan and use a whisk to combine. Place over medium heat and whisk continuously for about 2-3 minutes until the mixture thickens to a smooth, pudding-like consistency.
- Cool down – Transfer the mixture to a small bowl and press plastic wrap directly onto the surface. Let it cool down to room temperature before using. This can be made a few hours before using. Do not place in the fridge.
Dough
- Combine dry ingredients – Add the bread flour, yeast, brown sugar, cinnamon, allspice, nutmeg, milk powder, salt and orange zest to the bowl of a stand mixer fitted with a dough hook. Use the dough hook to mix everything until well combined.
- Mix wet ingredients – In a large jug whisk together the eggs, milk and vanilla extract.
- First knead (12-15 min) – Add the milk mixture and cooled Tangzhong to the dry ingredients. Use the dough hook to mix the ingredients. Turn the mixer on 30% (that’s speed two on my Kenwood) and knead for 12-15 minutes. The dough will look smooth and come away from the sides of the bowl.
- To test if dough is kneaded enough – Test by stretching a small piece between your fingers. It should form a thin, see-through sheet without tearing. Kneading time can vary depending on your mixer so focus on the dough’s feel rather than just time.
- Rest dough (10 minutes) – Turn the mixer off and cover the bowl with plastic wrap. Rest the dough for 10 minutes. This will help relax the gluten in the dough and gives you an even smoother more elastic dough that is less sticky to work with later.
- Add the butter and finish kneading (9-10 minutes) – Begin kneading the dough on 30% / speed 2 again for about 3 minutes then add the softened butter a little at a time, letting each piece mostly mix in before adding the next. This will take about 2-3 minutes all up. Once all the butter is added, knead on medium low speed for a final 2-3 minutes until the dough is smooth, elastic and comes away cleanly from the bowl. A slight stickiness at this stage is normal. If the dough begins looking overly shiny as the first bit of butter is added, it’s too warm. Cool the dough down in the fridge for 10 minutes before adding the remaining butter.
- Add sultanas (90 seconds) – Add the sultanas and mix on low speed for about 90 seconds until evenly distributed. You can also knead these in by hand.
- Room temp rise (Proof #1) – Lift the dough out of the bowl and shape into a smooth ball. Then place back in the bowl (you can transfer it to a large mixing bowl if the stand mixer bowl doesn’t fit in your fridge). Cover the plastic wrap and let it rest at room temp for 1 hour. It will more than double in size.
- Cold rise (Proof #2) – Place in the fridge for at least 3-4 hours (overnight gives you better flavor!). The dough will continue to expand as it chills and develop lots of great flavor! The goal here is to chill the dough so that its easier to shape.
- Prepare baking tin – Rub a cold stick of butter on the bottom and sides of a 9×13-inch / 23x33cm baking tin and line with baking paper.
- Weigh out buns – Dust your workbench with flour and pour the risen dough onto the bench. Knead a little to form a large ball. Divide the dough into 12 even sized portions by weighing them using a kitchen scale. Each portion should weigh about 90g. This will ensure even sized buns.
- To form dough balls – Place a cupped hand over one dough piece and swirl around on the bench top until it forms a ball. The slight stickiness of the dough will grip onto the work bench and help shape it under your hand forming a tight ball. Place the dough piece in your baking tin with the smooth side up. Repeat this until you’ve shaped all your buns.
- Final rise (Proof #3) – Cover loosely with plastic wrap and let them rise for 2-3 hours. It could take more if it’s cold! They will have more than doubled in size before they’re ready to do in the oven and will be slightly jiggly when the tin is shuffled a little. I can tell they’re done when they’ve expanded so much they’re touching each other in the sized tin I use.
- Preheat oven – 15 minutes before you’re ready to bake, preheat your oven to 195C / 380F (fan off), 175C / 350F (fan on).
- Flour paste – Add the flour, water and melted butter to a small bowl to form a paste. Transfer to a piping bag and snip the end off. Pipe X’s onto the buns. Get them nice and thick so they don’t bake up chewy in the oven.
- Bake – Bake in the middle rack of your oven for 30-32 minutes or until golden brown on top.
- While the buns are baking make the syrup – You’ll need 100 of liquid all up for the syrup. Add the freshly squeezed orange juice into the pot first, then add water to get it to 100g. Add the sugar and cinnamon stick in as well. Bring to a boil and then turn the heat down to low and simmer for 5 minutes. Allow to cool.
- Brush syrup on buns – When the buns come out of the oven, use a pastry brush to brush with the syrup. Allow to cool until warm before serving.
- To reheat – These can easily be reheated in the oven for about 5 minutes or until warm and soft again, but they stay soft for days if stored in an airtight container.
Notes
Bread flour – Bread flour is a high gluten flour that results in a fluffier bun. Alternatively, you can use regular all-purpose flour but these won’t come out as fluffy.
Yeast
- Instant Dry Yeast (I used this) – This type of yeast is added straight to the dry ingredients and doesn’t need to be activated in warm milk first. Just make sure it hasn’t expired and always keep your yeast in the fridge, so it lasts longer.
- If using active dry yeast – Dissolve this in the warm milk with a pinch of sugar from the recipe. Let it sit for 10-15 minutes in a warm spot until foamy before using. Then add it in with the wet ingredients
Nutrition
Calories : 321kcal
Carbonhydrates: 59g
Protein: 7g
Fat: 7g
Saturated Fat: 4g
Polyunsaturated Fat: 1g
Monounsaturated Fat : 2g
Trans Fat : 0.2g
Cholesterol: 28mg
Sodium: 346mg
Potassium : 212mg
Fiber: 2g
Sugar : 23g
Vitamin A: 221IU
Vitamin C: 7mg
Calcium: 55mg
Iron: 1mg
Nutrition Disclosure
Gave this recipe a go?Mention @thescranline or tag #thescranline!
previous post
16 comments
They work! My goodness these are fantastic. Followed your instructions and they are better than bought ones. Especially because I know what’s in them. Thank you for another successful recipe.
Ginny, I’m so thrilled you loved these! Truly! I worked really hard on these and you’ve just made my day I could cry haha. N x
Outstanding!!! Easy to follow recipe resulting in THE PERFECT bun.
Yay!!! Thanks so much Amanda! So thrilled that you loved them! You’ve made my day! N x
Really Yummy Hot cross buns, thank you for a lovely recipe.
Thanks so much Solanda! N x
OMG this is the best hot cross bun recipe I have tried (and I’ve tried quite a few!). This will be my go-to family recipe from now on! No more buns going stale within a few hours of making them!
That’s so amazing Gigi! So glad you loved them, you’ve mad my day! Feel free to give the recipe a rating. It’ll help others find it 🙂 N x
Nik!!!Top top top. Io non metto il burro salato (per una questione di salute), ma ne metto una fetta di burro norvegese e il tuo panino è spaziale comunque. Con le tue ricette mi hai fatto tornare la voglia di tornare in cucina.
Aww that’s so beautiful to hear Lucia. I’m so glad you loved the recipe and that it made you love being in your kitchen! N x
I just baked these up today after an overnight proof. They have baked up so soft and delicious. Thanks for the great recipe
Yay! So glad to hear that M’leigh! Thanks so much for letting me know! N x
Delicious! Great color and texture. These rolls have that wonderful spiciness I love in HCBuns. Thanks for sharing this perfect rendition of a childhood favorite!
Aww Laura that’s made my day! N x
These are absolutely delicious!!! They really impressed my in laws at Easter, and I’m making them again right now for a belated Father’s Day present. They are so soft and moist and they somehow stay that way! This will be my go-to hot cross bun recipe every year.
You’ve made my day Casey! I worked really hard on this recipe. That softness is because of the Tangzhong method 🙂 N x