Fluffy Chocolate Mousse Cake
This chocolate brownie mousse cake is pure indulgence. It starts with a rich, fudgy brownie base and is topped with a cloud-like chocolate mousse that melts in your mouth, giving you the perfect balance of dense and airy in every bite.
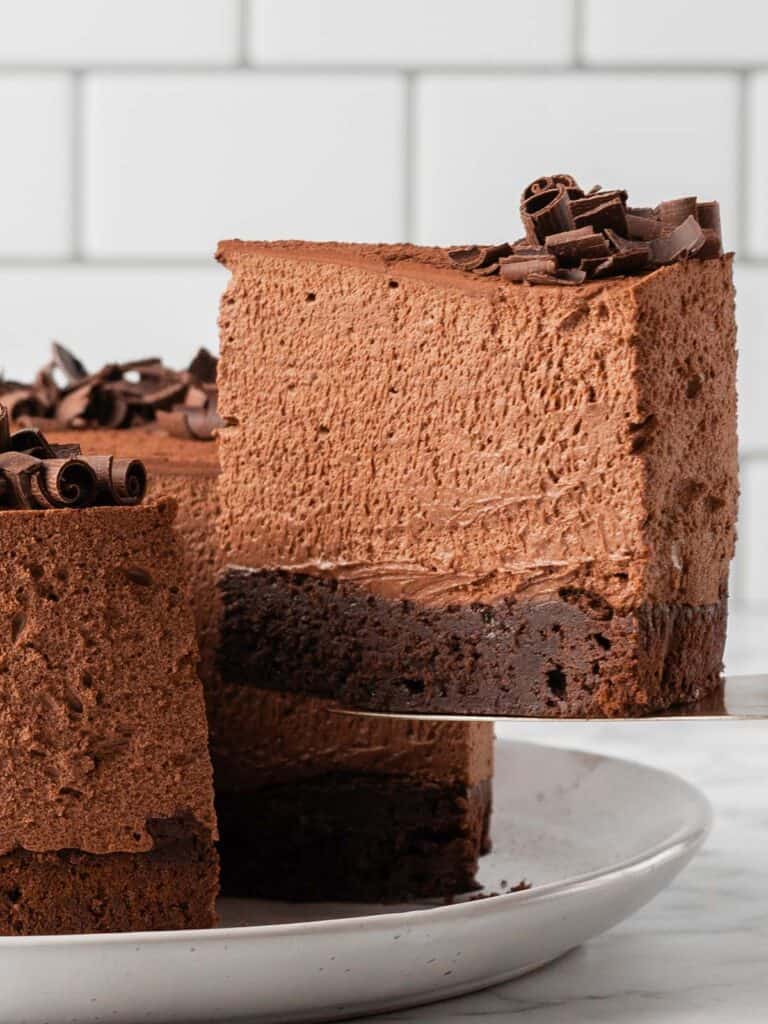
Hey team, Nick here. This decadent mousse cake is all about texture. I ended dup using my deeply chocolate brownie recipe for the base which is soft and chewy. That mousse layer though…It’s light, airy and creamy, almost like chocolate-flavored air. It melts away the second it hits your tongue.
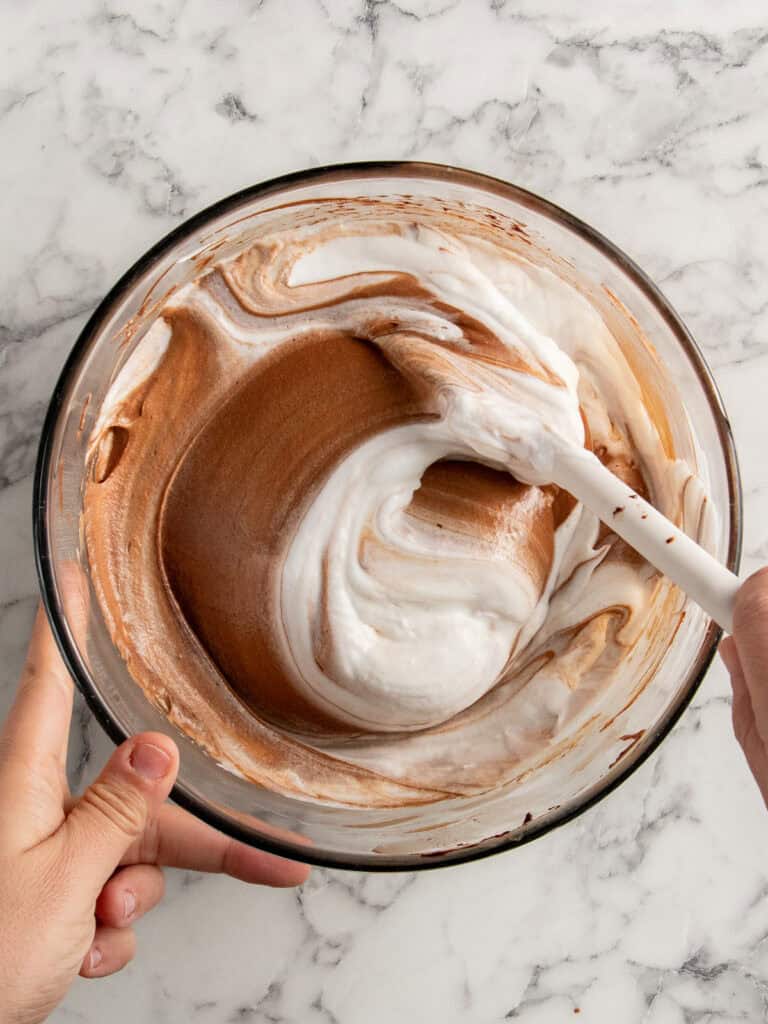
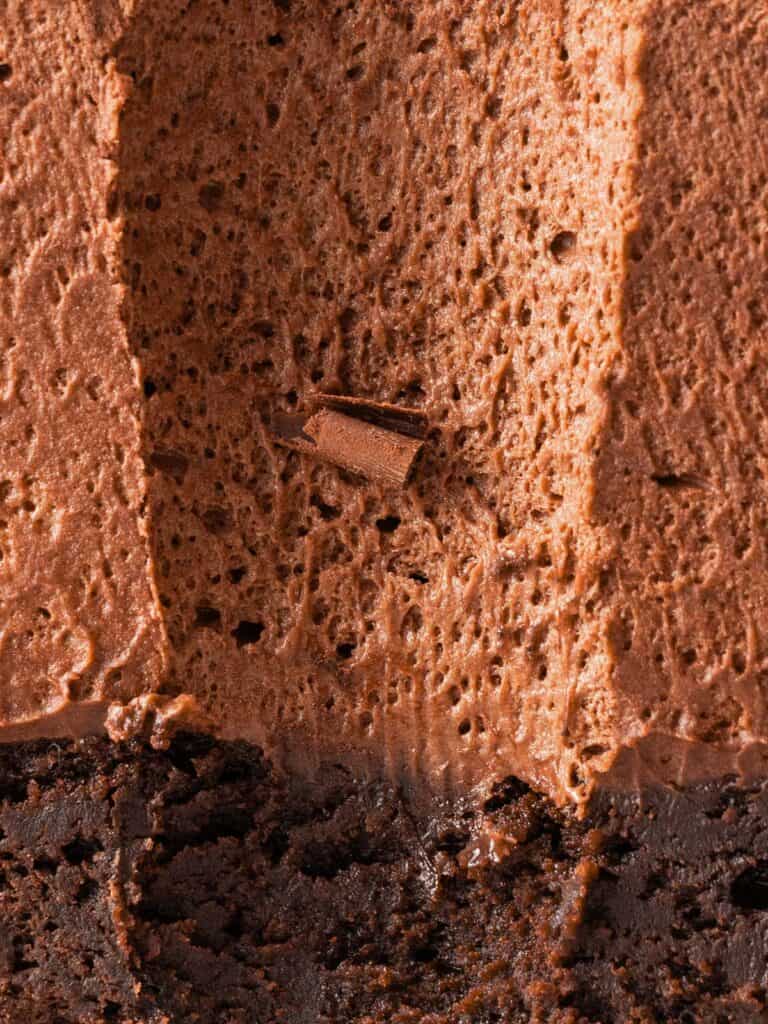
You’d look at this cake and think it’s going to be very rich and it is. But in the best way! It’s creamy and chocolatey but I made sure it wasn’t overly sweet. In my testing I was aiming for a perfect balance of sweet but a little hint of dark chocolate bitterness. Chocolate is the focus here.
It’s finished with a dusting of cocoa powder and my easy chocolate curls. Those are shockingly easy to make so you shouldn’t skip them. I think they take this from home made to bakery a bakery level looking cake.
Related – I’ve added this recipe to my chocolate recipe collection. I mean at this point there’s no denying my obsession with chocolate. I have a great chocolate mousse recipe in there too which is great for sharing with a special someone. But if you’re after more brownie desserts, give my slutty brownies a go. It’s a brownie/cookie lovechild all baked into one.
The brownie layer is easy!
I have a full recipe breakdown with tips on my deeply chocolate brownie blog post if you want to check it out, but here’s a quick rundown of how to make the brownie layer.
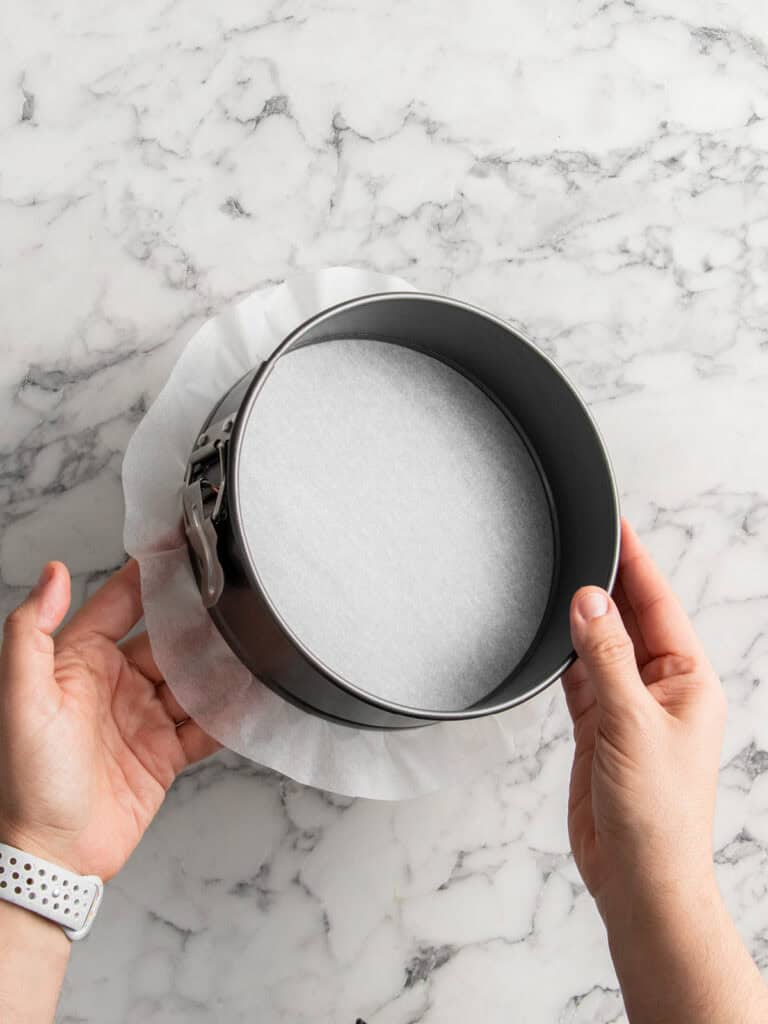
- Prep tin. Use a 20cm/8-inch springform pan lined with baking paper on the base, clasped tight, to make releasing the mousse easier.
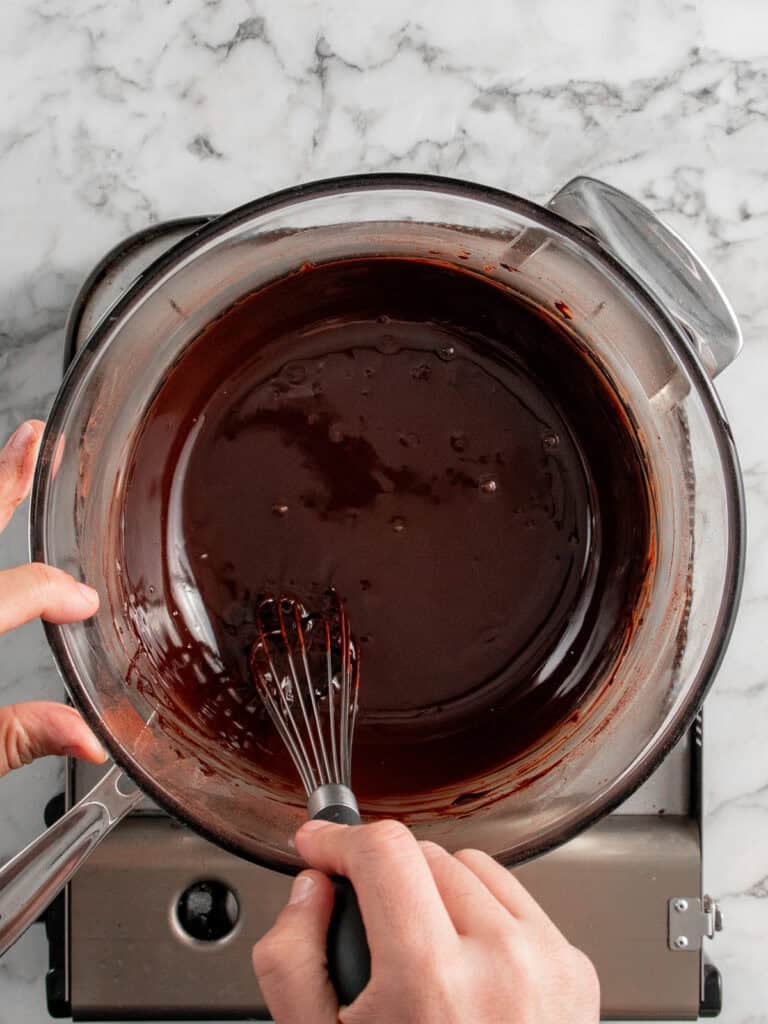
- Melt chocolate and butter. Then whisk in cocoa. Cool.
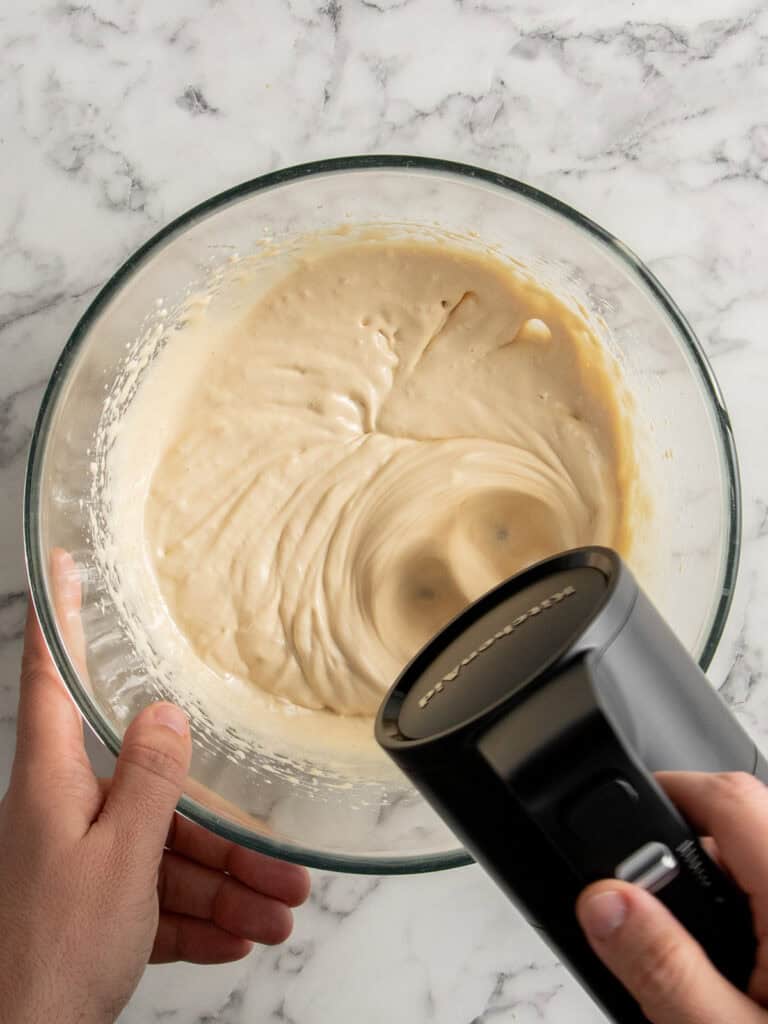
- Whisk eggs and sugar. Beat with vanilla and salt until pale and fluffy.
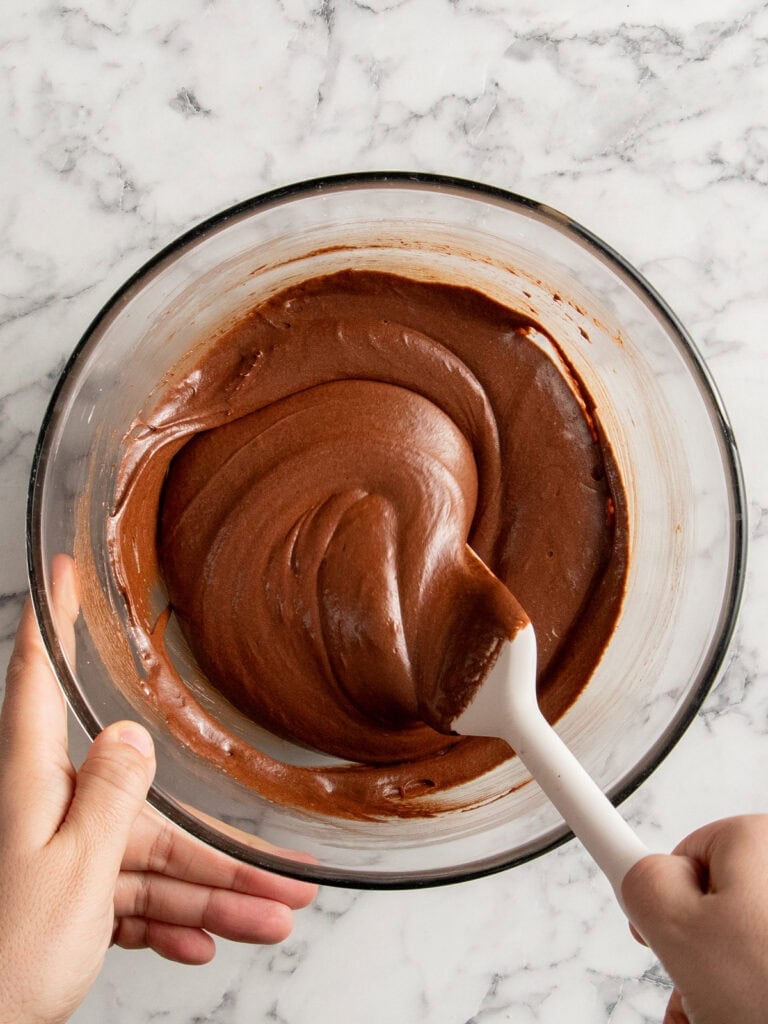
- Whisk in chocolate mixture, then fold in flour.
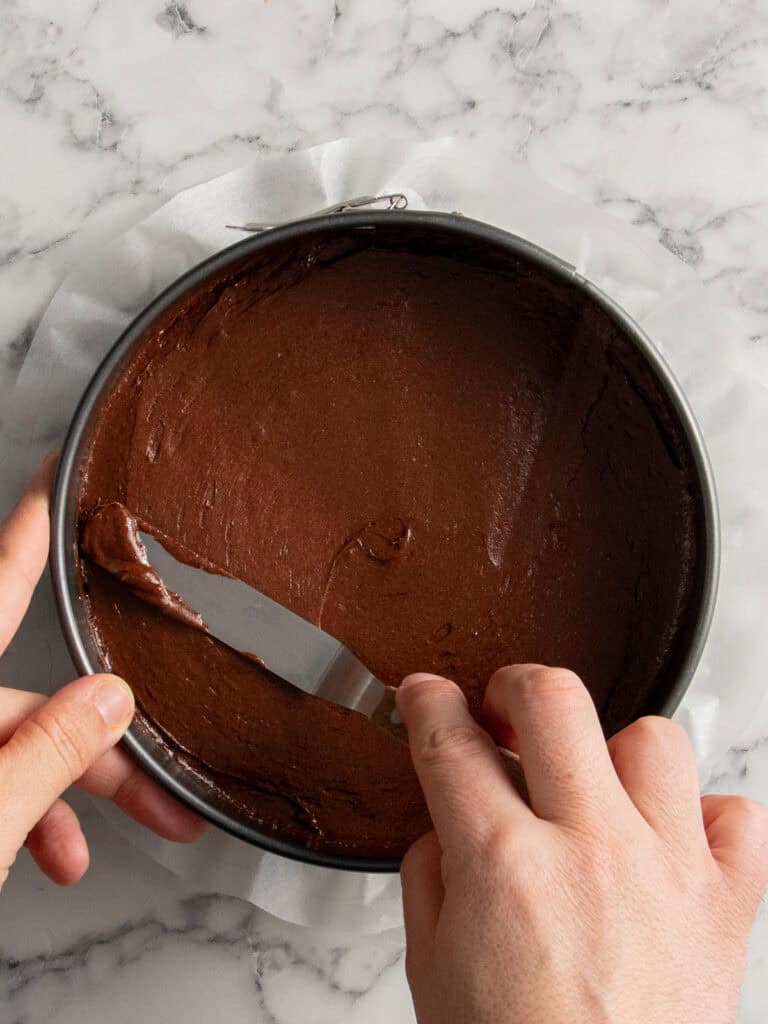
- Pour into the tin and bake for 20-22 minutes and bake. Allow to cool
Using Acetate
Once the brownie has cooled, unclasp the tin and give the sides a quick clean. I line mine with a strip of acetate so when the mousse sets it comes out clean, and the acetate just peels away when you’re ready to serve. You can buy the acetate online. I bought mine on amazon.
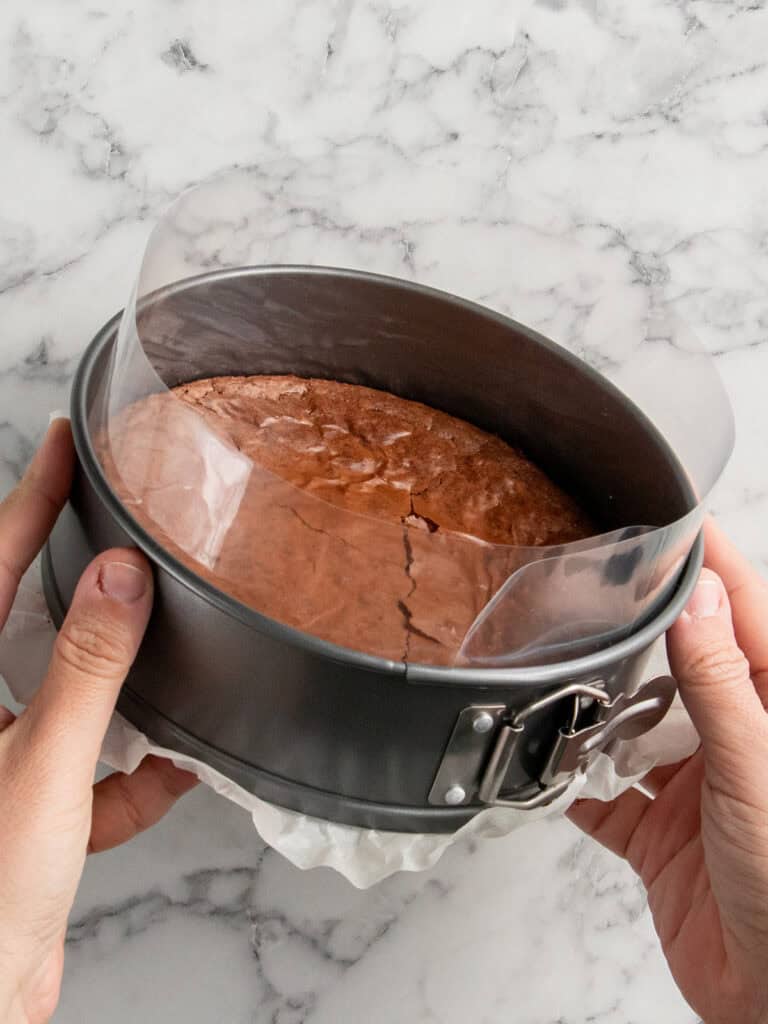
To add the acetate unclasp the side of the springform tin, Add the acetate all the way around the brownie layer then tighten the clasp so that the brownie keeps it in place.
How to make the lightest mousse ever!
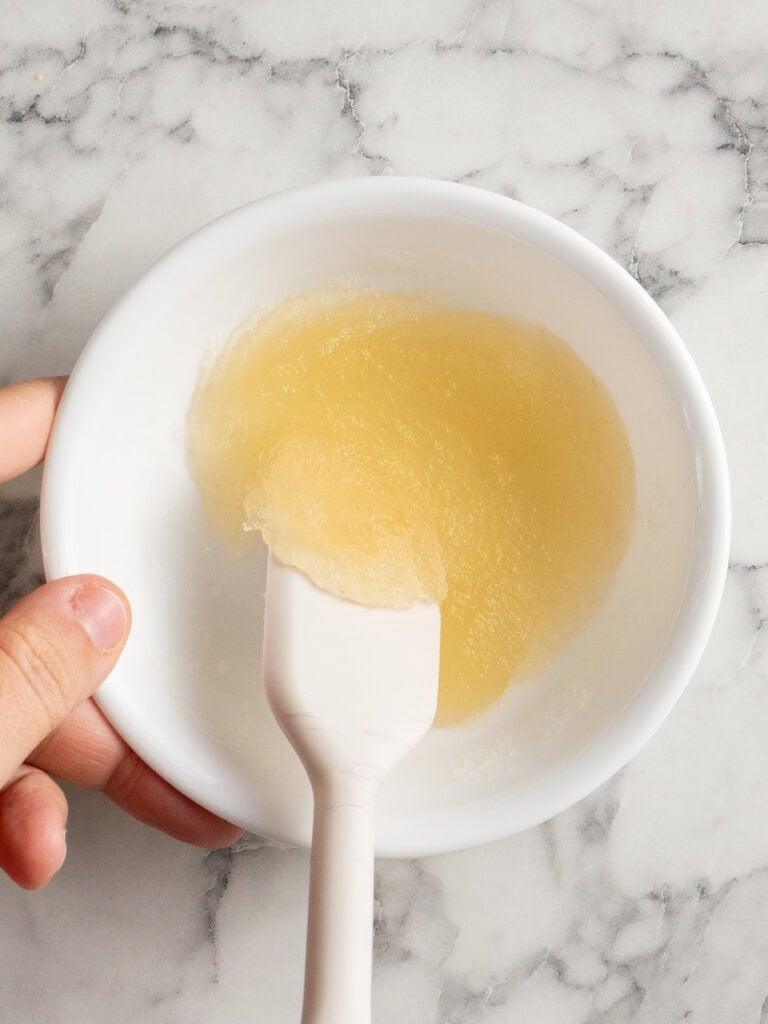
- Prepare gelatin. Mix with cold water and stir with a fork until combined. Let it bloom for 5 minutes.
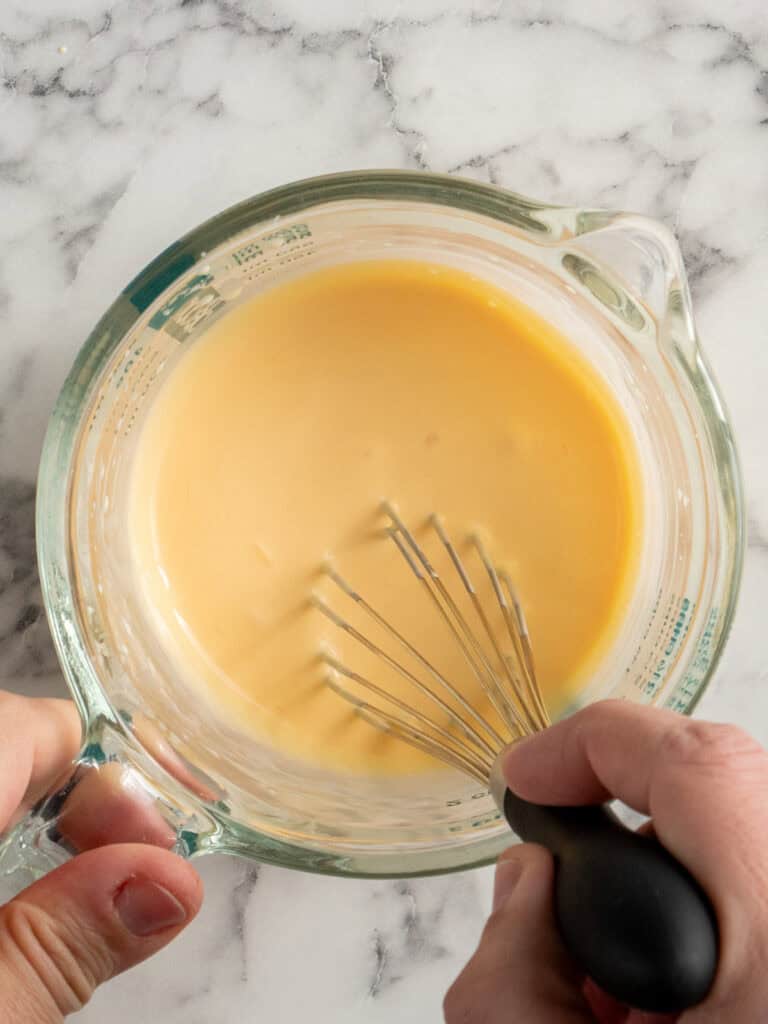
- Heat the cream and yolks in a heatproof jug in the microwave until hot to the touch.
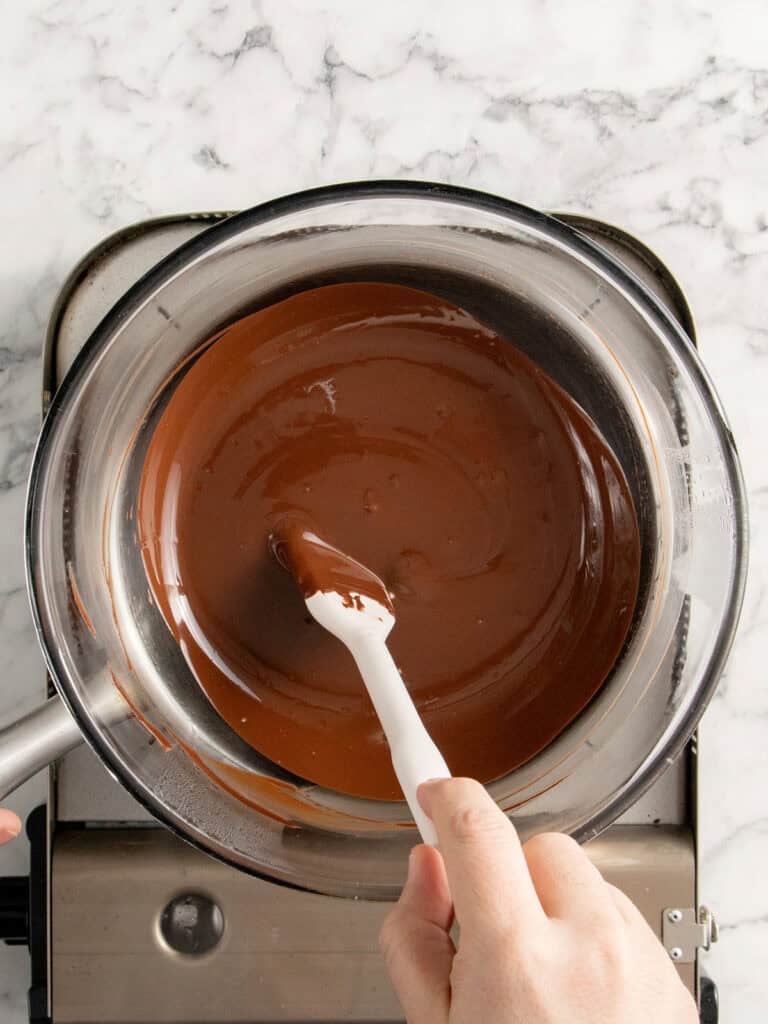
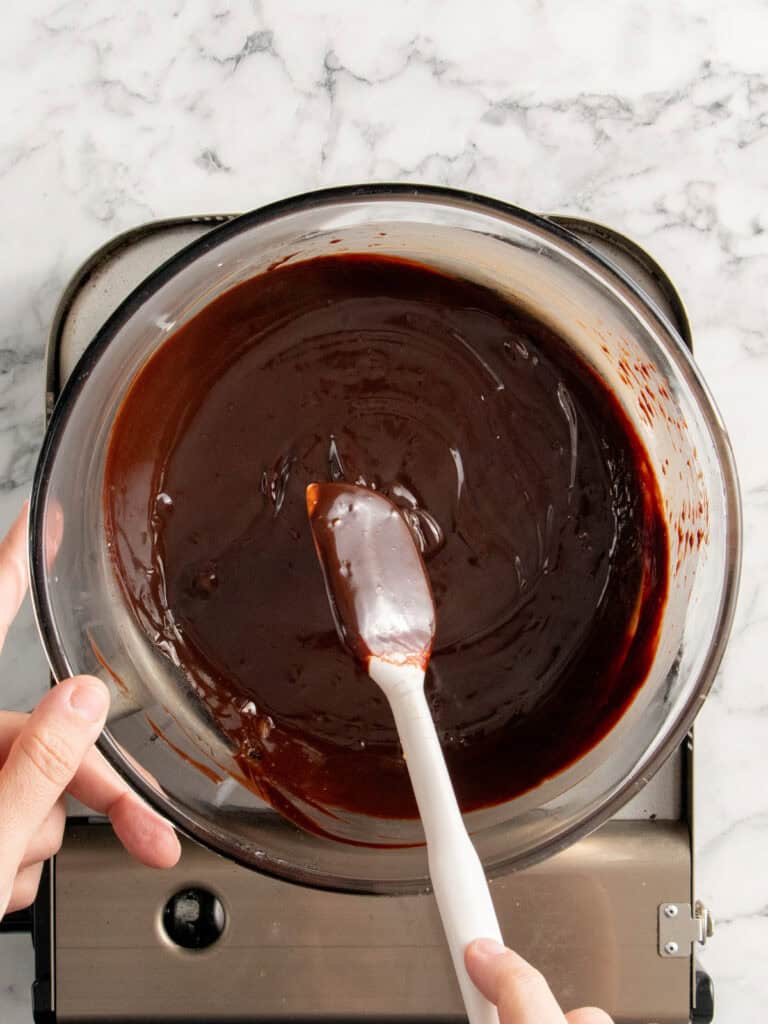
- Melt the chocolate over a double boiler.
- Combine the hot cream with the melted chocolate. Add the gelatin while the chocolate is still warm and stir until melted in and smooth. Allow to cool.
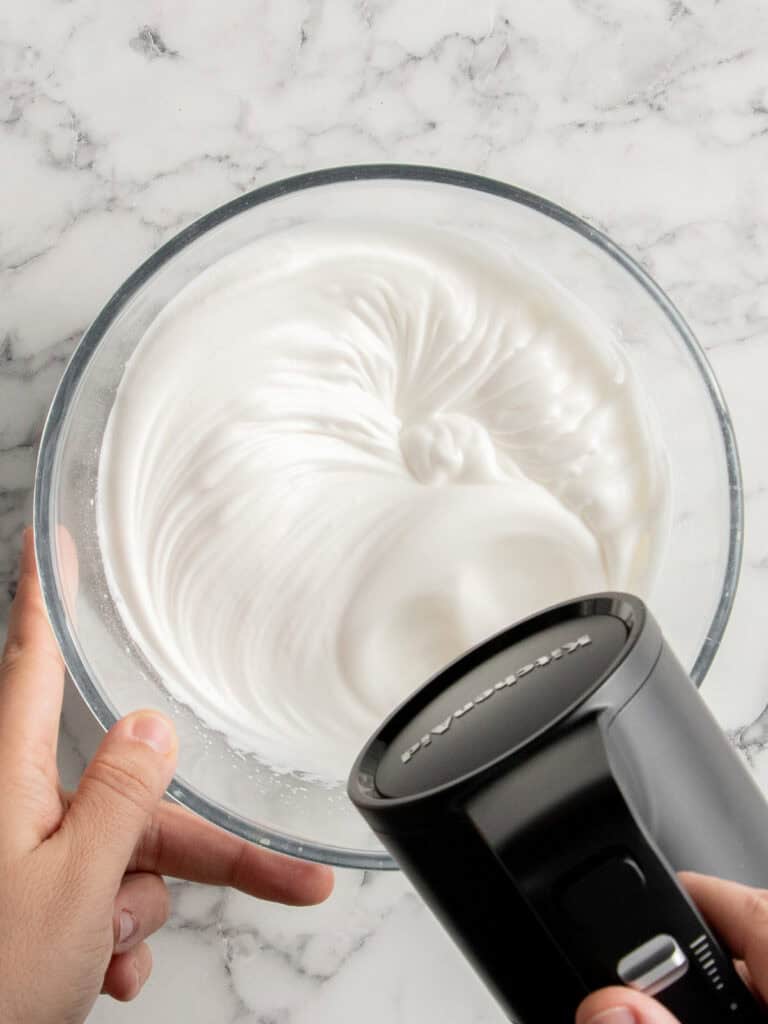
- Whip the meringue to glossy peaks
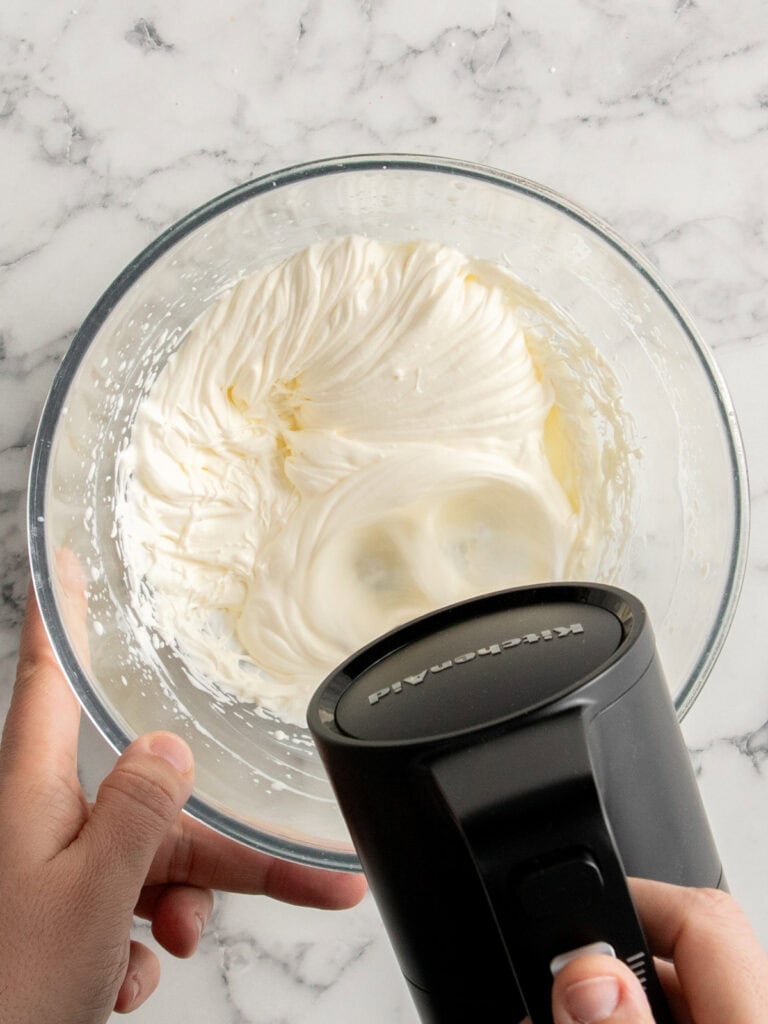
- Whip the cream until stiff peaks form

- Fold the cream into the cooled chocolate mixture. Then fold in the meringue until well combined. Mixture will be fluffy and thick.
- Pour the mixture into the cake tin and smooth out using a spatula
- Cool the mousse in the fridge for a minimum of 5 hours. Overnight is best.
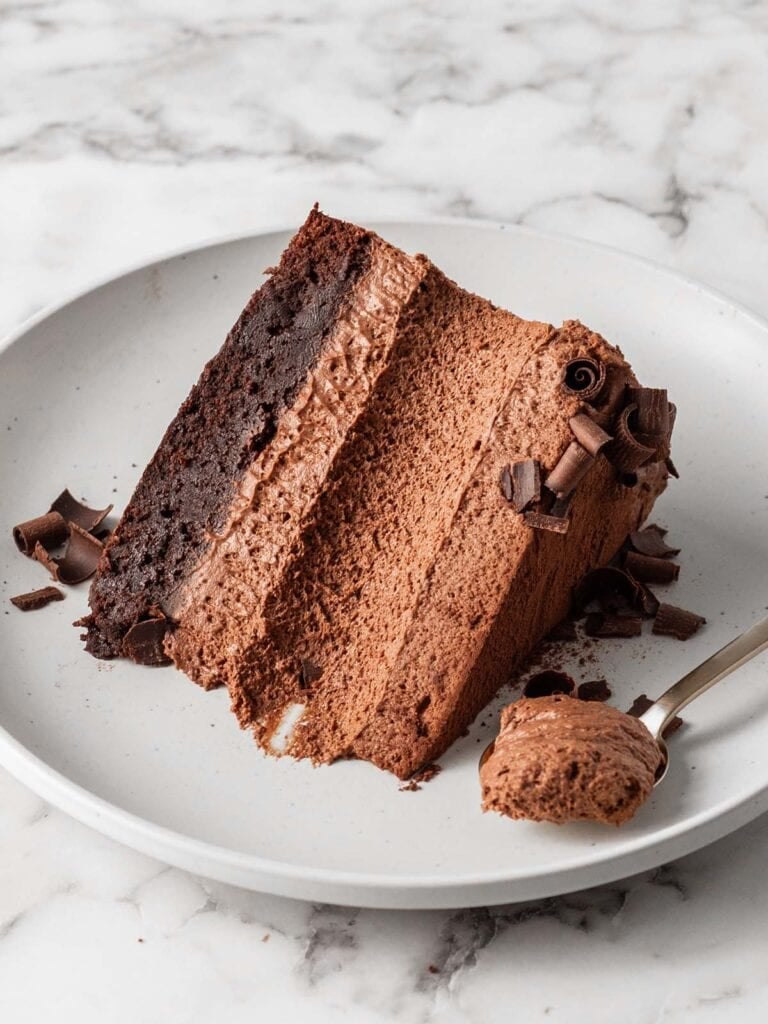
The mousse layer sets firm, but not too firm (my first test set like ganache!). It’s soft, light and airy when you slice into it, but it won’t wobble over like some sort of lava situation.
To decorate
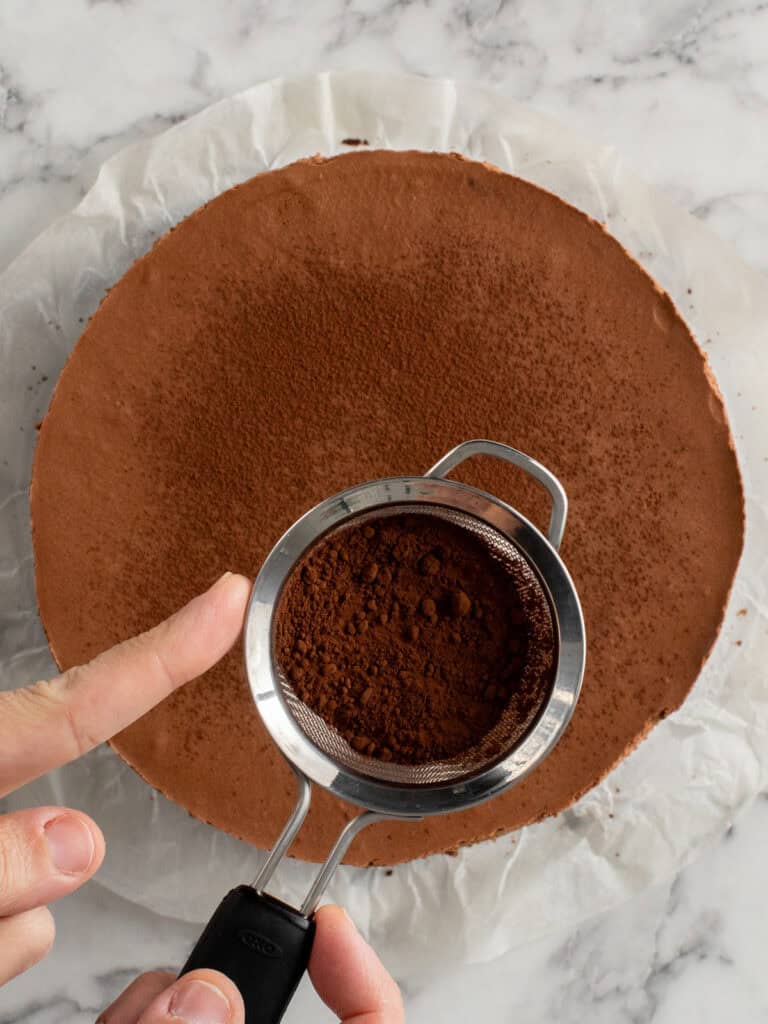
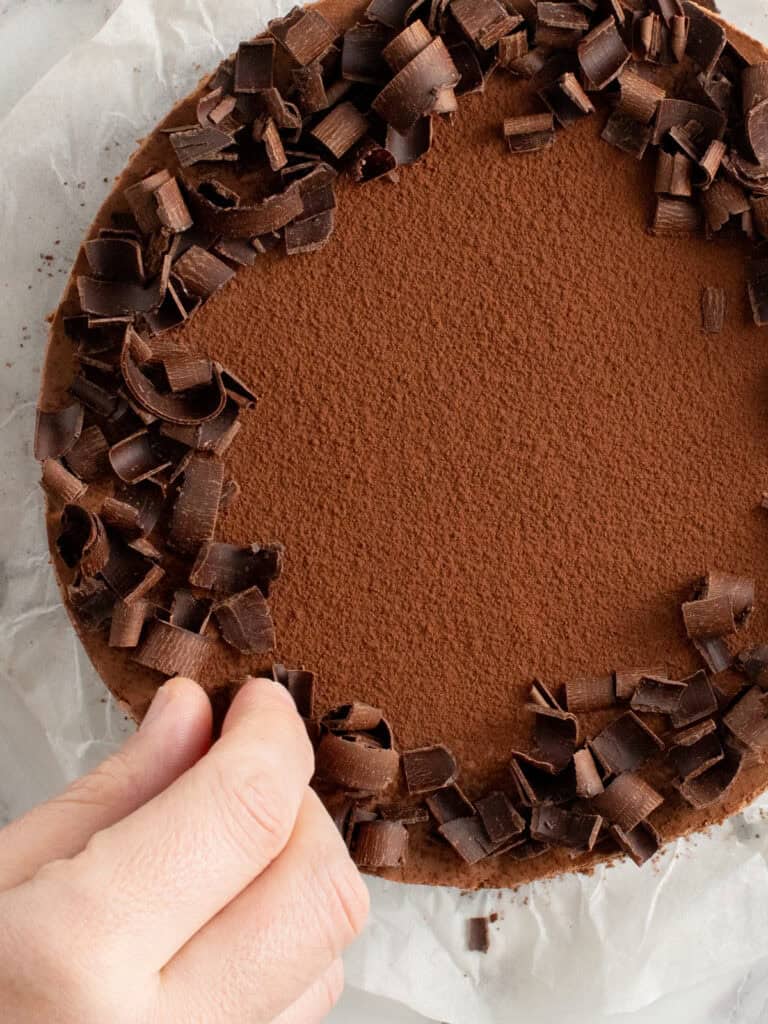
- Once the mousse has set, unclasp the tin and move the cake onto a serving plate. Support it with one hand while sliding out the baking paper with the other, then peel it away completely.
- Dust the top with cocoa powder, add chocolate curls around the sides, and slice with a warm knife for clean cuts. I like serving this cake at room temperature, so the mousse is soft and melts in your mouth.

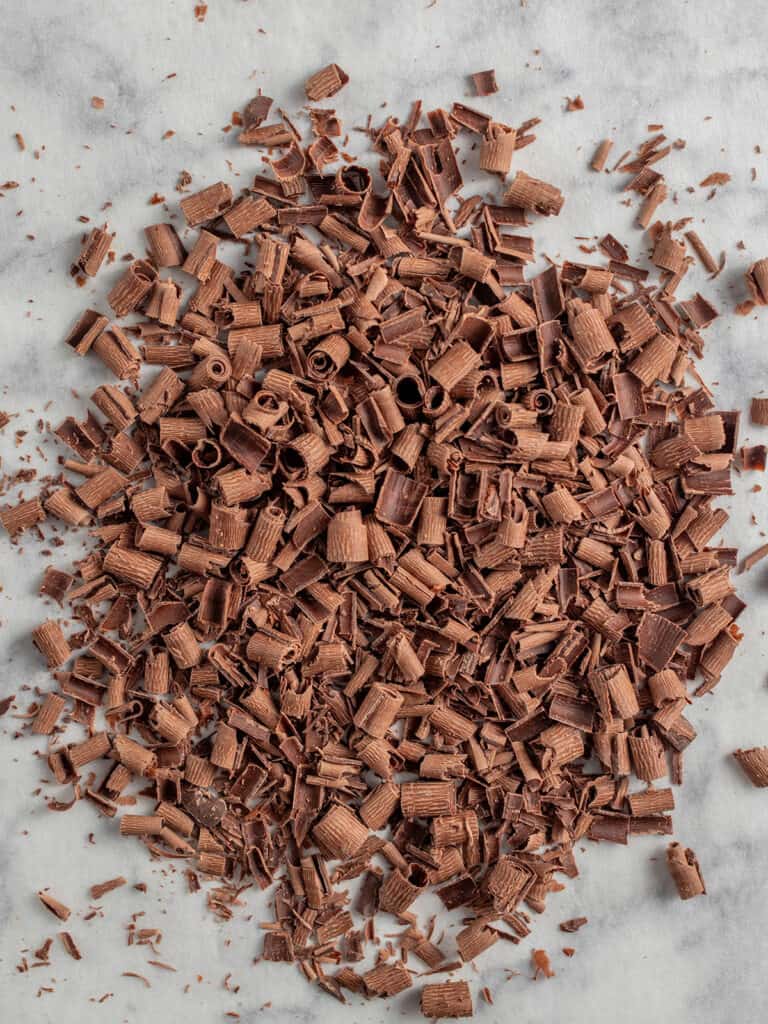
Those chocolate curls are so easy to make! You just use a peeler to peel away chocolate curls from a block of chocolate!
Let’s talk about the eggs
The mousse layer gets all its air from the whipped meringue. Yes, the egg whites in this recipe are raw. But in most countries raw eggs are safe to eat raw. If you’re unsure if it’s safe to eat raw eggs in your country or you prefer not to, you can always use pasteurized eggs which are gently cooked or you can pasteurize them yourself!
A Quick Baking Guide
If you’re new to baking or just want to brush up on the basics, these guides are a great place to start!
Loved the recipe? Let me know!
If you enjoyed this recipe, leave a star rating and comment below. It helps others find the recipe and keeps the baking community growing. Tag me on Instagram so I can see your version too!
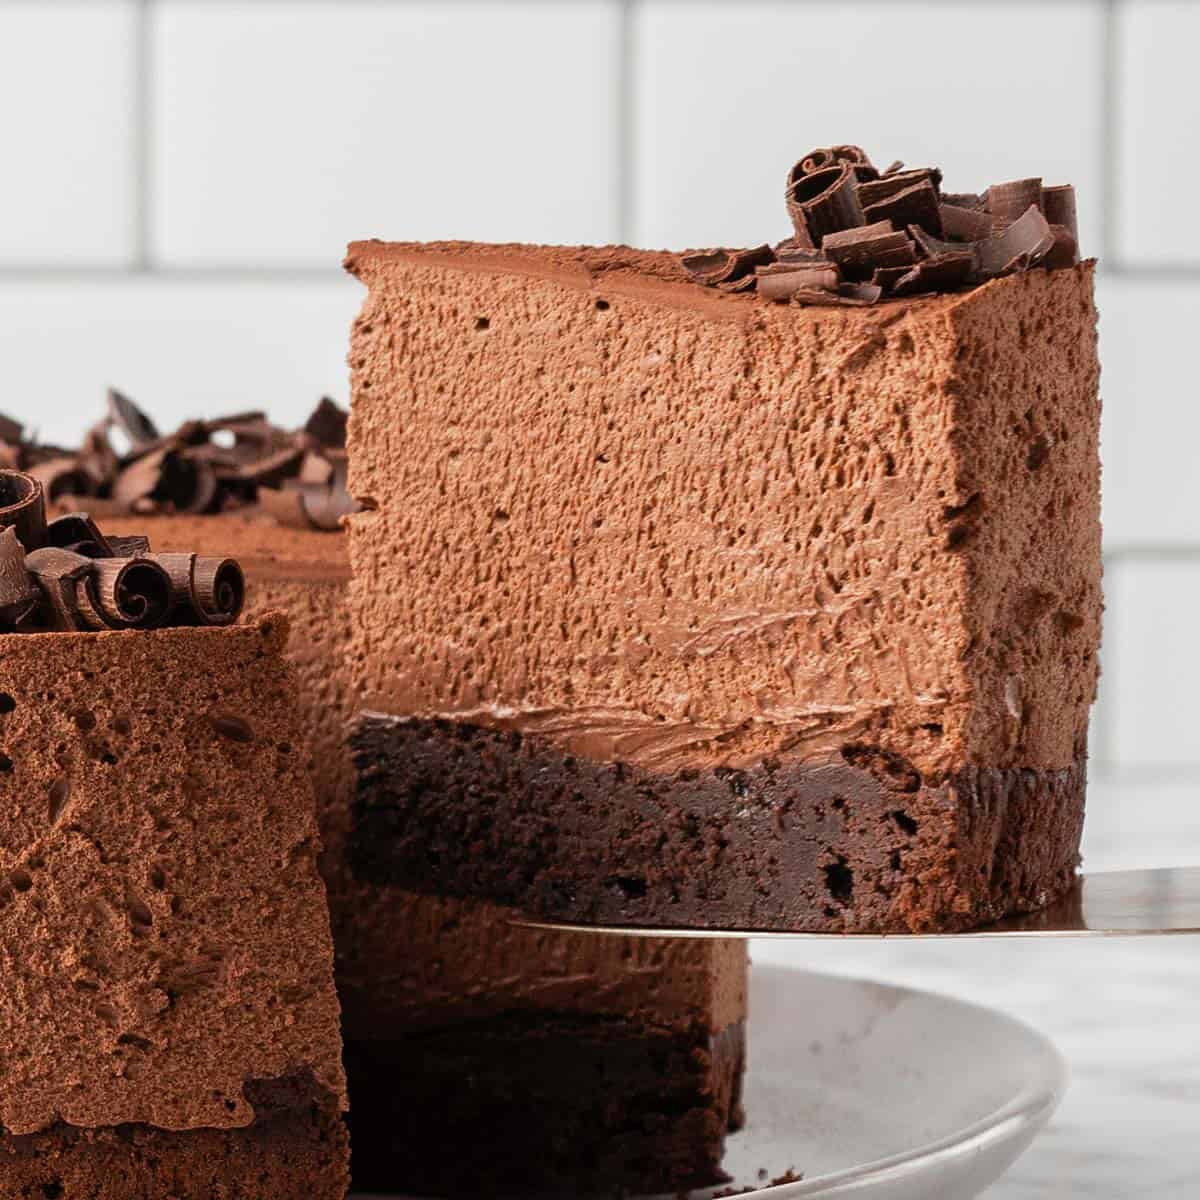
Fluffy Chocolate Mousse Cake
My chocolate brownie mousse cake has a fudgy brownie base and silky mousse topping, a rich layered dessert that’s smooth, indulgent, and irresistible.
Serves 12
Ingredients
Chocolate Brownie Layer
- 83 g unsalted butter, cubed
- 120 g dark cooking chocolate, I used 70% (see notes)
- 15 g Dutch process cocoa powder, sifted (see notes)
- 2 large eggs, room temperature (50-55g each)
- 105 g caster sugar, superfine
- 65 g brown sugar
- 1 tsp vanilla extract
- Pinch of salt
- 50 g all-purpose flour, plain flour
Chocolate Mousse Layer
- 180 g dark cooking chocolate, I used 70%
- 180 g milk cooking chocolate
- 150 g heavy cream, for chocolate (see notes)
- 1 pinch fine salt
- 3 large eggs, 50-55g each, separated
- 5 g powdered gelatin
- 40 g cold water
- 300 g heavy cream, cold, for whipping
- 1/4 tsp cream of tartar
- 7 g vanilla extract
- 50 g caster sugar
- 20 g cocoa powder to dust
- Chocolate curls, to decorate
Instructions
Chocolate Brownie Layer
- Preheat your oven to 180C / 355F (fan off), 160C / 320F (fan on). Unclasp a 20cm / 8-inch springform pan. Place a piece of baking paper on bottom and place the sides on top. Clip to tighten. Set aside.
- Melt chocolate and butter – Fill a large pot a 3rd of the way with water and bring to a gentle boil. Place a heatproof glass or metal bowl on top (making sure the bottom of the bowl doesn’t touch the water). Add the chocolate and butter. Stir until melted and smooth. Alternatively, you can melt the chocolate in the microwave for 30 seconds at a time, stirring each time until smooth.
- Add cocoa powder – Turn the heat off and the sifted cocoa powder in. Use a whisk to combine until smooth. Set aside to cool to room temperature, about 10 minutes.
- Whisk eggs and sugar – To a large mixing bowl, add the eggs, both sugars, vanilla extract and salt. Use an electric hand mixer to whisk until pale, fluffy and doubled in volume, about 2-3 minutes.
- Add the chocolate mixture – Add 1/3 of the cooled chocolate mixture and whisk until well combined. Repeat with the next 1/3 until all of it has been added.
- Add dry ingredients – Add the sifted flour and fold using the spatula until no dry ingredients are showing.
- Bake – Add the mixture to the springform pan and bake for 22-24 minutes. Once baked, allow to cool completely at room temperature, about 3 hours. Carefully run a knife around the edge of the brownie to loosen from the springform pan. Clean the inside of the springform pan.
Chocolate Mousse Layer
- Add acetate – Spray the side of the pan with oil spray and place a large piece of acetate measuring 65cm (26-inches) in length and 10cm (4-inches) on the inside. The oil will help it stick to the pan. Place the cooled brownie in the pan and set aside.
- Prepare gelatin – Have a fork ready for mixing before you do this step. Add 1 tsp of powdered gelatin to a small bowl. Pour 1 tbsp of cold water on top and mix immediately until well combined.
- Melt chocolate – Add the dark and milk chocolate to a heatproof bowl over a double boiler. Stir until melted. Take off the heat.
- Heat cream and eggs – Add 150g of cream to a heatproof jug or bowl, along with the egg yolks and pinch of salt. Whisk to combine. Heat in a microwave for 20 seconds, stirring each time, until the cream feels hot to the touch. Do not overheat otherwise the yolks will begin to cook.
- Combine cream, chocolate and gelatin – Add the hot cream to the hot melted chocolate and use a whisk to combine. The mixture will look a little split. Add the gelatin mixture and stir to combine. The mixture will become smooth again. Set aside to cool until warm, not hot and not completely cool.
- Whip meringue – Add the egg whites and cream of tartar to a large clean bowl and use an electric beater to whisk until frothy, about 2 minutes on medium high speed. Then while the mixer is on high speed, begin slowly adding the sugar, 1 tbsp at a time, until it’s all been added. Continue whipping until the meringue becomes thick and glossy, about 5 minutes. Set aside.
- Whip cream – To a separate medium sized bowl, add the cold heavy cream (300g) and 1 tsp of vanilla extract. Whip using an electric hand mixer until you reach stiff peaks.
- To complete the mousse – Add the whipped cream to the cooled chocolate mixture and gently fold through using a spatula until well combined. Then add the meringue and fold through until well combined.
- Chill mousse – Pour the mixture on top of the cooled brownie layer and gently spread around using a spatula. Chill in the fridge for 5 hours. Overnight is best. The mousse needs a good amount of time to set properly.
- Dust with cocoa – dust the top of the mousse with cocoa powder before you remove it from the tin. Just a thin even layer across the top.
- To remove from the pan – Unclasped the spring form pan and take away the sides. Lift the cake up from the excess baking paper and transfer to your serving plate. Very carefully remove the baking paper by sliding underneath the brownie layer and away from the cake. Lastly, gently the mousse layer from the acetate.
- To slice – Add dark chocolate curls around the outside. Then use a large knife to slice, cleaning the knife under warm water and drying before making the next slice for nice clean cuts.
- How to get perfectly clean slices – For clean slices, run your knife under hot water, wipe dry, and slice. Repeat this process for each cut to avoid smudging the layers.
Notes
Cooking Chocolate – I used 70% Dark cooking chocolate for this recipe. It’s way less sweet than regular dark chocolate. Although dark chocolate can also be used if you prefer. Both can be found in the baking isle of your supermarket.
Dutch processed cocoa powder – is an unsweetened cocoa powder which has been treated with alkaline and potassium carbonate to neutralize the acidity that is naturally found in cocoa powder. It’s darker in color and strong in chocolate flavor.
Egg whites – I used egg whites from large eggs. Large eggs weigh 50-55g each out of the shell (yolk and whites together). Each white weigh about 30-35g each. It’s about 3 egg whites. Don’t like eating uncooked eggs? That’s ok. Use pasteurized egg whites which are gently heated. In most countries, raw egg whites are ok to consume. Just check with your country first. Immunocompromised and people who can get pregnant should stay away from raw egg whites.
Gelatin – I used platinum strength gelatin leaves. You can use gelatin powder instead. Simply mix 2 tsp of gelatin powder with 3 tbsp cold water. Mix using a fork and allow to rest for 5 minutes. This is what you’ll add to your chocolate mixture and stir through until completely melted.
Heavy cream – this is the type of cream you use for whipping and is also known as whipping cream. It has at least 30% fat content. Acetate – can be bought at cake stores or online. I bought mine on Amazon. Search for ‘Cake Acetate’. You want one that is at least 5 inches in height. If you don’t have acetate, you can use parchment paper in it’s place it just won’t look as smooth around the outside but will taste just as good! How to prepare a double boiler – a double boiler is a gentle way of cooking or melting ingredients. For this recipe we use it to gently cook the eggs in the mousse portion of the recipe. To prepare a double boiler fill a pot about 1/3 of the way with water and bring to a boil. Turn the heat down to low. Then place a heat proof bowl on top and proceed with the recipe. Storage – This mousse cake can be stored in an airtight container, in the fridge for up to three days. Nutrition – is an approximate and is based on per slice. A note on measurements – This recipe uses weight measurements for the most accurate results. Cup measurements can vary depending on where you are, which affects the precision needed for a recipe like this. Here is where you can learn more about how to measure ingredients using digital kitchen scales.
Heavy cream – this is the type of cream you use for whipping and is also known as whipping cream. It has at least 30% fat content. Acetate – can be bought at cake stores or online. I bought mine on Amazon. Search for ‘Cake Acetate’. You want one that is at least 5 inches in height. If you don’t have acetate, you can use parchment paper in it’s place it just won’t look as smooth around the outside but will taste just as good! How to prepare a double boiler – a double boiler is a gentle way of cooking or melting ingredients. For this recipe we use it to gently cook the eggs in the mousse portion of the recipe. To prepare a double boiler fill a pot about 1/3 of the way with water and bring to a boil. Turn the heat down to low. Then place a heat proof bowl on top and proceed with the recipe. Storage – This mousse cake can be stored in an airtight container, in the fridge for up to three days. Nutrition – is an approximate and is based on per slice. A note on measurements – This recipe uses weight measurements for the most accurate results. Cup measurements can vary depending on where you are, which affects the precision needed for a recipe like this. Here is where you can learn more about how to measure ingredients using digital kitchen scales.
Nutrition
Calories : 981kcal
Carbonhydrates: 72g
Protein: 14g
Fat: 76g
Saturated Fat: 46g
Polyunsaturated Fat: 3g
Monounsaturated Fat : 23g
Trans Fat : 0.3g
Cholesterol: 200mg
Sodium: 66mg
Potassium : 171mg
Fiber: 11g
Sugar : 47g
Vitamin A: 1221IU
Vitamin C: 0.3mg
Calcium: 67mg
Iron: 1mg
Nutrition Disclosure
Gave this recipe a go?Mention @thescranline or tag #thescranline!

previous post
81 comments
When do you add the butter to the brownie mix? It’s not in the method. Thanks
Hey AJ! So sorry about that—the butter is melted with the chocolate. I’ve updated the recipe to make that clear now. Thanks for catching it, and I hope you enjoy the brownies! N x
Hi Nick,
Gonna try your recipe for the holiday. For baking the brownies base, I assume the butter is going to be melted together with th choc using double boiler or microwave?
Hey Beth! That’s right—you’ll melt the butter and chocolate together, either in the microwave or over a double boiler. It helps create that rich, fudgy texture for the brownie base. Enjoy making it for the holiday! N x
You might consider updating the actual recipe section at the bottom… it doesn’t mention the butter addition, aside from it being in the ingredients. I’ve had my brownie mix in the oven for 10min and just realized I never added it because I was following the succint directions versus the step by step more at the top of this page (hope that makes sense!). Hoping I have enough ingredients to stat again…
Hey Kelli! I’m so sorry about that and I’ve updated the recipe now to include the butter in the instructions. Thanks so much for letting me know—it’s super helpful, and I hope you were able to make it work! N x
What were you thinking, lol?? I’m finding the mousse so lacking in sweet I spread about 2TBL of superfine sugar over the mousse layer! I increased the brown sugar in the brownie by 15g! Google told me “dark cooking chocolate” is unsweetened, so I’m curious if something got lost in translation. I’m chilling the mousse in an 8” round lined pan, and very well might sugar the other side when I assemble.
My brownie crust was in an 8.5”-9” springform tart pan and I didn’t weigh it down, so I’ll put it all together, towering on a large dinner plate. So much chocolate… so little sugar!! I’m hoping for the best, but worry for the sensibilities of the motivated midnight grocery store runner!
And boy, that took a lot of mixing vessels! I didn’t bother with the Swiss Meringue trick BECAUSE MY EGGS ARE PERFECTLY FRESH AND SAFE. =)
Thanks for the opportunity to try.
Hey Daisy! Sounds like you went full mad scientist with this one, haha! The mousse isn’t overly sweet because the chocolate brings richness, but if Google led you to unsweetened chocolate, that would definitely explain why it felt lacking in sugar. I used Nestlé cooking chocolate buttons, which are still sweet but have a more bitter flavor compared to the creamy sweetness of milk cooking chocolate, so that could be the mix-up. Love that you made adjustments to suit your taste—baking is all about personalizing! The mousse should balance out once everything is assembled, but if you prefer it sweeter next time, try using a semi-sweet or slightly lighter dark chocolate. Also, the Swiss meringue method isn’t just about safety, it helps stabilize the mousse and gives it that light, airy texture. Hope it all comes together beautifully on your dinner plate tower of chocolate! N x
Not that I have a problem with uncooked eggs whites however the Italian method of incorporating boiling syrup into eggs whites is more stable. My question is; would that method work with this recipe? Have you tried? What would be compromised if anything?
Hi Diz! Total get it, some people are a bit funny about eggs that aren’t cooked. Unfortunately I can’t say for sure because I didnt test it using the syrup method. Sorry! N x
I like it very much, I’m a 70+ hobby baker in the Netherlands, with the milk chocolate most people like it much more.
BTW. I’ m using callebaut
Thanks
That’s so great Wim! N x